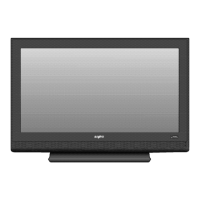
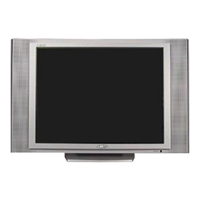
TOP AND BACK PANELS
OPTIONAL FEATURE—WALL MOUNTING
TOP VIEW
Note: The Channel (up) /
(down), Volume + (up) / – (down),
and Power keys function exactly
like the keys on your remote
control.
S-Video Input Jack
To enhance video detail use the
S-Video AV1 jack instead of the
Video jack, if available on your
external equipment. (S-Video
connections will override con-
nections to the AV1 input
jacks.) (See page 9.)
BACK VIEW
Antenna Input Terminal
Connect an RF antenna, cable,
or satellite receiver to this jack
as shown on page 6.
Audio/Video Input Jacks
(AV1/AV2)
Connect video equipment here (see
page 9).
Note: S-Video connection overrides
the AV1 video connection.
480i/p Component Video / Audio
Input Jacks (AV3)
Connect external equipment to the
Y, Pb, Pr and Audio L/R jacks. (See
page 8.)
DC Power Input Jack
Connect the supplied AC Adaptor to
this terminal.
This LCD TV is designed so that it may be mounted on a wall, if desired.
Use the slots on the back of your TV to secure it using a wall mounting kit.
Notes: Wall Mounting kit is not supplied, check with your local electronic
supply store.
LCD Mounting screws should be M4 thread with a minimum
length of 9mm. Screws must not exceed 20mm in length.
BACK VIEW
7
Need help?
Visit our Web site at www.sanyoctv.com or Call 1-800-877-5032
Optional Accessories: Extra
cables are needed for advance
connections. Reference the con-
nections accessories list on
pages 8~9.
Warning: This 12V AC/DC
product is intended for indoor
home use only. It is not to be exposed to
high outdoor ambient temperatures found
in automotive, marine, and aviation
environments.
 Loading...