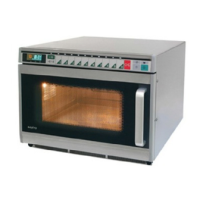
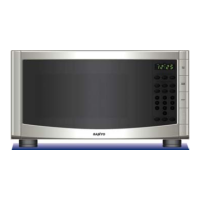
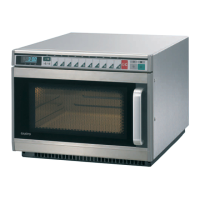
Installation
1. Install the oven on a flat. level surface. 3. The exhau]st vent ofthe oven is at the back on the
●
●
●
2.
Strong enough to safely bear the weight of the oven,
left side, so keep it at least 5cm away from the rear
which is 17.8kg. To avoid the possibility of causing wall and the side wall.
vibration or noise the oven must be in a stable po-
Covering the if ~haust vent may lead to malfunction-
sition.
ing. Hot air esc ~es from this vent, so be sure not to
When oven is first plugged into power outlet, “0:00” obstruct it or let
.tains come between the oven and
will appear in the display window, if not, switch off at the rear wall.
power-outlet, unplug the unit and reinsert the plug
4. Place the oven as . away from radios and T.V.’Sas
into the wall outlet.
possible.
.:
Following a power failure, the display window will
This oven does co
revert back to “0:00” then will show in minutes or
hours the elapsed time from the time power was re-
dio interference st
stored. Re-set the clock to correct time of day.
may occur if it is pk
keep them as far a!
Keep the oven awav from heat and water.
-1
to EEC requirements of ra
;ion, but some interference
-o close to a radio or TV. so
:ossible.
Exp&ure to heat an~ water can lower oven efficiency
I
and lead to malfunctioning, so be sure to
oven away from heat and water sources.
install the
N~E
It is quite normal for
.,n to be emitted around the
door, or for misting to occur on the door, or even for
water droplets to appear below the door during the
cooking cycle.
This is merely condensation from the heat of the food
and does not affect the safety of your oven.
The door is not intended to seal the oven cavity com-
pletely but its special SANYO design contributes to
the complete safety of the appliance.
L
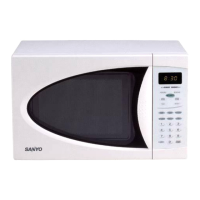
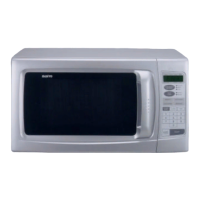
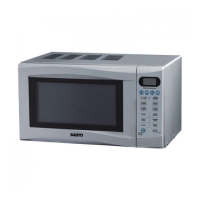
Names of Oven Parts
L
Wipe the cavity clean after using
the oven.
Cavity Base
p
~
/-.
: ~Q“”
‘ J,$ p< +
● / :7
Door Release Button
By pushing this button the latch
system cuts off all circuits and
\ I
stops thl? oven before the door
/ ““-’””----~~= 2 [ 22:
can be opened.
L
Glass Tiwntable
Made cf special heat-resistant”
glass. Food in a proper receptacle
~
is placed on this for cooking. put
this in the base of the cavity after
positioning the roller rest. To im-
mobo]is~: the turntable, (glass
roller re; t, place a plastic stacking
~:R:bt”
ring (av~iilable from most retail-
ers) on tt ~e cavity base and place
place th(? rest on the cavity base.
This sup~oorts the glass turntable.
Remove your Oven and all material from the shipping carton. Your oven comes with the following material:
Glass Turntable . ... .... ....... .... .... ... ..... . .... .... .... . leach
Roller Rest .. . .... .... .... ...... .... .... .... ..... . .... .... .... leach
Cook Book .. .... .... .... . . .... . ....... .... ...... .... .... .... leach
Operating Instructions . . . . . . .. . . .. . .. . . .. . . . . .. . . . .. . .. . . .. leach
Do not use this Microwave Oven for commercial purposes. This Microwave Oven is made for do mes~c use only.
–4–
 Loading...