-
25
-
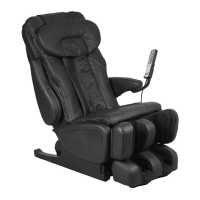
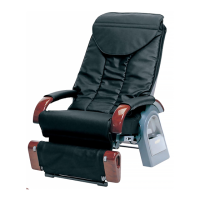
HEC-DR8700
Replacement Procedure
(2)
Replacement of PCB (Main) and PCB (Power)
1,
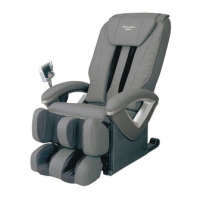
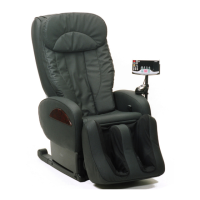
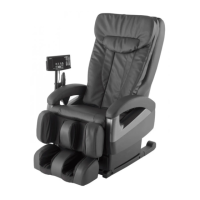
Take off the arm rest (left), the cover (arm rest
lower left) and the covers (under). Photo-1,2,3
2, Remove one cover (PCB) set screw and take
off the latch of rib at the rear of cover (PCB).
Photo-4
3, Disconnect sixteen connectors connected to
the PCB (Power). Photo-5
* Remove a earthing set screw when there is
a earth wire from the printed board (power).
4, Unfix nine stoppers (PCB) and take off the
PCB (power). Photo-5
5, Remove three stay (PCB) set screws and
take off the stay (PCB). Photo-5
* There is a set screw around under a reclining
motor at the left side.
6, Disconnect fifteen connectors connected to
the PCB (main). Photo-5
7, Unfix nine stoppers (PCB) from the bottom
side of the main body and take off the PCB
(main). Photo-5
(3) Replacement of Valve
1, Take off the arm rest (right), the cover (arm
rest lower right), the arm rest (left), the cover
(arm rest lower left) and the covers (under).
Photo-1,2,3
2, Take off the cover (PCB) and disconnect the
connectors (CN6,CN7) connected to the
PCB (main). Photo-4,5
3, Disconnect each air hose.
4, Remove the cord processing of a valve
assembly. Photo-6
5, Remove one holder (valve) set screw and
take off the valve assembly and holder
(valve). Photo-6
6, Remove two valve set screws and take off
the valve assembly.
*When taking off the air hoses, indicate a
mark such as number, symbol
(Exercise care so as not to make a
mistake in connecting the hoses).
Photo-5
Photo-6
Stoppers
PCB (main)
PCB (power)
Cover (PCB) set screw
Cover (PCB)
Stay (PCB) set screws
Photo-4
Holder set screw
Cover (air pump)
Cover (air pump) set screws
Holder (valve)
Valve assemblies
Stay (PCB)
 Loading...