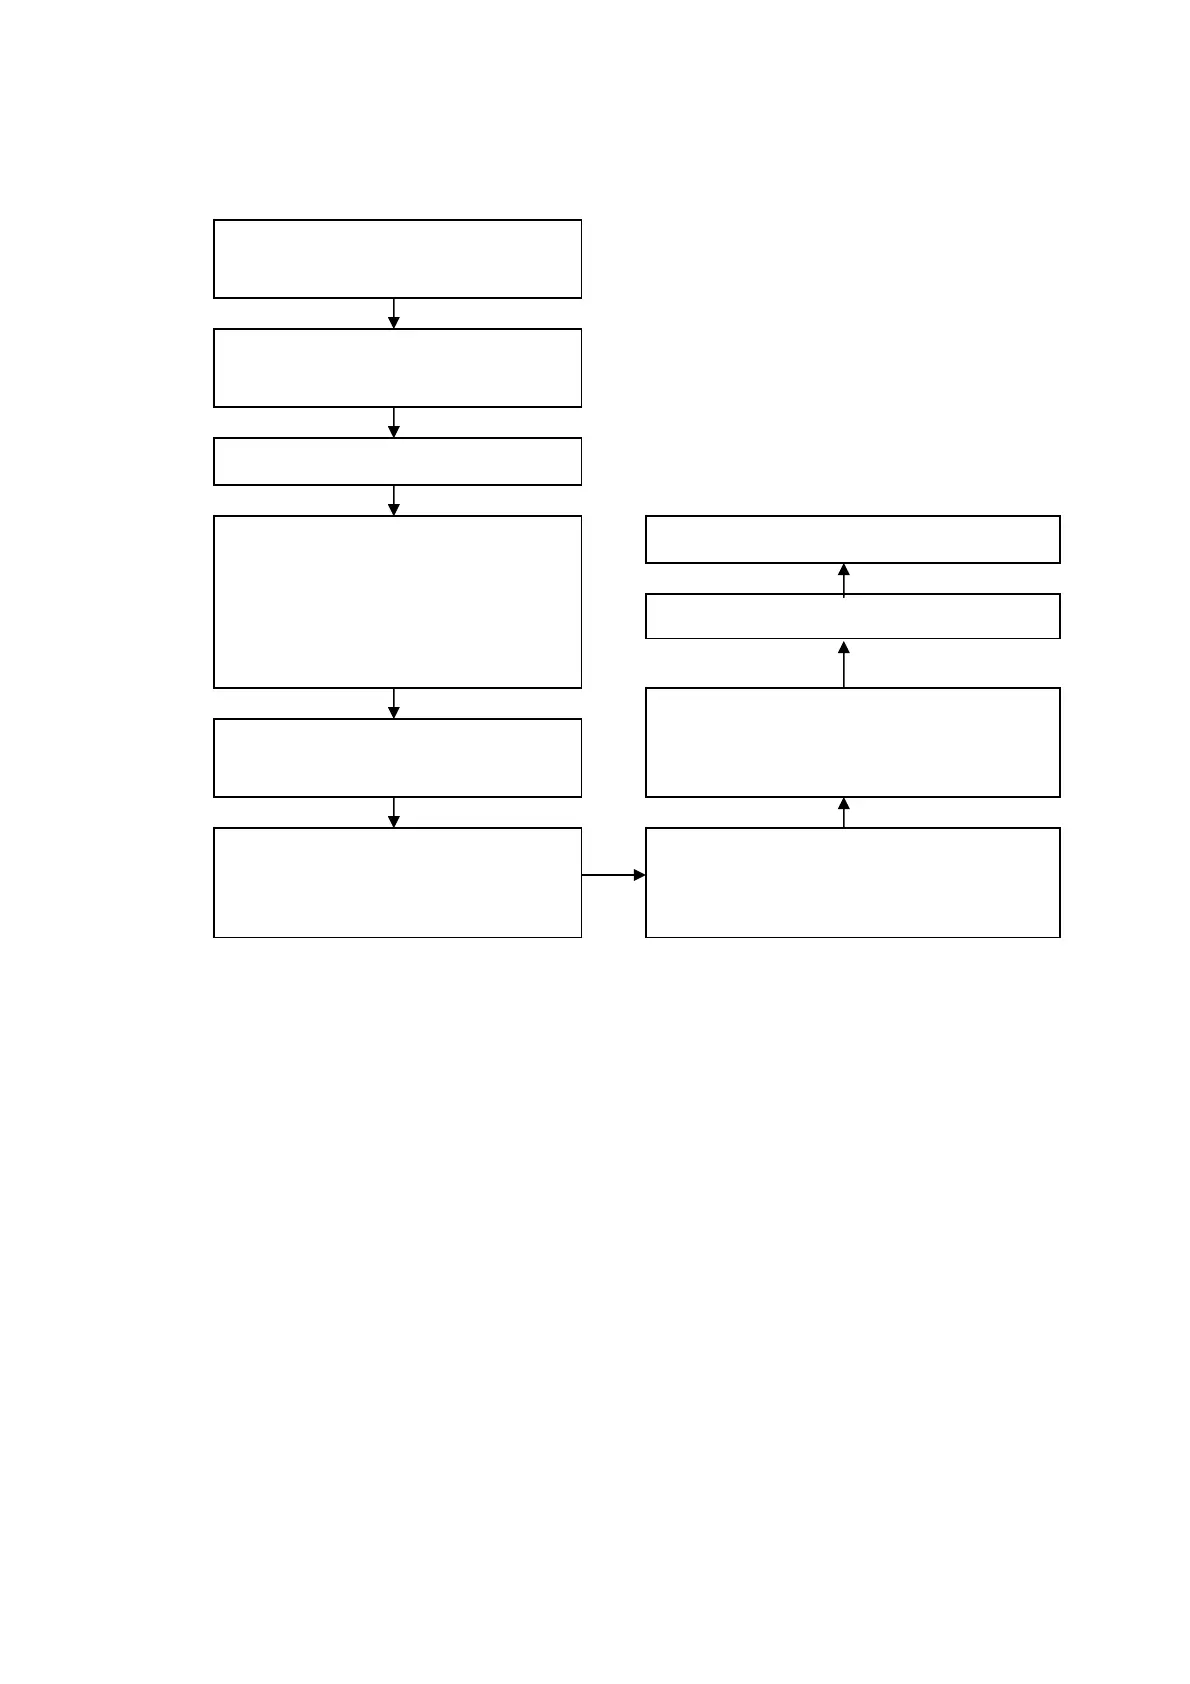
1.2 Adjustment flow chart as Fig.1
Fig.1 Adjustment flow chart
2 Alignment instruction
2.1 Unit adjustment
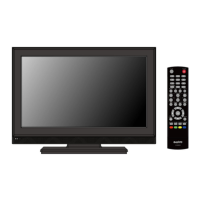
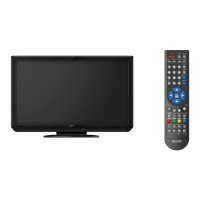
2.1.1 According to the wiring diagram “9232KE5201JL”, connect power board, main board,
IR board, key board correctly; then power on,
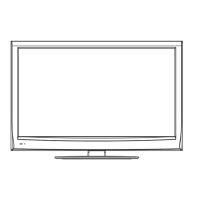
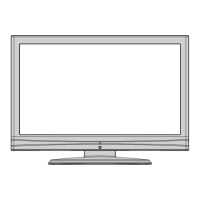
check if the display is normal.
2.1.2 Using method of factory menu
a) First press key “SOURCE”,then press number key “2、5、8、0” in turn to enter into initial
factory menu;
b) Press keys “CH+” and “CH-” can move cursor to each page of initial factory menu, then press
key “OK” can enter into adjustment menu of each page;
c) Press keys “CH+” and “CH-” can move cursor upwards and downwards within one adjustment
page;
d) Move cursor to one adjustment item, then press keys “VOL-” and “VOL+” can adjust it;
e) Press key “MENU” can exit adjustment menu of one page to its superior factory menu;
f) Press key “EXIT” can exit factory menu at any time;
g) Press key “OK” can enter into inferior factory menu;
Check if DDC、、HDCP KEY and FLASH
have been burned.
combination adjustment for general
assembly
white balance adjustment
Connect to central signal source, check if
TV functions are normal -omitted channel,
analog parameters control, etc; check if
output of earphone and speaker are
normal.
Input VGA signal,check if the display is normal;
check if every function is normal -analog
parameter control, horizontal/vertical center, etc.
Input AV/SVIDEO/SCART signal,check if
functions of every channel are normal.
Input HDMI signal,check if the display is normal;
check if every function is normal –analog
parameter control, horizontal/vertical center, etc.
setup before leaving factory
Check accessories and packing.
Input high-definition component signal
(mode), check if every YPbPr function is
normal.
 Loading...