Customizing the Picture
1
3
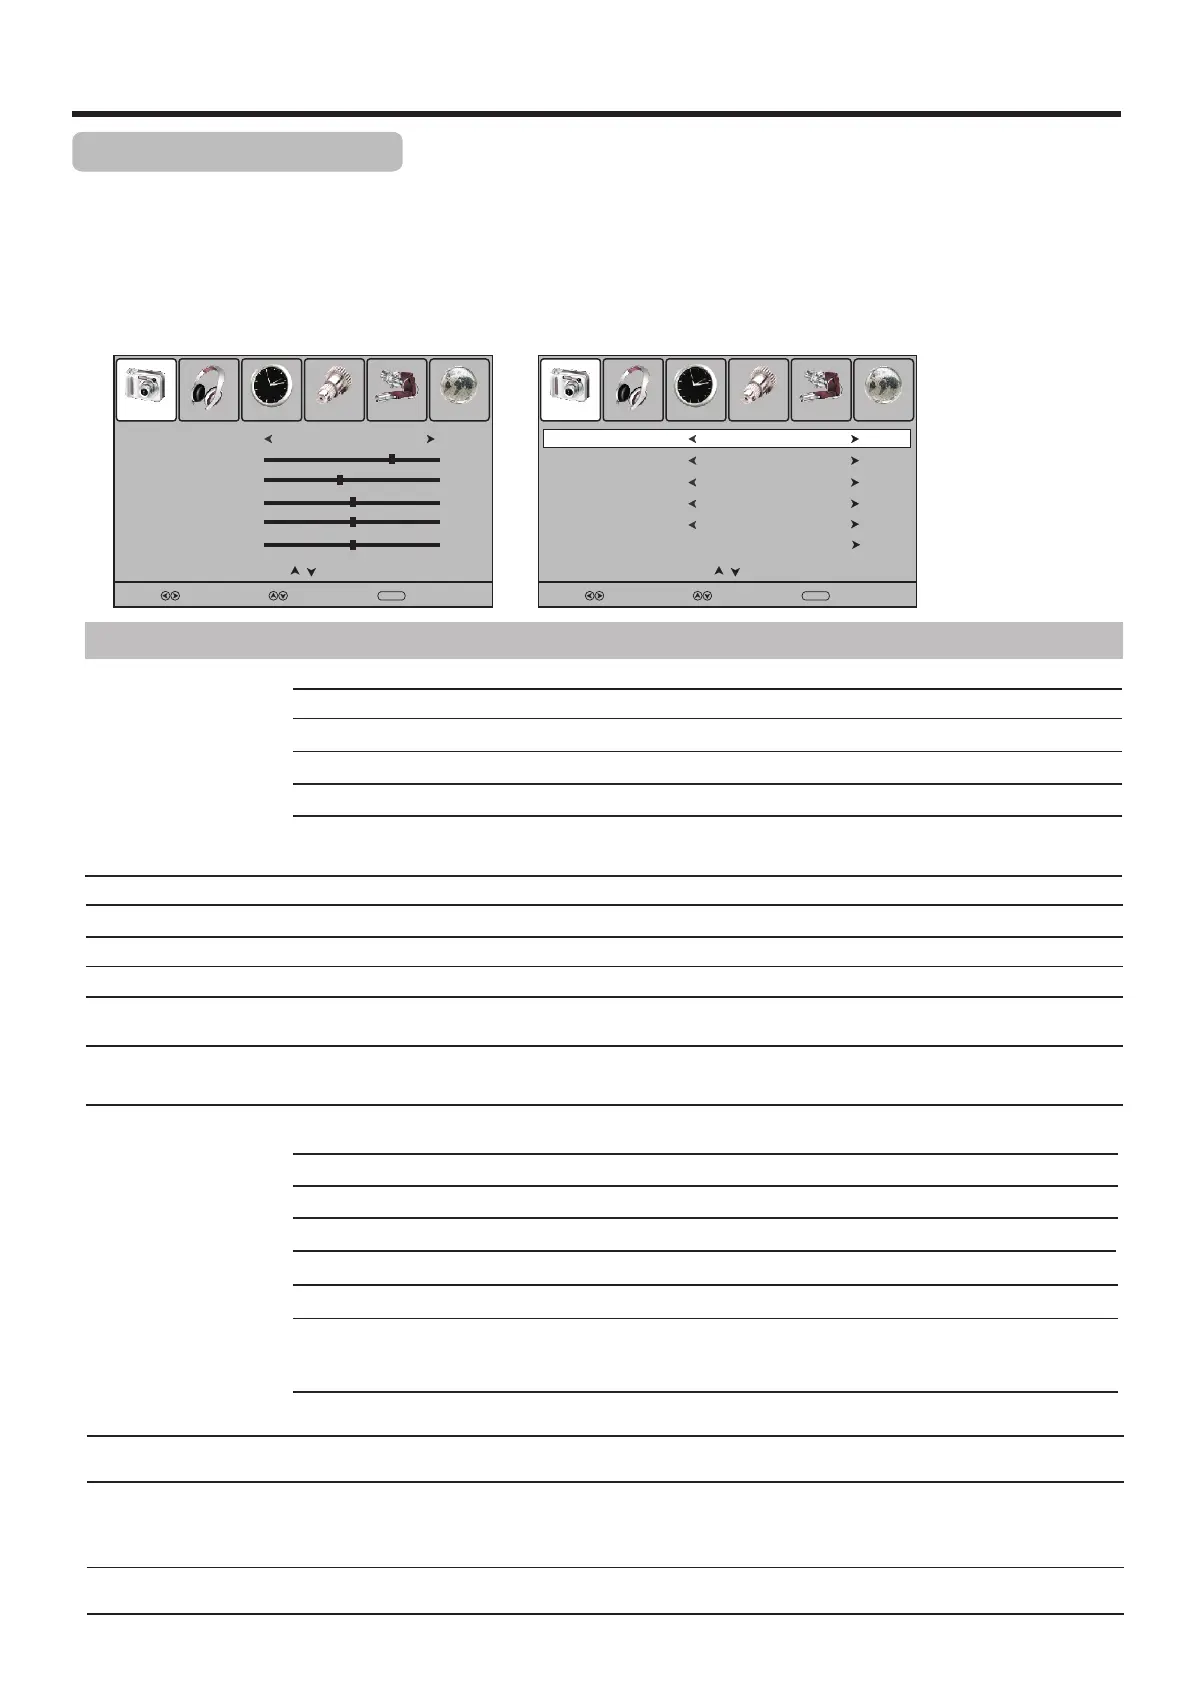
Press MENU and the main menu screen displays.
Within the menu, press 5 or 6 to scroll through the page upward or downward,
and press 5,6,3,4 to navigate through the options or adjust an option.
Press 3or4to select Picture menu, press 6 to access the menu.
2
Press MENU to return to previous menu. Press EXIT to exit the menu screen directly.
4
Option
Description
Selects a desired picture mode. You can select from Dynamic, Standard, Mild and User.
Standard: Select for a standard picture.
Mild: Select for a finely detailed picture.
Dynamic: Select for a bright and vivid picture.
User: The picture quality you set.
Picture Mode
Contrast
Brightness
Sharpness
Adjusts image contrast.
Colour Temp
Adjusts screen brightness for easier viewing of dark picture such as night scenes and black hair.
Adjusts image sharpness and displays a sharp image.
Selects one of three automatic colour adjustments. Sets to Warm to enhance hotter colours such
as red, or set to Cool to see less intense colours with more blue. You can select from Warm,
Cool and Normal.
Colour
Adjusts colour saturation.
Tint
Adjusts tint for image.
Aspect Ratio
You can select the aspect ratio (display proportions) according to your video signal type or personal
preference. You can select from 16:9, 4:3, Auto, Zoom1, Zoom2 and 1:1pixel mapping.
16:9: Displays a 16:9 picture.
Zoom1: Stretches the vertical length of the picture.
Zoom2: Stretches the horizontal width and vertical length of the picture.
Auto: Displays picture automatically in proper ratio.
4:3: Displays a 4:3 picture.
Note: The Tint item is only for NTSC system.
Note: 1. To quickly change the picture mode, press the P.MODE button on the remote control repeatedly.
2. The Dynamic mode is recommended for store use. When the set is switched on in this mode, an on-screen warning to
that effect will appear.
1:1 pixel mapping (D-SUB, HDMI only): Displays an input source without scaling it. (This option is
available on either of these two conditions: ① native resolution=1920x1080, input
resolution=1080P or 1920x1080; ②native resolution=1366x768, input resolution=1360x768).
Note: Be sure not to put anything around the sensor, as its function may be affected.
Picture Sound Time Setup Lock Channel
Picture Mode
User
Contrast
75
Brightness
45
Sharpness
50
Colour
50
Select Move
Menu
Return
Tint
0
Prev Page Next Page
Picture Adjustment
22
Note: 1. You can press the ZOOM button repeatedly to select a desired aspect ratio.
2. For the sake of protecting the screen, please do not display the image in 4:3 mode for extended period of time.
Noise Reduction
Select from Low/Middle/High to reduce noise in the picture, commonly called snow.
Select Off to turn off this function.
Select On to adjust the picture’s reproduction rate (available when the TV’s aspect ratio is in 4:3 or
16:9 and the input signal is in video format).
Overscan
(D-SUB,HDMI only)
Light Sensor
Select Auto to enable the automatic brightness control. The light sensor measures the room
brightness which allows the TV to automatically adjust the picture brightness, based on the ambient
room light conditions. You can check the light sensor to know whether it is dark, normal or bright.
Picture Sound Time Setup Lock Channel
Aspect Ratio
Noise Reduction
Select Move
Menu
Return
Off
Prev Page Next Page
16:9
Colour Temp
Cool
Screen
Overscan
On
Light Sensor
Auto: Normal
 Loading...