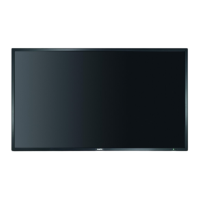
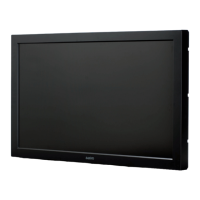
To avoid damaging the LCD panel, lay out a soft
cloth or towel and lay down the unit so the front side is
facing down.
䕔Precautions when replacing each module
䞉 Always perform the procedure below when replacing each
module.
䞉 Be careful not to overtighten the screws when installing
each module.
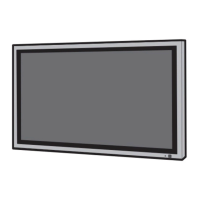
2. Preparations
If the pedestal (option) is installed, remove the 2
screws for the pedestal on each side, and then remove the
pedestal.
3. Pedestal (option) removal
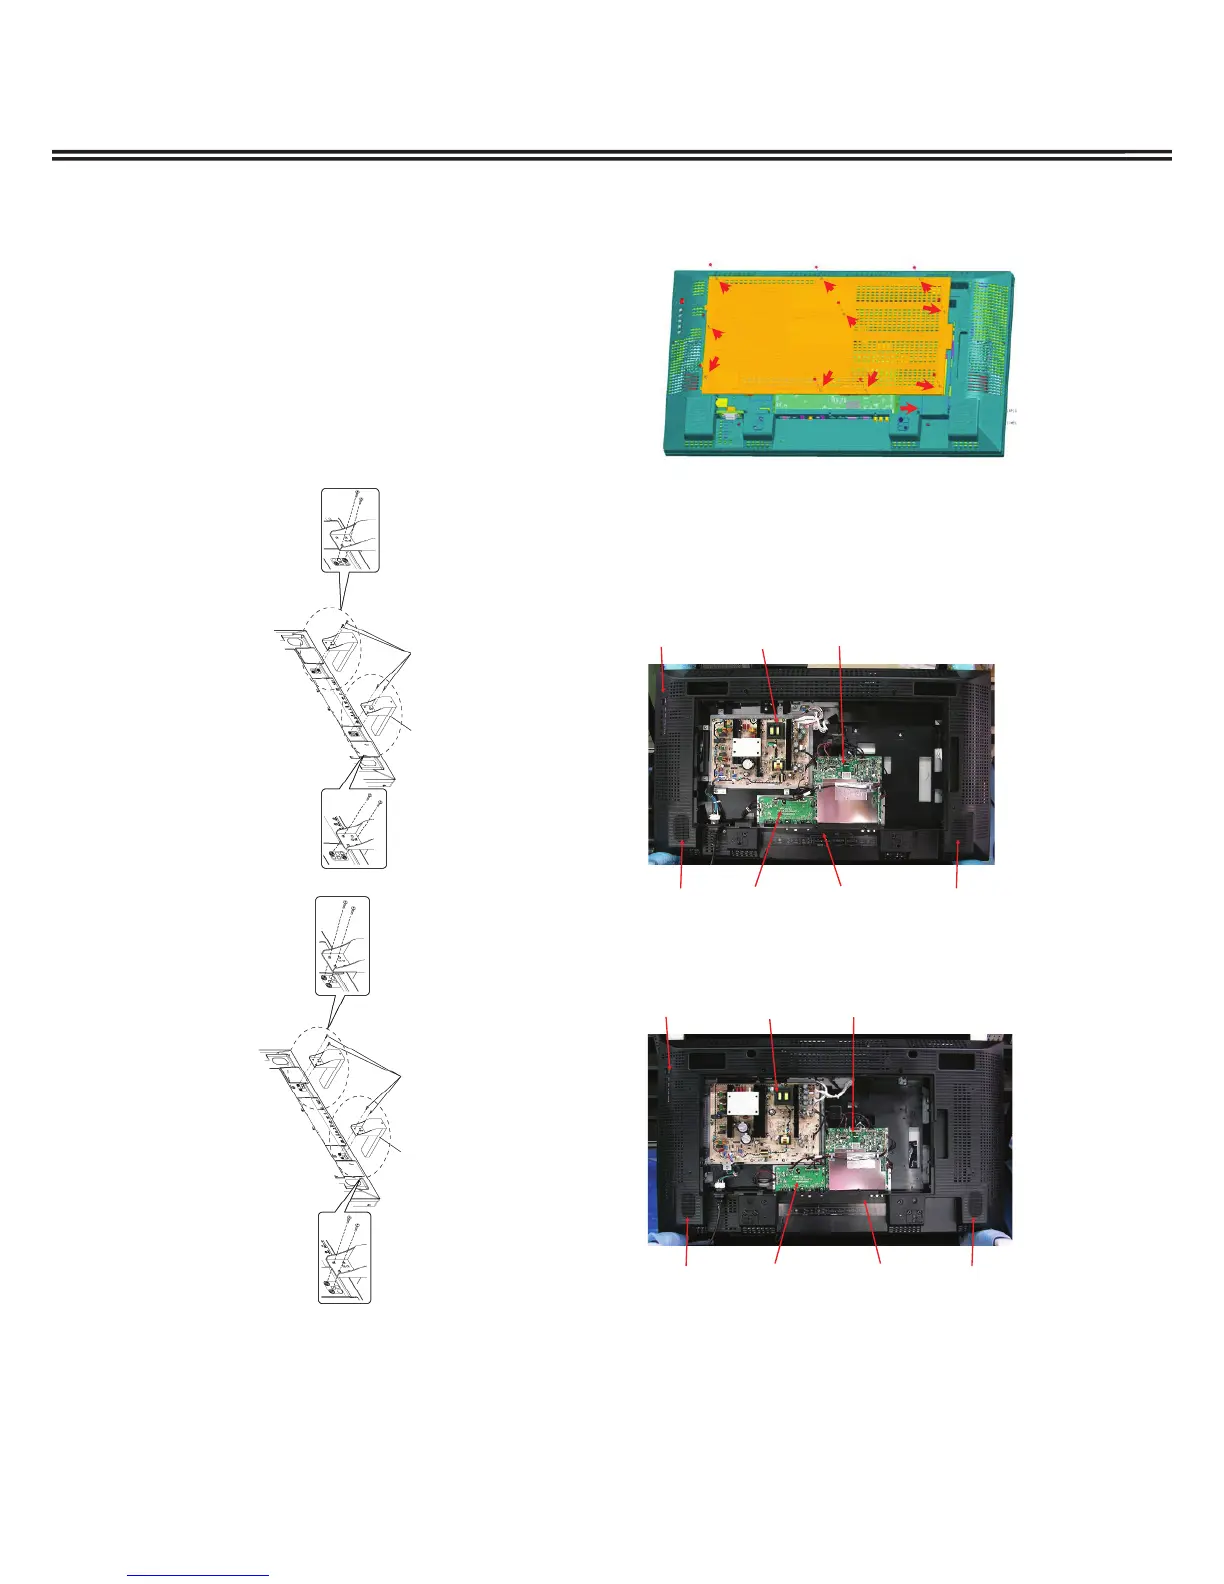
First remove the 10 screws on the rear cover, and then
remove the rear cover. (SCR TPG BRZ 4x10)
4. Rear cover removal
SLIDE
42 t
 Loading...