Contents
Page
IMPORTANT!
Please Read Before Starting .................................. 2
1. REQUIREMENTS FOR INSTALLATION ........... 3
1-1. Basic Requirements for Installation Location
1-2. Indoor Unit Installation Position Selection
1-3. Outdoor Unit Installation Position Selection
1-4. Safety Requirements for Electrical Devices
1-5. Grounding (Earthing) Requirements
1-6. Type of Copper Tube and Insulation Material
1-7. Other Wiring Considerations
2. INSTALLATION DIMENSION DIAGRAM........... 5
3. INSTALL INDOOR UNIT ..................................... 6
3-1. Install the Rear Panel
3-2. Install the Tubing Hole
3-3. Install the Drain Hose
3-4. Connect the Indoor and Outdoor Wiring
3-5. How to Install the Indoor Unit
4. INSTALL OUTDOOR UNIT ............................... 10
4-1. Wiring Instructions for the Outdoor Unit
4-2. Refrigerant Tubing
4-3. Air Purging
4-4. Tubing Length
4-5. Outdoor Condensation Drainage
4-6. Accessories
5. PUMP DOWN .................................................... 16
5-1. What is Pump Down?
5-2. Pump Down Procedure
6. CHECK AFTER INSTALLATION AND
TEST RUN......................................................... 17
6-1. Check After Installation
6-2. Test Run
7. ELECTRIC WIRING SYSTEM .......................... 18
INSTALLATION INSTRUCTIONS
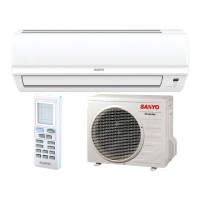
Model Combinations
Combine indoor and outdoor units only as listed
below.
Indoor Unit Outdoor Unit
SAP-KRV9AEH SAP-CRV9AEH
SAP-KRV12AEH SAP-CRV12AEH
Power Source:
50 Hz, single-phase, 220 – 240 VAC
This air conditioner uses the new refrigerant R410A.
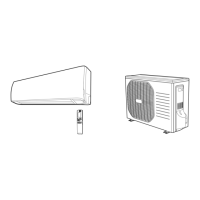
The illustrations are based on the typical appearance
of a standard model. Consequently, the shape may
differ from that of the air conditioner that you are
installing.


 Loading...