Fig. 22
3-5. How to Install the Indoor Unit
For tubing, choose either the left side or right side
direction.
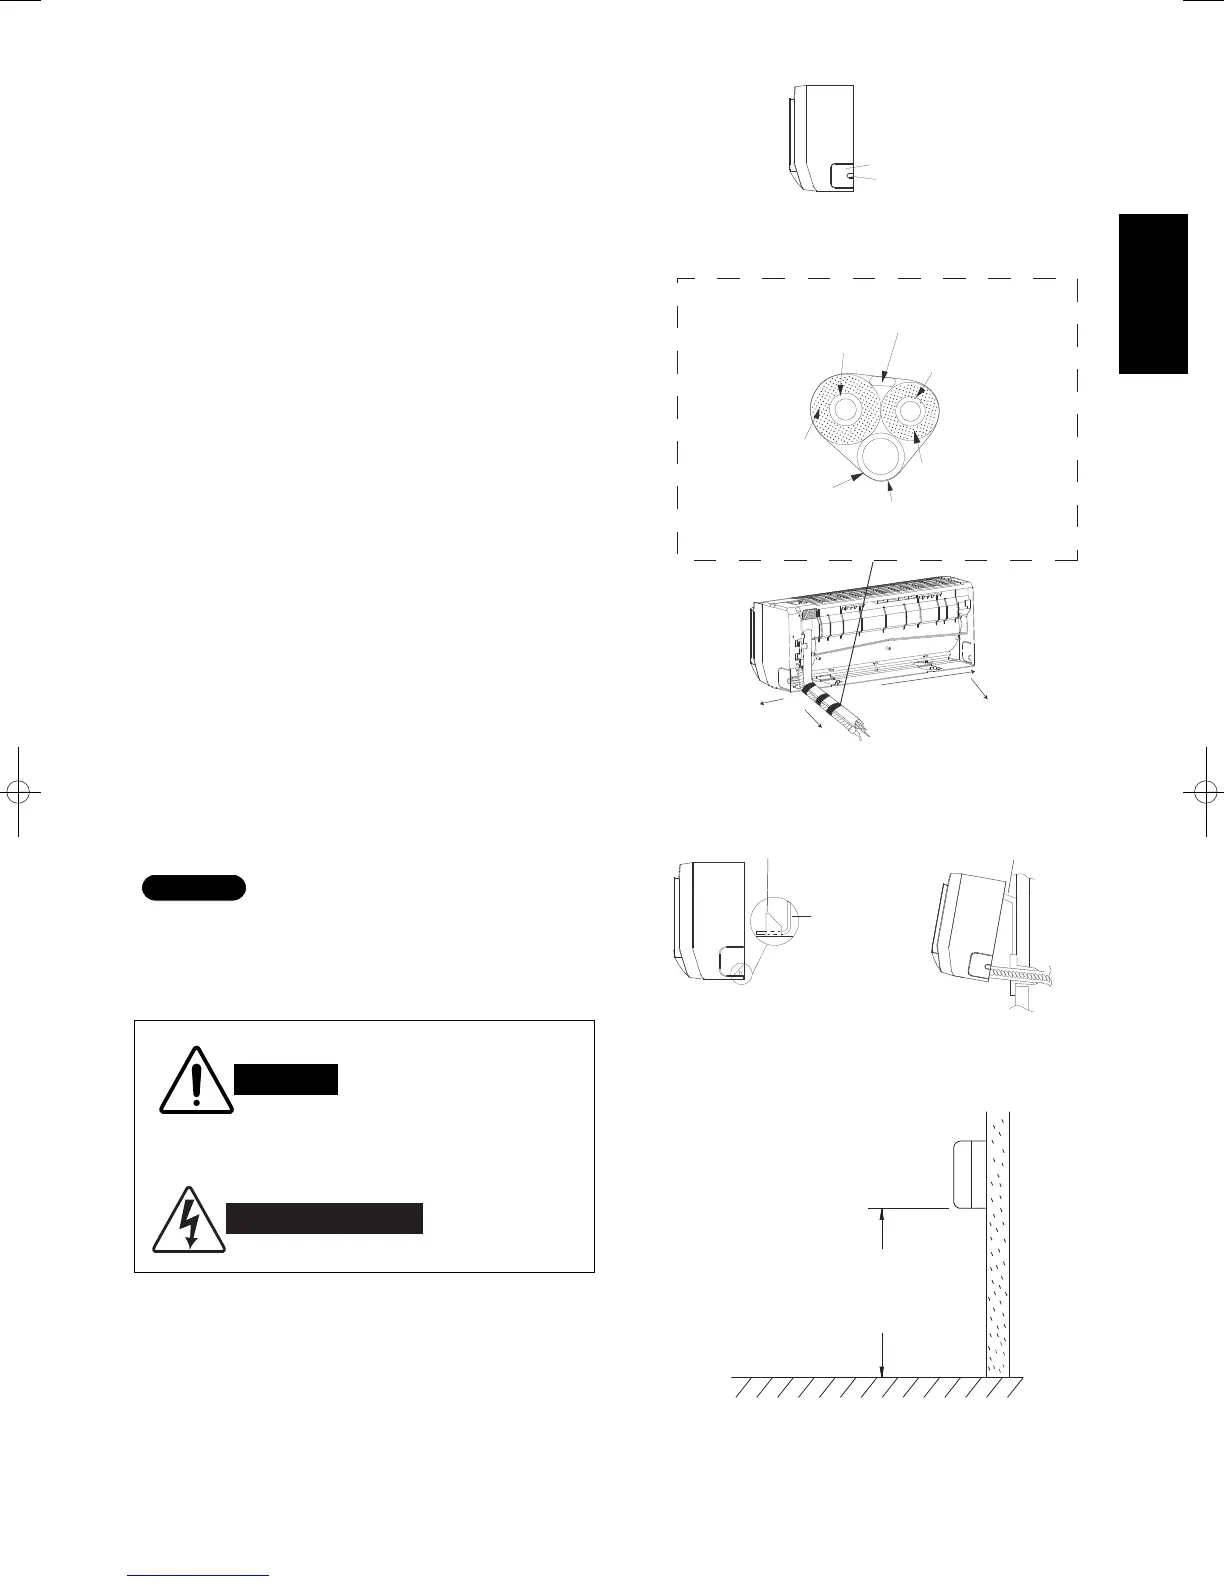
(1) When routing the tubing and wiring from the left or
right side of the indoor unit, cut out the knock-out
hole from the chassis as necessary. (Fig. 20)
• Cut out knock-out hole 1 when routing the wiring
only.
• Cut out knock-out hole 1 and knock-out hole 2
when routing both the wiring and tubing.
(2) Take out the tubing from body case, wrap the tub-
ing, electric wire and water pipe (if local codes
allow) with tape and push them through the tubing
hole. (Fig. 21)
(3) Hang the mounting slots of the indoor unit on the
upper tabs of the rear panel and check that it is
securely seated on the rear panel. (Fig. 22)
(4) Carefully bend the tubing (if necessary) to run
along the wall in the direction of the outdoor unit
and then tape as far as the fittings.
(See Caution on page 12). The drain hose should
come straight down the wall to a point where water
run-off won't stain the wall.
(5) Connect the refrigerant tubing to the outdoor unit.
(After performing a leak test on the connecting
part, insulate it with tubing insulation. (Fig. 21)
Also, refer to page 12, (connecting tubing between
indoor and outdoor units).
For stable operation of the air conditioner, do not
install wall-mounted type indoor units less than 1.5 m
from the floor level. (Fig. 23)
 Loading...

