16 Entris
®
BCE Operating Instructions
Getting Started
6 Getting Started
6.1 Installing the Power Supply Unit
6.1.1 Assembling the Power Supply Unit
Item number
on packaging
Power supply unit YEPS01-15VOW with
connection cable and country-specific
power plug adapters (packed in PE bag
with printed country identification,
e.g. EU)
YEPS01-PS8 USA and Japan (US+JP), Europe and Russia
(EU+RU), Great Britain (UK), India (IN),
South Africa (ZA), Australia (AU), China (CN)
YEPS01-PS9 Argentina (AR), Brazil (BR), Korea (KR)
YEPS01-PS10 China (CN)
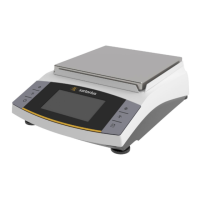
Procedure
t Select the country-specific
power plug adapter. The
power plug adapter must be
suitable for use with the wall
outlet at the installation site.
t Insert the power plug adapter
into the power supply unit.
The grooved button must be
facing upwards.
t Push the power plug adapter as far as you can until it
clicks into place.
t Check whether the power plug adapter is securely locked
in place by pulling it gently.
y If the power plug adapter does not move: It is locked in
place.
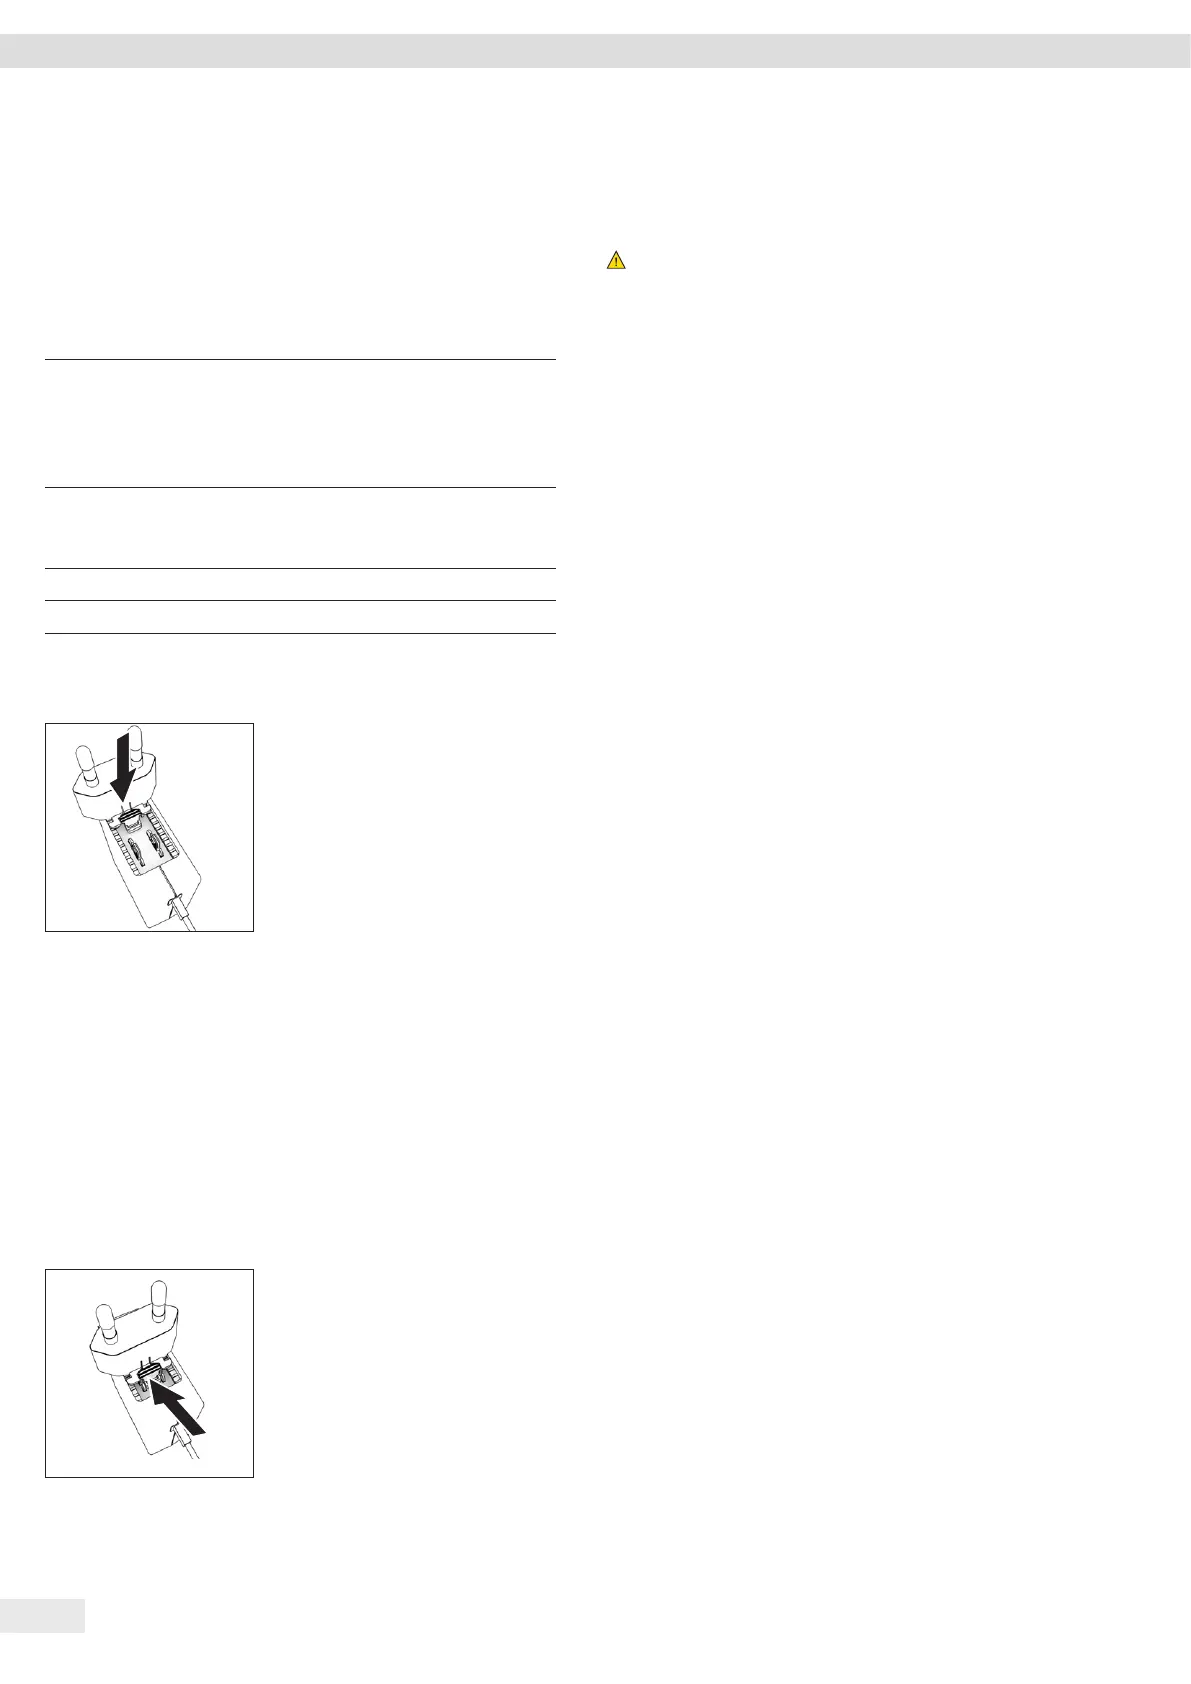
6.1.2 Dismantling the Power Plug Adapter
Procedure
t Press the grooved button
from above and pull back on
the power plug adapter.
t Push the power plug adapter
out of the power supply unit
and remove it.
6.2 Connecting the Power Supply
Procedure
t
WARNING Severe injuries caused by using defective
power supply cables! Check the power supply cable for
damage, e.g. cracks in the insulation.
t If required: Contact Sartorius Service.
t Check whether the country-specific power plug matches
the power connections at the installation site.
t If required: Replace the country-specific power plug
adapter.
t NOTICE Damage to the device due to excessive input
voltage! Check whether the voltage specifications on the
manufacturer’s ID label match those of the power supply
at the installation site.
t If the input voltage is too high: Do not connect the
device to the power supply.
t Contact Sartorius Service.
t Connect the right angle plug to the “Power Supply”
connection.
t Connect the mains plug to the wall outlet (mains voltage)
at the installation site.
y The [BOOTING] display appears in the operating display.
y The device performs a self-test.
7 System Settings
7.1 Performing System Settings
Default settings can be adjusted for the device and the
applications in order to align with the ambient conditions
and individual operating requirements.
The following settings are necessary to operate the device
together with connected components:
− Set up the communication of the connected devices
− Set up additional components
The following settings are recommended to set up the device:
− Set the menu language
− Set the date and time
− Set the calibration and adjustment
Procedure
t Press the [Menu] button.
t To adjust settings: Open the desired menu.
t Select and confirm the desired parameter (parameters,
see Chapter “7.3 Parameter List”, page 18).
t Exit the menu.
 Loading...