15
Rear Vent Installation
For venting into a masonry or a back standing steel chimney through the top vent the top horizontal
portion of a single wall connector pipe can be located not closer than 18” below a combustible
ceiling.
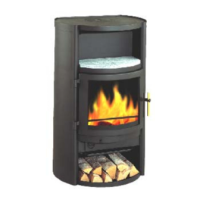
From the factory the stove is prepared for top mounting of the flue collar, but all SCAN stoves have
an optional flue outlet, therefore the flue collar can be fitted either on the top or at the rear as
required.
Mounting the flue collar for rear outlet for Scan 60, for Scan 61 start at paragraph 4.
1. Remove the top plate.
2. Remove the cover plate on the jacket
3. Remove the part of the inner back plate inside the groove for passing of the flue way to the
rear outlet.
4. Detach the flue collar and turn it to fit for rear outlet and fix it again NOTE ensure that the
gasket is still in right position on the flue collar before you tighten the screws.
5. Reinstall the top plate or wait until you have completed the connection to the chimney.
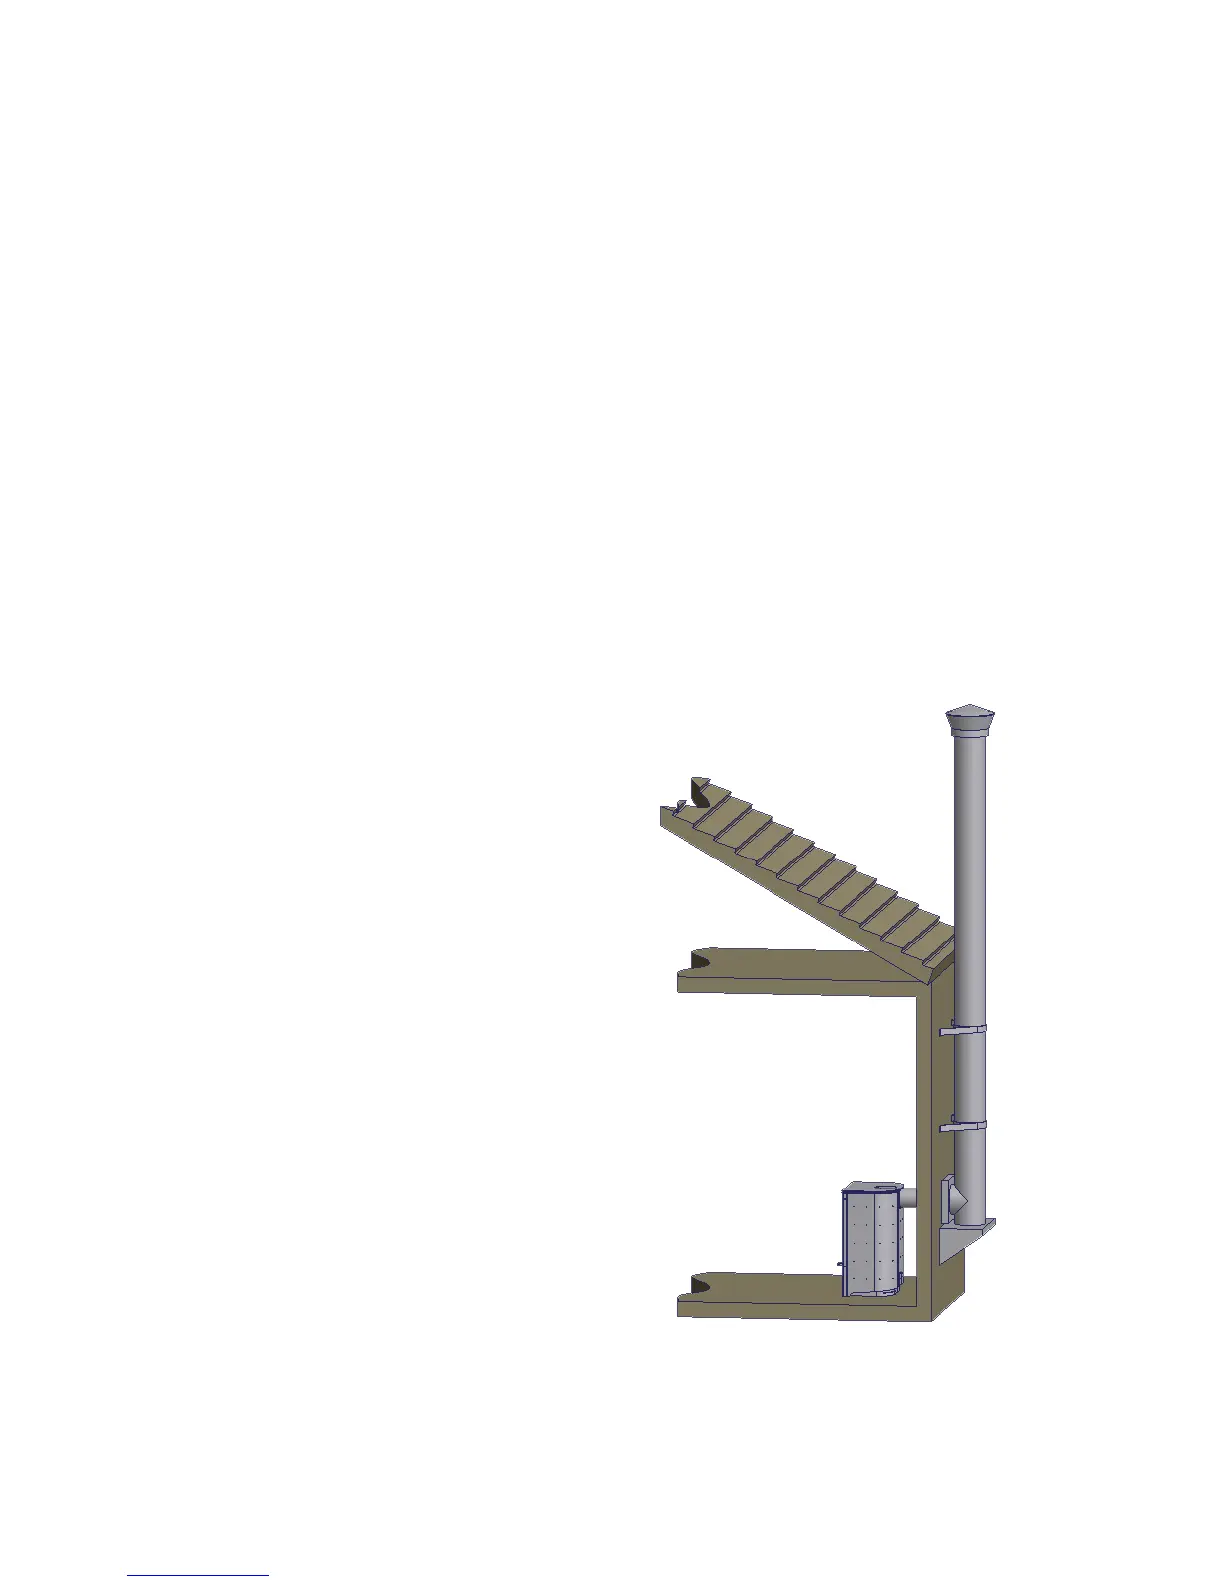
Rear venting into a masonry or steel chimney through a thimble or other vent configuration than
descript here must follow local codes or NFPA 211 or CAN/CSA-B365 guidelines and methods.
Required installation components:
•
Chimney cap
• Insulated chimney
•
Tee section
•
Tee support bracket
•
Chimney connector pipe
•
Wall thimble
•
Wall strap