D ( 1 : 5 )
E ( 1:1 )
D
E
Stove:
Path:
Articlenumber:
Material:
Date:
Constructed/Changed by:
SCAN A/S
DK-5492 Vissenbjerg©
Drawing
number:
Name:
C:\Working Folder\Designs\Scan 80\90580028.idw
90580028
højdejustering
16-05-2017
jwa
Scan 80
Weight:
Area:
N/A N/A
Bagklap fjernes ved at løfte op og "vippe" øverste kant ud
11
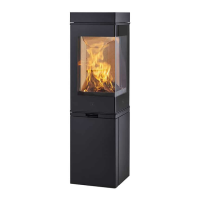
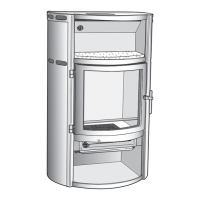
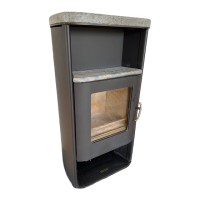
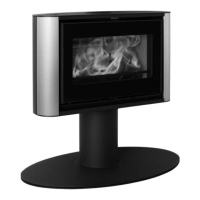
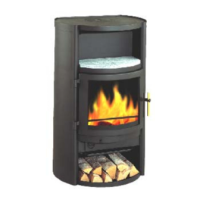
HEIGHT ADJUSTMENT OF THE STOVE
The Scan 80-series has four adjustment screws under the stove. Use the adjustment screws to get the stove to stand
straight and level.
For Scan 80-2 and 80-4, open the door and adjust the screws.
For Scan 80-1 and 80-3 you can access the screws from the rear (1).
Remove the plate at the
rear by inserting the tip
of a flat screwdriver into
the little slot under the
plate and lift upwards,
where after the upper
edge of the plate can be
“tipped” out.
Adjust the screws so that
the stove stands straight
and level.
Adjustment screws