A
alyssa53Sep 23, 2025
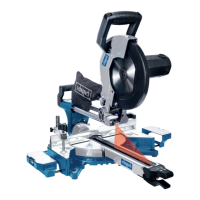
Why does the Scheppach HM80L Saw motor make excessive noise?
- PPatrick MacdonaldSep 23, 2025
If the motor of your Scheppach Saw makes excessive noise, it could be due to damaged coils or a defective motor. It is recommended to arrange for a specialist to inspect the motor.