GETTING STARTED
CAUTION! Dangerous voltages inside.
Follow all instructions carefully.
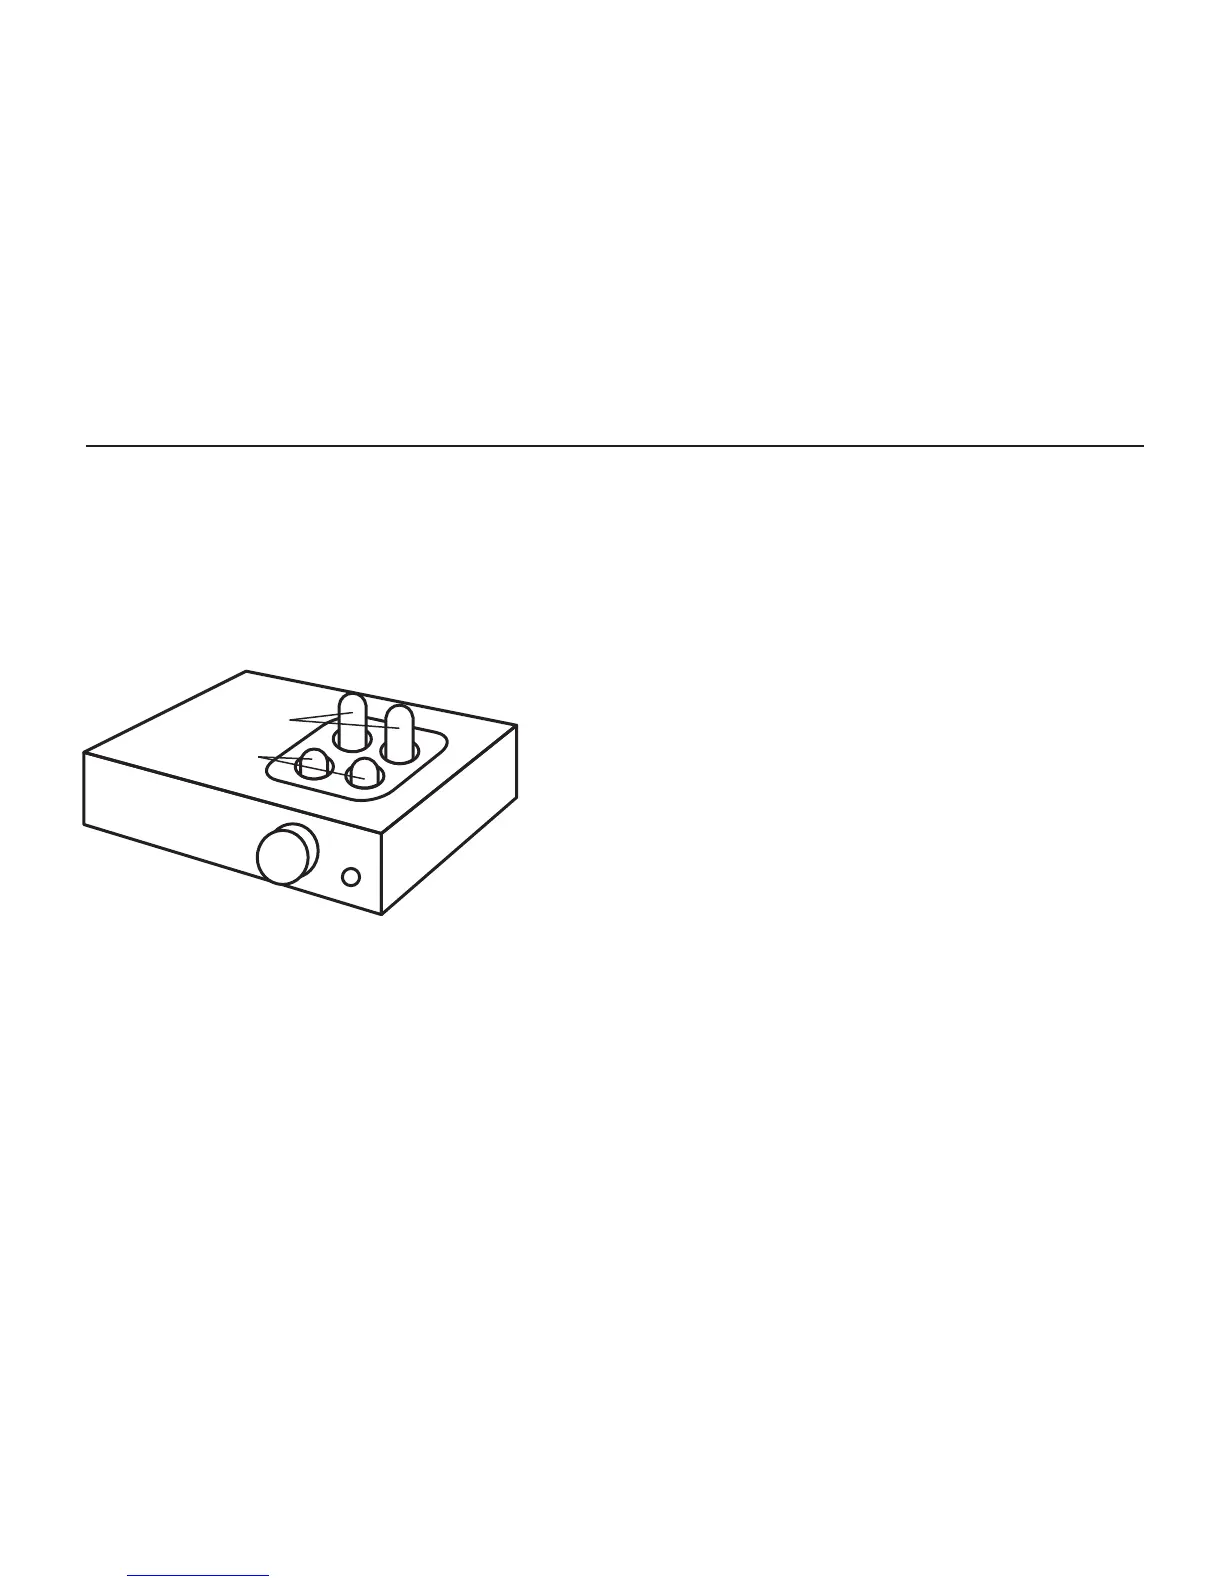
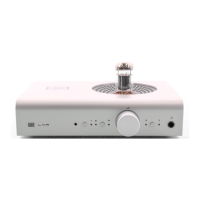
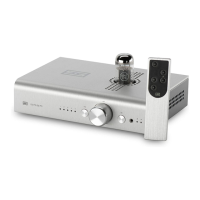
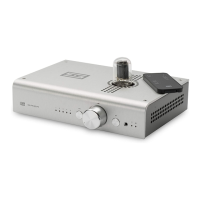
1. Before plugging in the amplier, insert the
tubes. Short tubes in the front, long tubes in the
back —closest to the RCA jack.
2. Ensure tubes are well-seated. Align carefully
and push down gently until seated.
3. Plug in your amplier and turn it on. The tubes
will glow after a few seconds.
4. Connect your source. And enjoy your music!
TUbE REPLACEMENT
When it’s time to replace the tubes, or when you
want to “roll” tubes for different sound, follow
this procedure cafefully:
1. Turn off and unplug the amplier. Wait a while
until the white LED on the front is completely off.
2. Carefully extract tubes by gently rocking them
back and forth and pulling upwards. Yes, the
short tubes are tough to get out. Have patience,
or ask a friend with smaller hands to help you.
3. Carefully insert the replacement tubes:
replace tubes with the same types (short = 6N1P,
tall = 6N6P.) Align the pins to the sockets and
press down gently until the tubes are seated. You
may also “roll” the 6N1Ps for 6DJ8, 6BZ7, 6922,
ECC88, or similar tubes.
4. Plug the amplier back in and turn it on.
After the tubes warm up, you should hear music.
6N1P
6N6P