EasyManua.ls Logo

Schlage P515-302 User Manual

Schlage P515-302
2 pages
To Next Page IconTo Next Page
Page #1 background imageLoading...
Page #1 background image
Installation Instructions
F-Series, F-Series UL
P515-302
Instrucciones de instalación Notice d'installation
2
Keyed Entrance (F51) Shown
Entrada con llave (F51) se muestra
Entrée avec clé (F51) illustré
2
5
7
6
OR
O
OU
Choose Faceplate to Match Door
Escoja la placa delantera para emparejar la puerta
Choisir la têtière pour égaler la porte
3
OR
O
OU
4
Slot
Ranura
Fente
or o ou
or o ou
1
2¹⁄₈ (54mm)
Through Hole
Agujero Pasante
Trou Traversant
⁷⁄₈ (22mm)
or o ou
1” (25mm)
2³⁄₈
(60mm)
or o ou
2³⁄₄
(70mm)
OR
O
OU
See www.schlage.com if dimensions are different
Consulte a www.schlage.com si las dimensiones son diferentes
Voir www.schlage.com si les dimensions sont différentes
3
3
Jamb
Jamba
Montant
1
2
3
4
5
1
2 3 4
5
Non-UL Functions (Typical)
Funciones Sin UL (Típica)
Fonctions Non-UL (Typique)
OR
O
OU
4
3
UL Functions (Not Typical)
UL Funciones (No Típica)
UL Fonctions (Pas Typique)
Bevel
Bisel
Biseau
Keyway Pointed Up
Camino de la llave se enfrenta arriba
Chemin de la clé est face vers le haut
optional
opcional
en option
Question and Answer IconNeed help?

Do you have a question about the Schlage P515-302 and is the answer not in the manual?

Schlage P515-302 Specifications

General IconGeneral
BrandSchlage
ModelP515-302
KeywaySchlage C
ANSI GradeGrade 2
Adjustable LatchYes
StrikeIncluded
MaterialMetal
Backset2-3/4"
HandingReversible

Summary

Door Preparation and Latch Installation

Measure Door Specifications

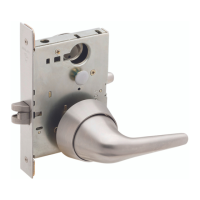
Verify backset and through hole dimensions for door preparation.

Select Faceplate

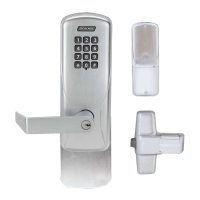
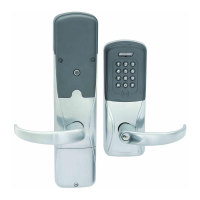
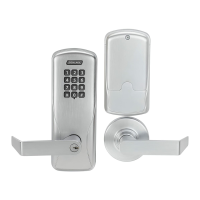
Choose the correct faceplate to match the door's edge preparation.

Install Latch Mechanism

Install the latch bolt, distinguishing between UL and non-UL functions.

Lock Assembly and Finalization

Install Exterior and Interior Assemblies

Mount the exterior and interior lock components, noting keyway orientation.

Connect Interior Mechanism

Connect the interior mechanism, ensuring the slot is properly aligned.

Complete Installation

Finalize the lock installation by securing the assembly.

Switching Levers for Lock Functions

Non-Keyed Functions Lever Orientation

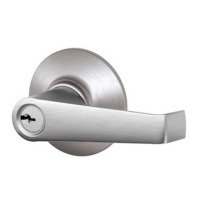
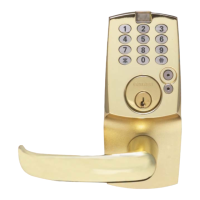
Illustrates how to invert levers for non-keyed lock functions.

Keyed Functions Lever Orientation

Shows how to invert levers for keyed lock functions.

Warranty Information and Support

Limited Mechanical and Finish Warranty

Details lifetime limited warranty for mechanical and finish defects.

Limited Electronics Warranty

Specifies a one-year limited warranty for electronic components.

Warranty Exclusions and Limitations

Outlines what is not covered by the warranty, including labor and specific damages.

Guaranteed Fit Program and Contact

Information on the guaranteed fit program and customer service contact details.

Related product manuals