Do you have a question about the Schlage CONNECT and is the answer not in the manual?
Lists necessary tools for installation, emphasizing manual use over power drills.
Provides phone numbers for customer support in the USA, Canada, and Mexico.
Instructions on adjusting bolt length, centering the slot, and extending the faceplate to 2 3/4 inches.
Guidance on installing the strike into the door frame for enhanced security, mentioning screw usage.
Steps for routing the cable and aligning the touchscreen tailpiece with the bolt slot.
Instructions on routing the cable and securing the inside backplate with screws, noting the 'TOP' orientation.
Illustrates the process of removing the battery cover to access the battery compartment.
Details on connecting the cable to the internal assembly, noting the one-way fit of the connector.
Instructions on aligning the tailpiece bump with the notch and tucking the wire for secure mounting.
Guidance on installing the screws, recommending the lower screw first.
Demonstrates inserting batteries and sliding the battery cover back into place.
Steps to set up the lock by opening the door, entering default codes, and waiting for bolt movement.
Steps to test bolt extension/retraction via thumbturn and user codes, checking door alignment.
Instructions for placing the system in enrollment mode and initiating the lock's enrollment via the button.
Methods to lock the door using the logo, user code, or thumbturn.
Methods to unlock the door using a user code or the inside thumbturn.
Step-by-step guide to adding new user codes, including code length requirements.
Instructions for deleting existing user codes from the lock.
Steps to reset the lock to factory defaults, including battery disconnect and logo press.
| Lock Type | Deadbolt |
|---|---|
| Keypad | Yes |
| Battery | 4 AA batteries |
| Keypad Type | Touchscreen |
| User Codes | Up to 30 |
| Bump Proof | Yes |
| Battery Life | Approximately 1 year |
| Auto-Lock | Yes |
| Connectivity | Z-Wave |
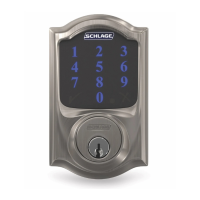
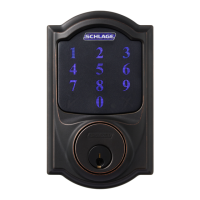
| Finish Options | Satin Nickel, Aged Bronze |
| Backup Power | 9V battery backup |
| Voice Control | Yes (via compatible smart home systems) |
| Mobile App | Yes, via Z-Wave or Zigbee integration with compatible smart home systems |
| Security | ANSI Grade 1 |