Do you have a question about the Schlage CO-100-CY-70-KP-RHO-626 and is the answer not in the manual?
| Brand | Schlage |
|---|---|
| Model | CO-100-CY-70-KP-RHO-626 |
| Category | Locks |
| Series | CO Series |
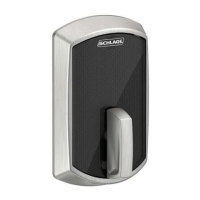
| Finish | Satin Chrome |
| Finish Code | 626 |
| Keypad | Yes |
| Keyway | Schlage C |
| Material | Metal |
| Wireless Communication | No |
| Function | Keypad |
| Access Method | Keypad |
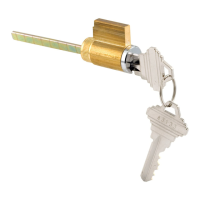
| Cylinder Type | Cylinder |
| Backset | 2-3/4 inches |
Verify door and jamb are aligned for proper operation.
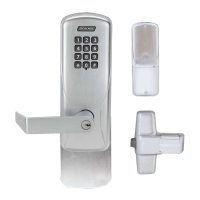
Install the retractor component from the exterior side.
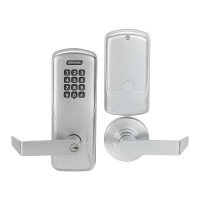
Align the cylinder and lever components as illustrated.
Specific wiring instructions for office or privacy functions.
Specific wiring instructions for classroom or storeroom functions.
Arrange and secure the cables and wires neatly within the housing.
Remove the USB plug if present before proceeding with rehanding.
Detach the reader and cover from the baseplate for rehanding.
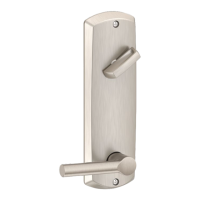
Adjust spring cage and align arrow with latch for correct rehanding.
Reassemble the cover and reader onto the baseplate after rehanding.