40
5. Adjusting the riving knife
• Raise the head.
• Loosen he screws (22) a few turns.
• Adjust the riving knife (23).
• Tighten lhe screws.
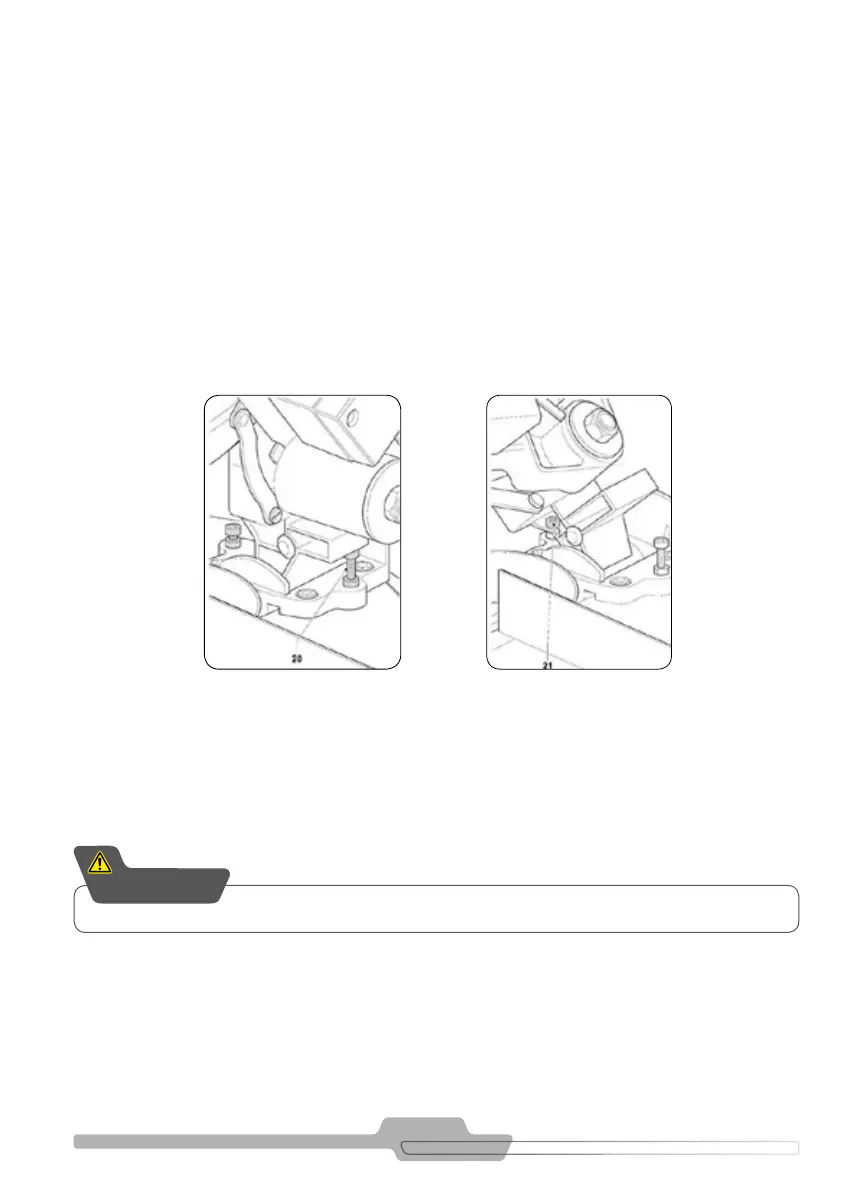
FIGURE 8.3 FIGURE 8.4
3. Adjusting the sawing angle 90º - Figure 7.1 and 8.3
The default angle between lhe saw blade and the saw table is 90º.
• Use a set square to check the angle between the saw blade and the table (12). If the angle does not measure
90º adjust as follows:
• Loosen the lock knob (6) and move the head so the saw blade reaches a 90º angle.
• Loosen the locknut on the adjusling screw and screw the adjusting screw in or out to achieve a 90º angle.
Retighten the locknut. Figure 8.3.
• Tighten the lock knob
4. Adjusting the bevel angle 45º - Figure 8.4
The max.bevel angle is 45º.
• Loosen the lock knob (6) and turn the head to the utter bevel angle.
• Check the bevel angle using the scale (7). lf the angle does not measure 45° adjust as follows:
• Loosen the locknut on the adjusting screw and screw the adjusting screw in or out to achieve a 45°angle.
Retighten the locknut. Figure 8.4.
Ensure that the riving knife is always correctly adjusted: The distance between the
riving knife and the teeth of the saw blade is less than 5 mm.
IMPORTANT