39
8. INSTALLATION
Always check that the power supply corresponds to the voltage on the rating plate.
IMPORTANT
1. Mounting the machine
• Remove the product of the package;
• Verify if the product does not present problems due to transportation and if it is in operating conditions. If
necessary, contact the nearest Schulz Authorized Dealer.
The machine must be screwed to a workbench.
• Mark lhe position of lhe mounting holes (11) on lhe workbench.
• Drill holes aieach of lhe marked positions, adjusilng lhe diameler and deplh of lhe holes to lhe screws used.
• Place the machine on lhe workbench and insert lhe screws inlo lhe mounling holes.
• Firmly lighlen lhe screws.
Note: The screws are not supplied with the product.
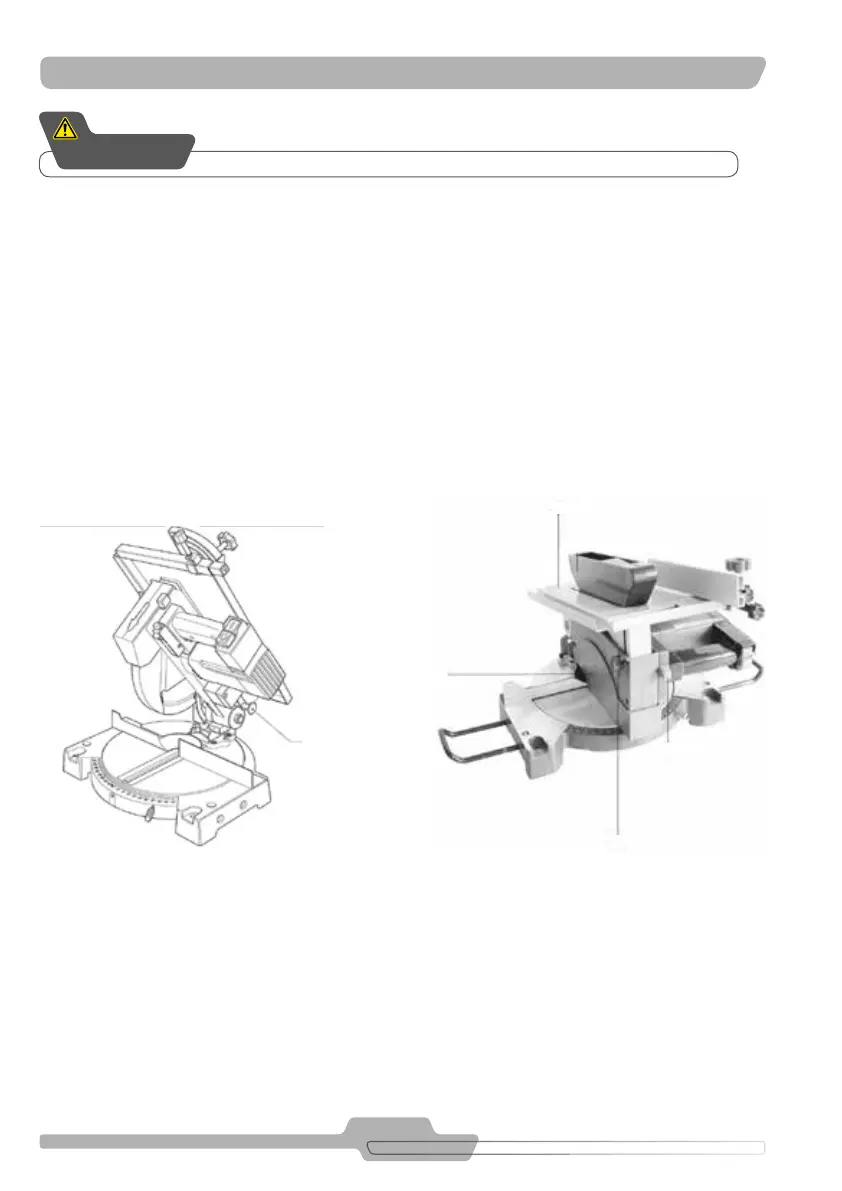
2. Procedure for changing the table saw mode to miter saw mode:
Circular table saw mode:
A. Place the lower guard (14)
B. Press the miter lock knob(1)
C. Move the table (16) downwards
D. Push the head lock down knob (8)
E. Loosen the screw (15)
F. Move the table downwards
G. Tighten the screw (15)
Cross-section miter mode:
A. Loosen the buttery type screw (15)
B. Move the table upwards (16)
C. Retighten the screw (15)
D. Press the table downwards
E. Pull the head lock down knob (8)
F. Slowly move the table upwards
G. Remove the lower guard (14)
FIGURE 8.2
8
FIGURE 8.1
15
1
16
14