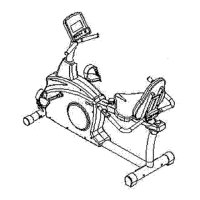
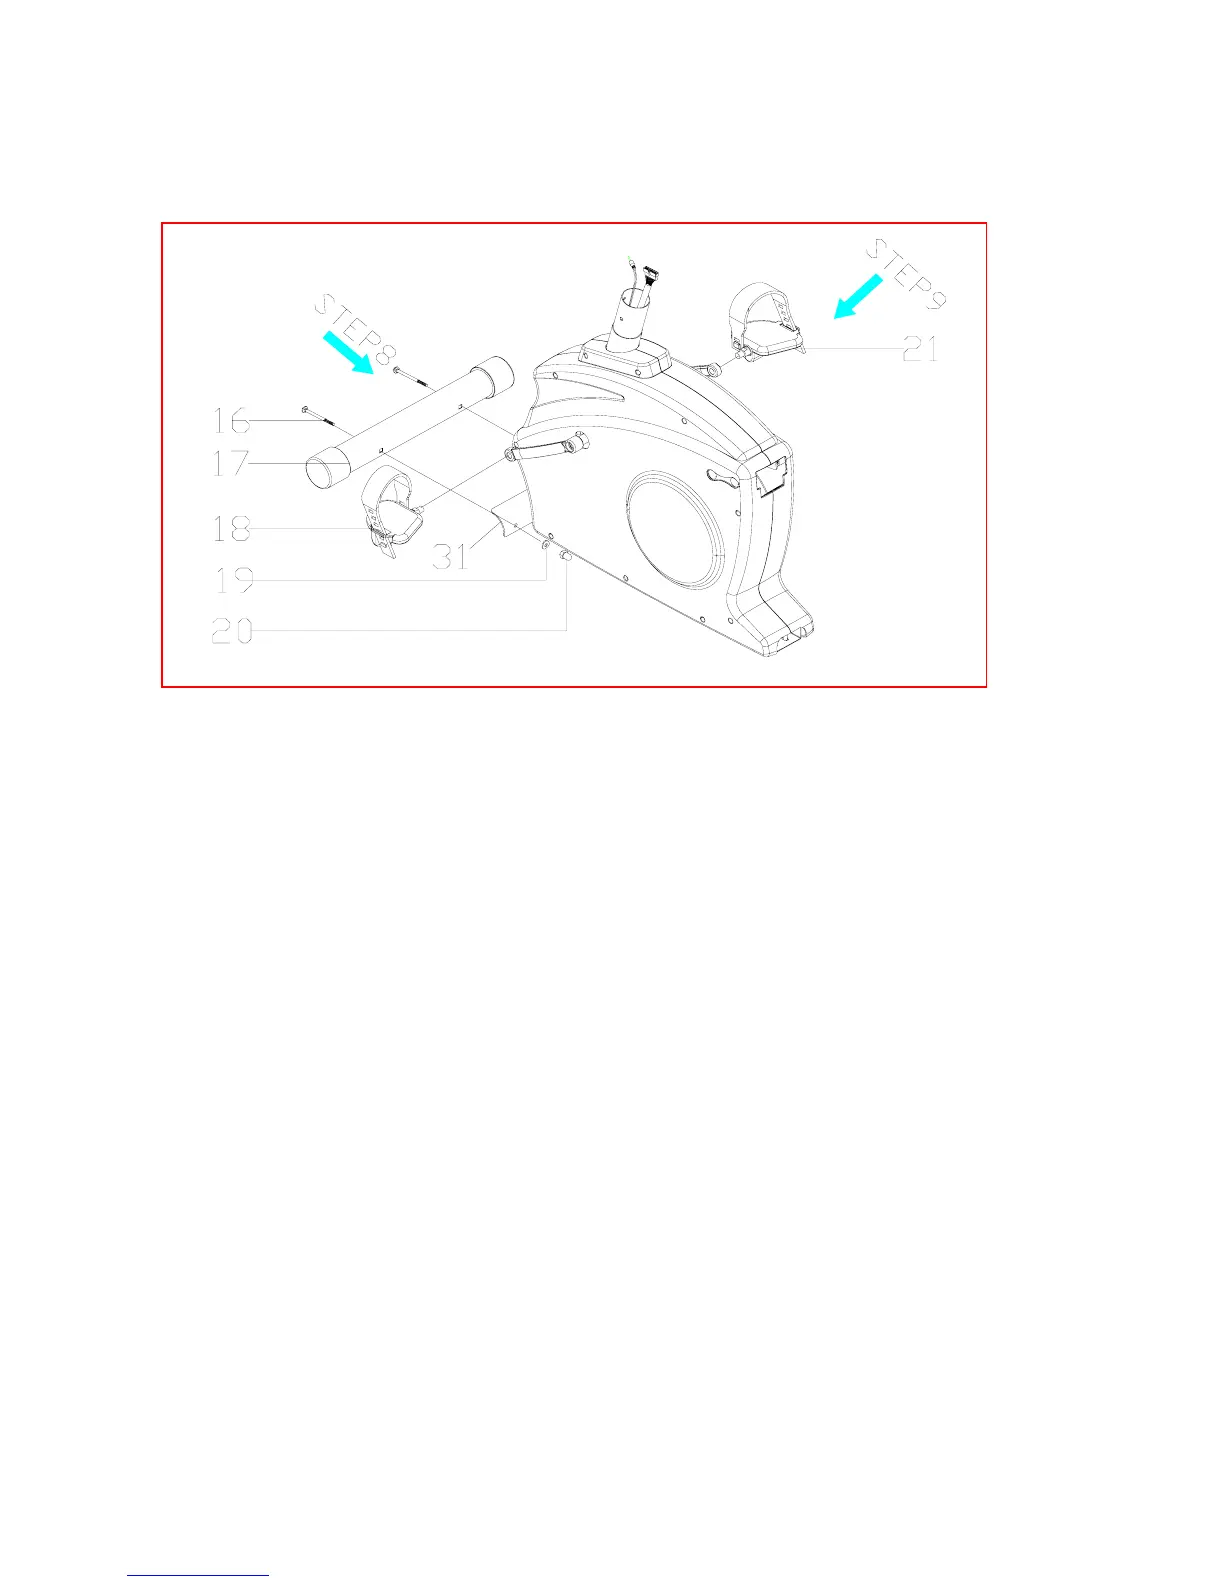
Attach Front Stabilizer Tube and Pedals to Main Unit
Assembly Hardware Required: ) M8 Bolt 75mm long (item #16)
(2) Curved Washers (item #19)
Acorn Nut (item #20)
Step 8: Attach FRONT STABILIZER TUBE (#17) to the MAIN UNIT (#31) with
the M8 BOLT 75mm (#16), CURVED WASHER (#19), and ACORN NUT (#20).
Tighten Bolts with provided wrench.
Step 9: Attach RIGHT PEDAL (#21) to the right crank arm on the MAIN UNIT
read
L. The threading on the left pedal
ing of the threads be
areful to use the proper pedal.
Assembly Stage #3
(2
(2)
(#31). Thread the pedal onto the crank arm and then tighten with pedal wrench.
Attach LEFT PEDAL (#21) to the left crank arm on the MAIN UNIT (#31). Th
the pedal onto the crank arm and then tighten with pedal wrench. Note: There is a
right pedal and a left pedal, marked by R and
is reversed from the right pedal. Counterclockwise rotation tightens while
Clockwise rotation loosens on the left pedal. To avoid stripp
c
Attach PEDAL STRAPS (#18) to each PEDAL (#21). Again, each strap is labeled
with an R or an L corresponding to the right and left pedal straps.
 Loading...