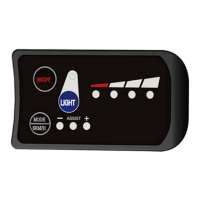
②
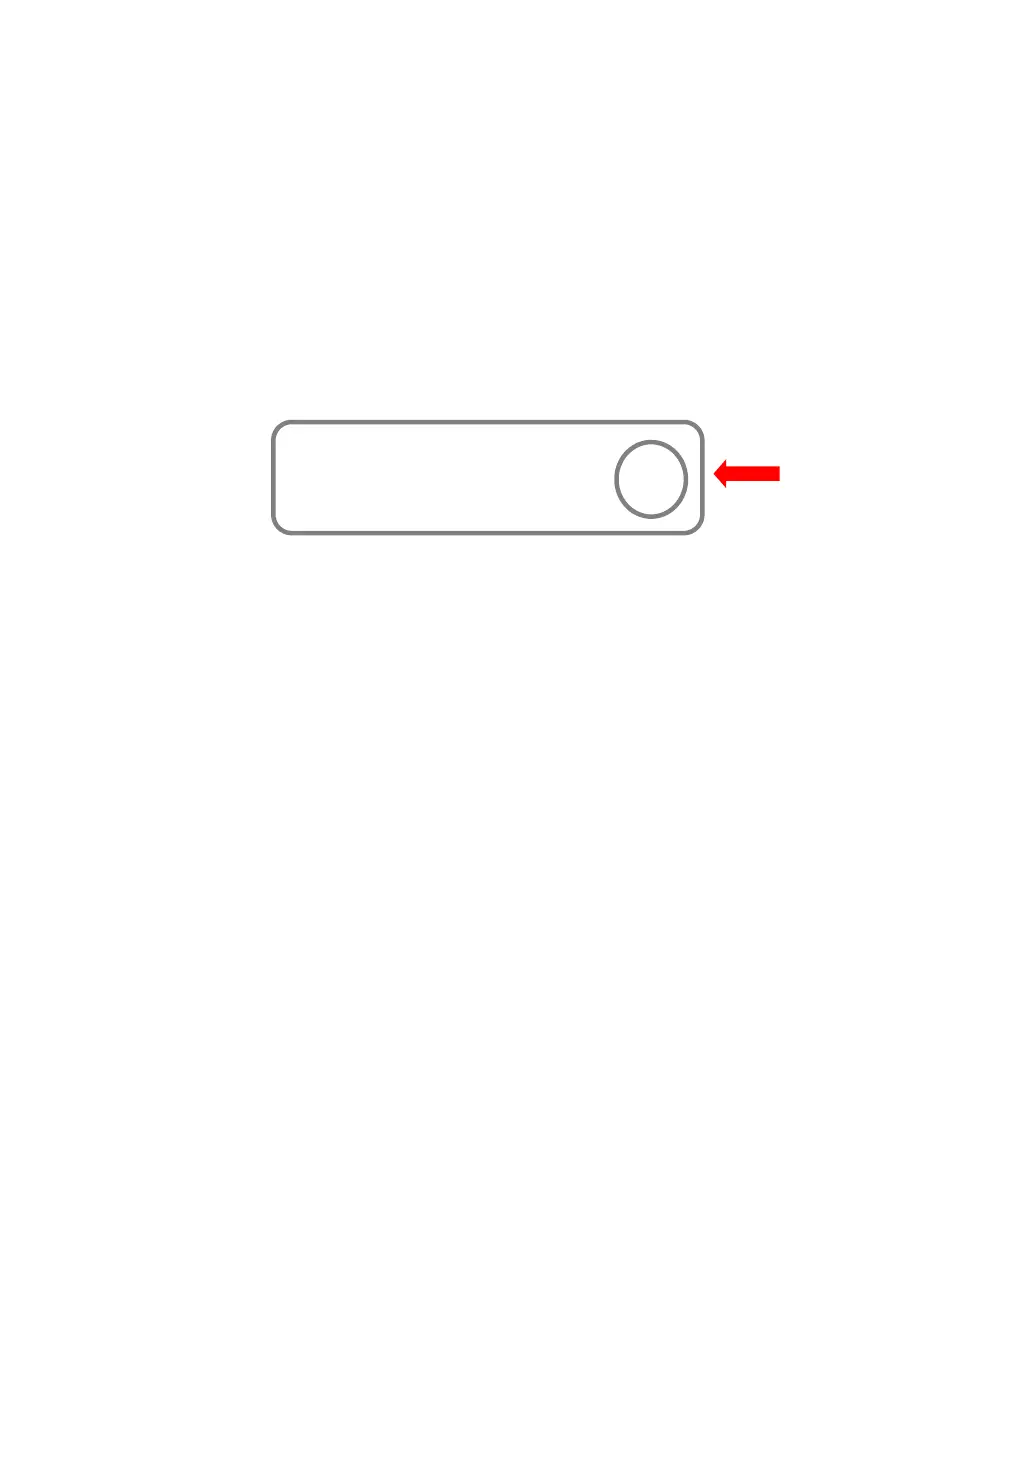
Open the holder ring/rubber spacer of the keypad and fix it on the
handlebar, adjust it to a proper facing angle. Use a M3 Hex Wrench to fix
and tighten the screws. Standard fixing torque: 1N·m.
*Damage due to excessive fixing torque is not covered by warranty.
③ Plug the 5-pin connector of the display to the coupling connector of the
Controller.
7. Serial Code
Example: 111 22 333333 555 6666
111:Customer Code
22:Protocol Code
333333:P.O. Date (YYMMDD)
555:Order Receiving Number
6666: Production Date (YYMM)
Ⅲ. Operation
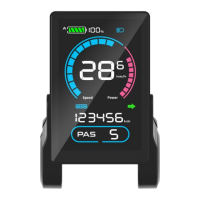
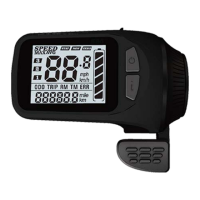
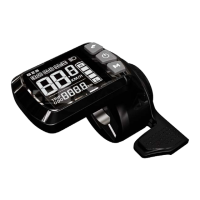
1. Display Interface
1.1 Riding Interface
Status: Real-time Riding Status: Bluetooth, Front Light, Brake, Low
Voltage, Turning, Cruise, Drive Status, etc.
Battery Status: Residual Battery Percentage
Multi-Function Section: ODO (total range), TRIP (single ride range),
MAX (max. speed), AVG (average speed), TIME (riding time), VOL
(battery voltage), Wh (motor power), CUR (current), etc.
Assist Level Mode: 3/5/9 Levels available.
Marked at the
back of display