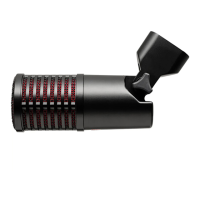
Controls (RNR1)
The RNR1 features a switchable low-cut filter, allowing for removal of low-
frequency rumble or footfall noise, or to reduce proximity effect.
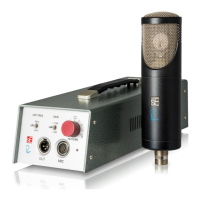
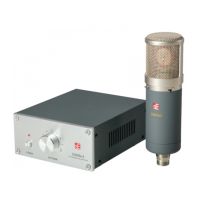
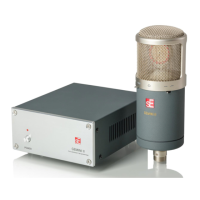
Powering (RNT)
The included floor box contains the outboard power supply for the RNT. No phantom power is
required from an interface or microphone preamplifier.
Before powering on, connect all required cables (IEC to power, XLR to preamplifier or interface,
and 8-pin cable from floor box to microphone). Then turn the power on via the switch on the back
of the RNT floor box.
For best performance, we recommend allowing approximately 15 minutes of “warm up” time
before recording. This allows the tube within the RNT to heat up and stabilize, and reduces the
risk of unwanted noise or distortion on your recordings.
Risk of damage
Do not connect the microphone to any power supply other than the
included RNT power supply. Do not apply phantom voltage (+48VDC) from
an external interface or preamplifier. This is the only way to ensure safe
and reliable operation.
Powering (RNR1, RN17)
To ensure proper operation, the microphone requires a phantom power source providing 48 Volts
according to IEC 61938.
Risk of damage
Do not connect the microphone to any power supply other than a phantom
power source (input with phantom power or external IEC standard phantom
power supply) with a floating connector, using a balanced cable with studio
grade connectors to IEC 268-12 only. This is the only way to ensure safe
and reliable operation.
Safety and maintenance
Risk of damage
Please make sure that the piece of equipment to which your microphone
and PSU will be connected fulfils the safety regulations enforced in your
country and is fitted with a ground lead.
Cleaning the microphone
After every use, clean the microphone with a dry, soft cloth tissue and store it in a solid case or a
zipper pouch.