This document outlines the field service procedure for the replacement of the EL Motor Kit, W-Encoder, Hi-Torque, on Sea Tel Coastal 20, 24, and 30 series antennas. The primary function of this procedure is to guide technicians through diagnosing faults and replacing the elevation motor, which includes an integrated encoder.
Function Description:
The EL Motor Kit, W-Encoder, Hi-Torque, is a critical component of the Sea Tel Coastal series antennas, specifically designed for the elevation axis. It utilizes a hi-torque stepper motor with an integrated encoder to provide precise feedback on the elevation look angle to the Pedestal Control Unit (PCU). During the initialization process, the system drives the reflector down to its end stop, calibrating the encoder position. Subsequently, the encoder counts elevation increments and decrements to maintain accurate positioning. After initialization, the system targets the desired satellite's elevation look angle based on the vessel's GPS location. The elevation drive then counteracts vessel movement and maintains stabilization using feedback from rate and tilt sensors on the PCU motherboard. For optimal signal reception, the elevation drive also adjusts based on dishscan feedback when tracking is enabled.
Important Technical Specifications:
While specific numerical specifications like torque, speed, or encoder resolution are not explicitly detailed in this document, several functional and operational characteristics are highlighted:
- Motor Type: Hi-Torque Elevation Stepper Motor. This implies a motor designed for significant rotational force, suitable for moving the antenna's reflector.
- Integrated Encoder: The motor includes an encoder for precise feedback of the elevation look angle. This is crucial for accurate antenna positioning and tracking.
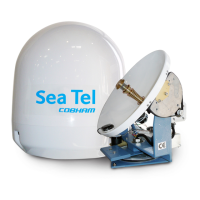
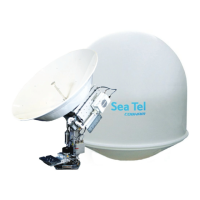
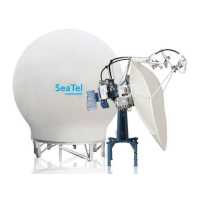
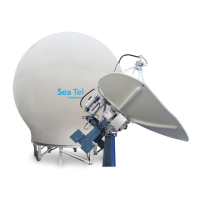
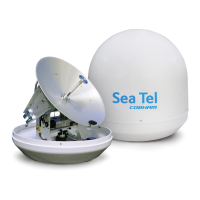
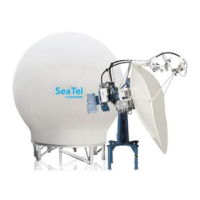
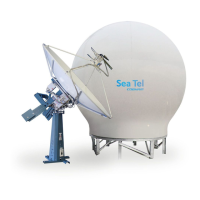
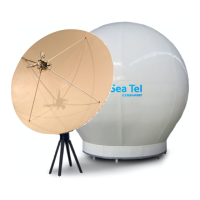
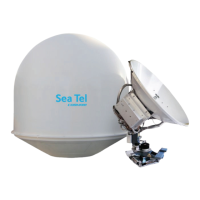
- Antenna Compatibility: Designed for Sea Tel Coastal 20, 24, and 30 series antennas.
- PCU Integration: The motor and encoder provide feedback directly to the PCU, which manages the antenna's overall operation.
- Calibration: The system relies on an end-stop calibration process during initialization to establish the encoder's reference point.
- Control System: The motor's current is controlled by a Pulse Width Modulation (PWM) circuit, which is repeatedly sampled and statistically analyzed during built-in tests.
- Kit Part Number: The replacement kit is identified as Sea Tel kit part number: 125228-1, with the motor part number: 125519.
Usage Features:
The document outlines several usage features related to the motor's operation and system interaction:
- Initialization: The system undergoes an "initializing" phase where the elevation motor drives the reflector to its end stop for encoder calibration, then to 45 degrees. Smooth and accurate movement during this phase is indicative of proper motor and encoder function.
- Stabilization: The elevation drive actively counteracts vessel movement and maintains stabilization using sensor feedback.
- Tracking: The elevation drive optimizes signal level based on dishscan feedback during tracking.
- Troubleshooting via BIT: The Coastal PCU software (version 2.06 and above) includes a Built-In Test (BIT) function to isolate component problems. This test sequence, initiated by powering off the antenna and holding the "Next" button while powering on, checks various motor drives (Azimuth, Elevation, POL), sensor biases, and digital/analogue convertors.
- Error Codes: The BIT provides specific error codes (e.g., 4.01-4.17 for Elevation Motor Drive Test failures) to help pinpoint the source of a problem.
- Manual Diagnostics: Technicians can manually verify motor drive smoothness, check for dead spots by rotating the axis, and observe the "unwrap" light on the control panel for indications of motor issues.
- Encoder Feedback Verification: The document describes methods to verify encoder accuracy by comparing the control panel's elevation reading with the physical position of the reflector, and by observing smooth increment/decrement of the elevation position. Disconnecting the encoder harness can also help diagnose encoder defects.
Maintenance Features:
The document provides detailed steps for the replacement of the elevation motor, emphasizing careful handling and proper reassembly:
- Required Tools: Snips/Cutters, #1 Phillips Screwdriver, 1/16" Allen Wrench/Key, Cable Ties/Tie Wraps, Loctite 222, 242, and 638.
- Safety Precautions: Crucially, the procedure emphasizes powering down the pedestal before any work and exercising extreme caution when rotating the pedestal to avoid pinching fingers.
- Disassembly Steps:
- Remove the ground connector from the motor body.
- Disconnect the IDC connector from the encoder.
- Snip cable ties securing the motor and encoder harness.
- Remove screws securing the elevation motor connector to the PCU.
- Remove the four screws securing the motor to its bracket, rotating the elevation pan to align with access holes.
- Reassembly Steps:
- Install the pulley onto the replacement motor, ensuring the set screw is against the flat edge of the motor shaft. Apply Loctite 638 to the shaft and Loctite 222 to the set screw.
- Install the new motor assembly with the harness exiting away from the antenna. Apply Loctite 242 to the four mounting screws, but do not fully tighten initially.
- Tension the belt by pressing the motor away from the main drive sprocket and tightening two screws. Verify belt tension and then tighten the remaining screws.
- Verify alignment between sprockets and that the belt runs straight and the system moves freely in elevation.
- Reinstall the encoder harness and ground connection.
- Reconnect the elevation motor harness to the PCU, ensuring split washers are installed (no Loctite needed here).
- Secure the elevation motor and encoder harnesses with new cable ties.
- Post-Maintenance Verification: After replacement, re-run the BIT tests to confirm proper function of the new motor and encoder.