SD-MA-031
7
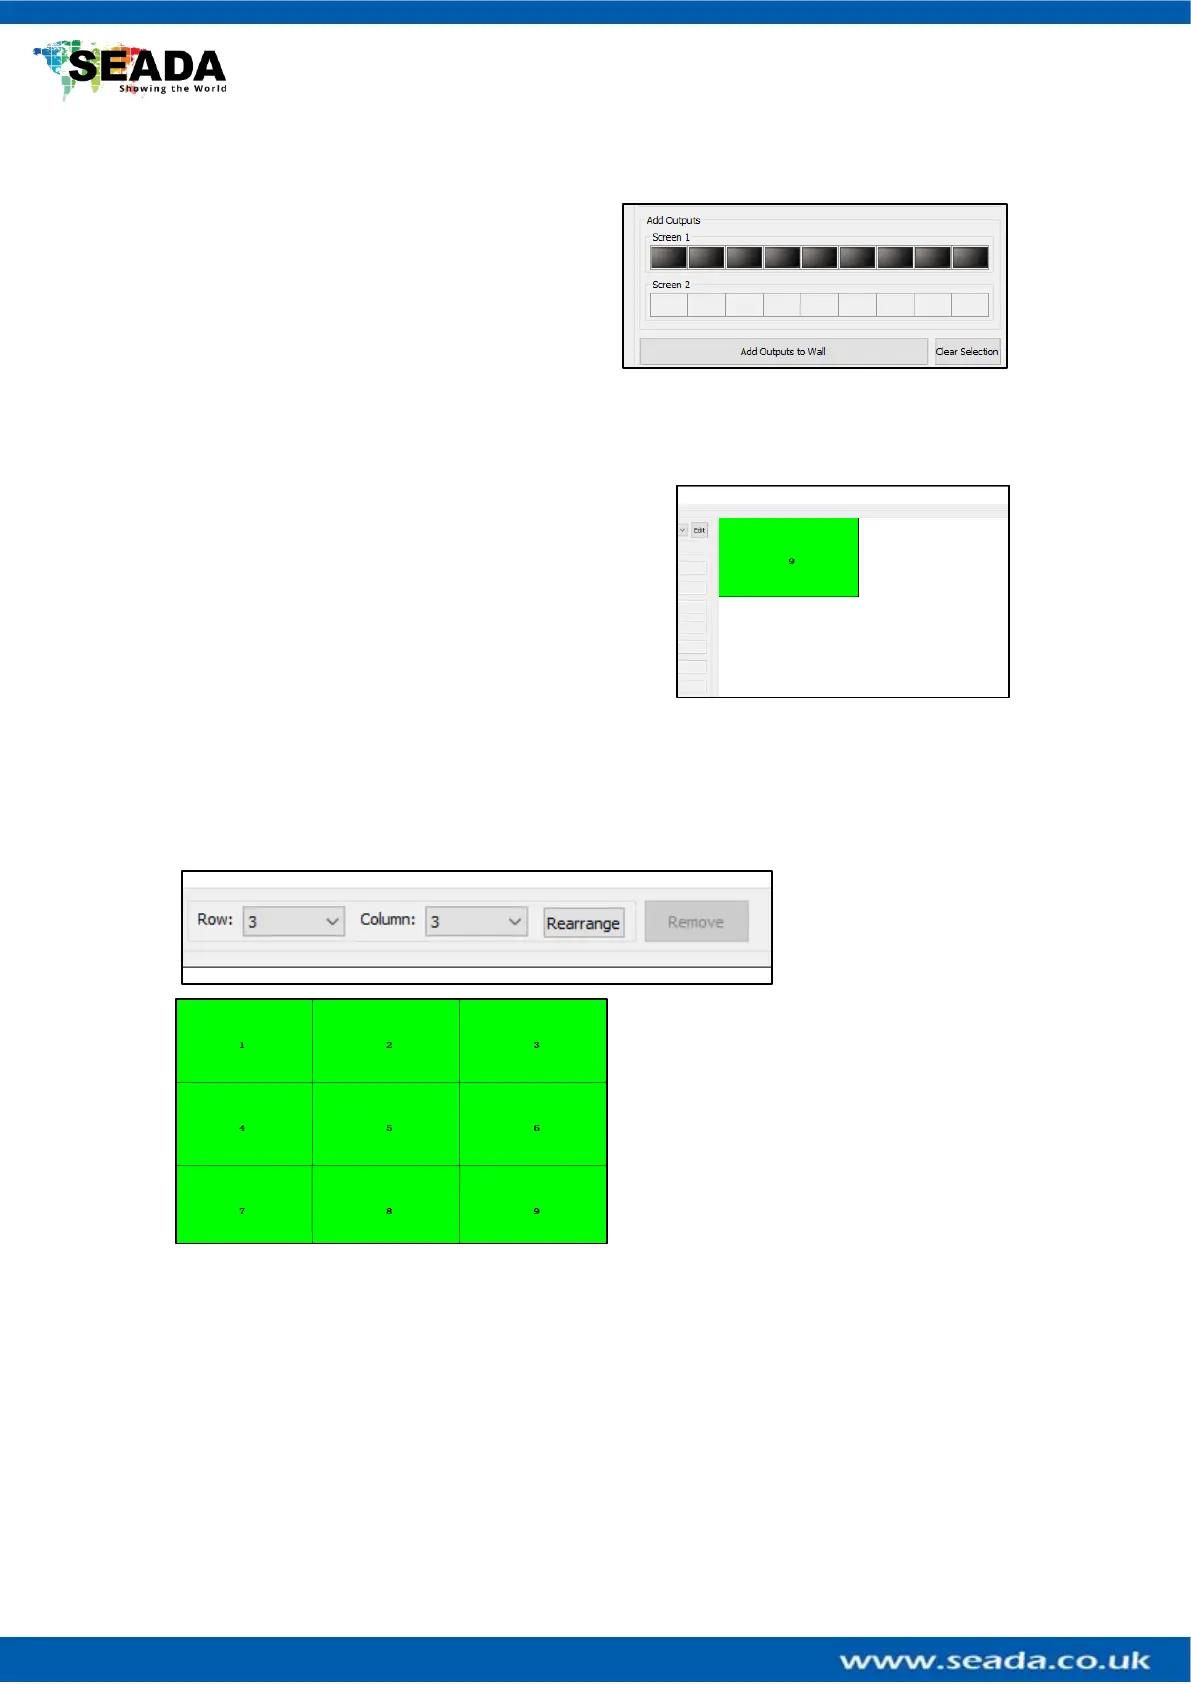
4.2.2 Add Outputs
Users can add more screens to your video wall
in Add Outputs section.
Double click on a screen to add or remove it.
After users finish adding/removing screens,
just select Add Outputs to Wall and screens
will appear on the video wall section. Clear
Selection will clear all of the added screens from the Add Outputs section.
4.2.3. Video Wall Area
After adding screens onto the Video Wall Area, they
will all stack onto one.
To arrange them as a video wall, users can select the
number of rows and columns from the dropdown menu. After users finished, just click
Rearrange and the screens should be arranged in the selected formation in the video wall
area.
Or users can manually move the screens to form the video wall layouts using mouse or arrow
keys
If later users would like to remove a
screen, just select the screen and click on
Remove
To rotate the screens users can either
• Select the screen and an angle from the drop down menu and click + for clockwise and –
for anticlockwise rotation
• Select the screen and just press “<” and “>” to rotate in increments of 1 degree