Website: www.seada.co.uk 3/23 E-mail: sales@seada.co.uk
Illuminates red when powered on.
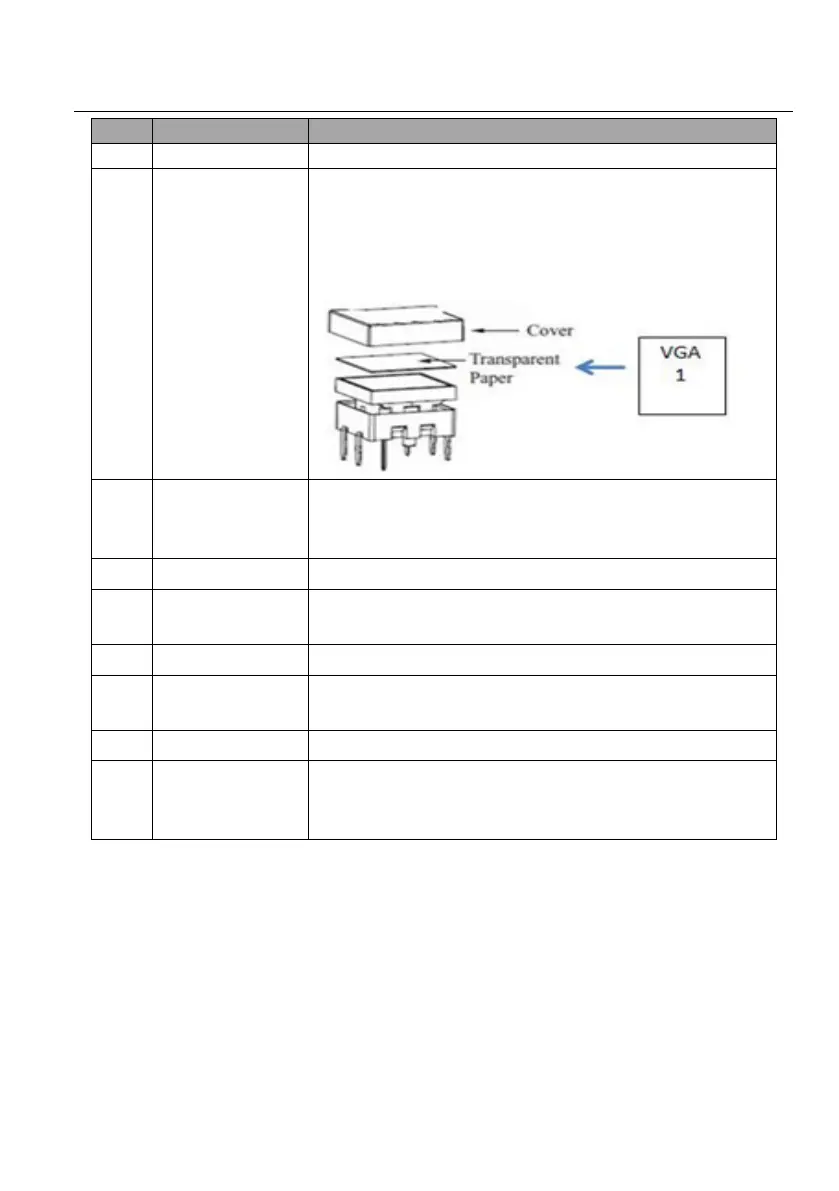
(6) crystal and luminescent programmable buttons:
Each button can be programmed with the Control Panel Software.
Each label within a button can be easily changed. Simply select the label
you need and change it as shown below:
RJ45 connector. Connects with PC to run the Control Panel Software to
customize button control. After setting button functions, the port can be
connected to the third-party device to control it by buttons.
Receives and learns the IR code to build the IR database.
Total 3 RS232 ports. Connect the third-party devices, which are needed
to be controlled via the Control Panel Software.
Connects with 12V DC power adaptor.
2 IR output ports. Connect with IR Emitter to control other devices via
the Control Panel Software.
Micro USB port for updating firmware.
Long-press this button 3 seconds until the power LED goes out to start
to the restore factory defaults, and then the LED will light up while the
resetting is successful.