EXTRA 300S Instruction Manual
16
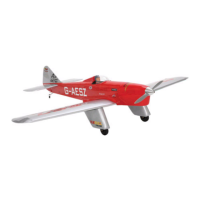
! 3) Using a 1.5mm drill bit and the control
horns as a guide, drill the mounting holes
through the elevator halves.
Control Horn
Mounting Screws
Mounting Plate
! 4) Mount the control horns by inserting the
screws through the control horn bases and
eleva- tor halves, then into the mounting
backplates. Do Not overtighten the screws or
the backplates may crush the wood.
! 5) Position the rudder control horn on the
left side of the airplane. Mount the control horn
parallel with the horizontal stabilizer, not in-
line with the rudder hinge line.
! 6) Install the rudder control horn using the
same method as with the elevator control
horns.
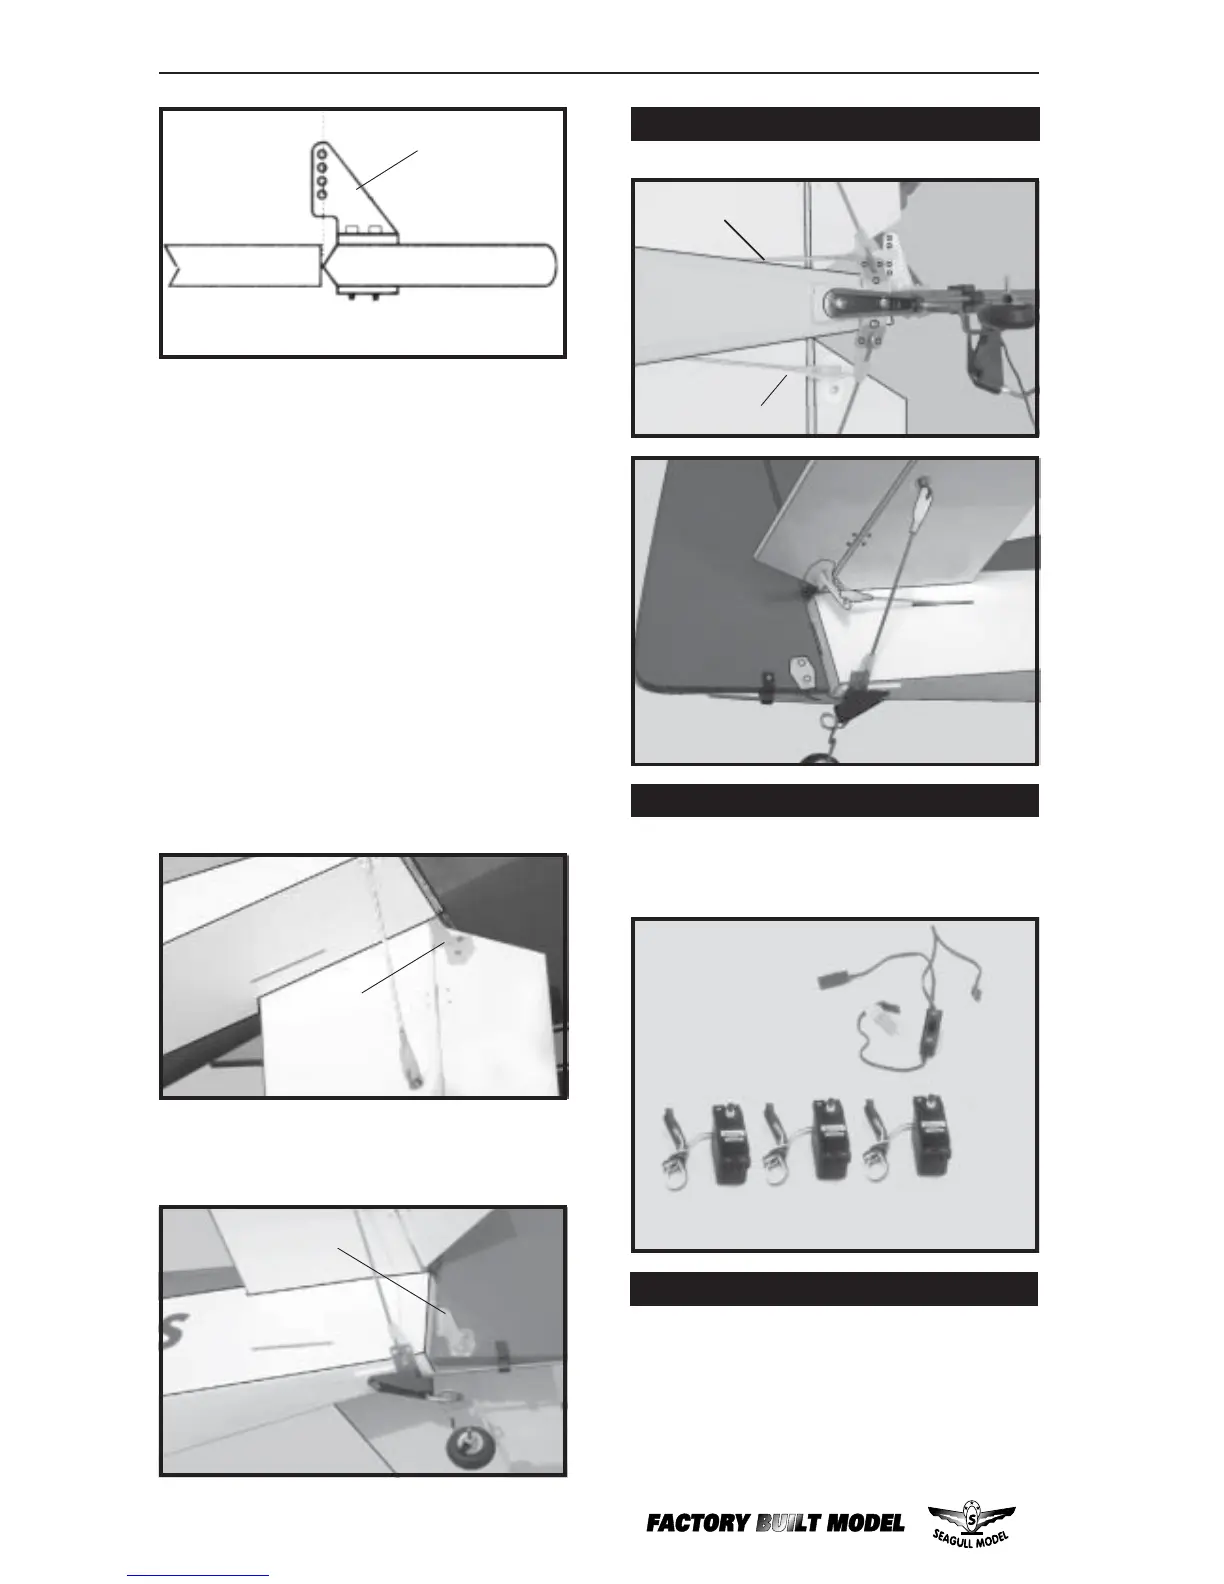
ELEVATOR - RUDDER PUSHROD INSTALLATION.
Elevator
Rudder
INSTALLING THE FUSELAGE SERVOS
PARTS REQUIRED
{3} Standard size servos
{1} Receiver switch harness
INSTALLING THE SWITCH
!!
!!
! 1) Install the switch into the precut hole
in the servo tray, in the fuselage, from the bot-
tom. Use the two screws provided with the
switch to secure it in place. Drill two 3/32”
holes through the tray for the screws to pass
through.
Elevator pushrod
Rudder pushrod