Do you have a question about the Seagull Models EXTRA EA 300L and is the answer not in the manual?
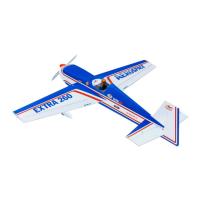
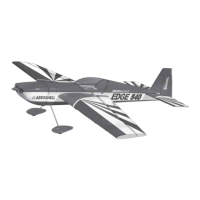
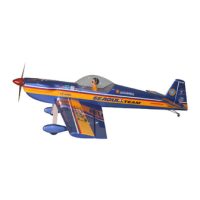
Welcome and overview of the EXTRA EA300L model.
Crucial safety advisory regarding the model's nature and user responsibility.
Visual inventory of parts included in the model kit.
List of necessary components not included in the kit for assembly.
Essential tools and materials for building and maintaining the model.
Step-by-step guide for hinging the ailerons.
Applying the same hinging technique to the elevator.
Applying the same hinging technique to the rudder.
Step-by-step guide for putting together the LED lighting system.
Attaching control horns to the aileron surfaces using hardware.
Method for installing control horns on the elevator.
Procedure for attaching control horns to the rudder.
Mounting the engine rails to the firewall.
Prepare and install the fuel tank stopper assembly.
Install the fuel tank into the fuselage.
Mounting the primary landing gear assembly.
Steps for attaching wheels and wheel pants.
Mounting servos for control surfaces in the fuselage.
Attaching servo arms and connectors for control actuation.
Installing the switch for the engine's ignition system.
Positioning and securing the engine to the mount.
Routing and connecting the throttle control linkage.
Trimming and fitting the engine cowl for proper clearance.
Steps for converting the model to electric power.
Assembling and installing the propeller and spinner assembly.
Preparing and mounting servos for aileron and flap control.
Connecting the wing assembly to the fuselage.
Mounting the horizontal stabilizer to the fuselage.
Mounting the vertical stabilizer to the fuselage.
Attaching control horns and clevises to the elevator pushrods.
Attaching control horns and clevises to the rudder pushrods.
Attaching the tail wheel to the fuselage.
Fitting and securing the pilot figure and canopy.
Placing decorative and identifying stickers onto the aircraft.
Wiring the radio system components together.
Adjusting weight distribution for correct flight balance.
Adjusting the range of motion for control surfaces.
Final checks before flight for safety and proper operation.
| Brand | Seagull Models |
|---|---|
| Model | EXTRA EA 300L |
| Category | Toy |
| Language | English |