Do you have a question about the Seagull Models Super chipmunk Size 55 and is the answer not in the manual?
Details key dimensions, weight, engine requirements, and skill level.
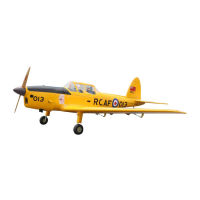
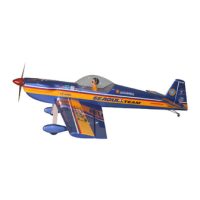
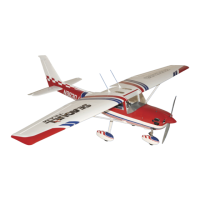
Welcome message and overview of the model's design and ease of assembly.
Important safety notice regarding the model not being a toy and assuming all risks.
Lists all parts included in the kit for assembly.
Lists components and materials needed that are not included in the kit.
Lists necessary tools and consumables for assembly and maintenance.
Detailed instructions for properly hinging the ailerons to the wing.
Instructions for attaching the elevator to the wing using hinges.
Instructions for installing control horns for flap, elevator, and rudder surfaces.
Steps for hinging the rudder using the same techniques as the ailerons.
Steps for installing the elevator pushrod horn.
Steps for installing the rudder pushrod horn.
Steps for installing the engine mount rails to the firewall.
Installing the fuel tank stopper assembly with pick-up and vent tubes.
Securing the fuel tank inside the fuselage.
Installing servos into the fuselage for control functions.
Positioning and securing the engine to the firewall.
Routing and connecting the throttle pushrod from servo to carburetor.
Fitting and securing the fiberglass engine cowling.
Mounting the horizontal stabilizer to the fuselage.
Mounting the vertical stabilizer (fin) to the fuselage.
Mounting the tail wheel assembly to the fuselage.
Installing the scale pilot figure and the aircraft canopy.
Steps for converting the model to electric power.
Installing the spinner backplate, propeller, and spinner cone.
Installing servos into the wing for ailerons and flaps.
Attaching pushrod horns to the aileron control surfaces.
Locating and preparing parts for landing gear installation.
Attaching the fiberglass wheel pants to the landing gear.
Installing wheels into the fiberglass wheel pants.
Installing and connecting the battery pack and receiver.
Connecting the wing assembly to the main fuselage.
Applying decorative decals to the model.
Critical procedure for setting the correct Center of Gravity (CG).
Configuring the range of movement for control surfaces.
Final inspection and checks before the first flight.
| Brand | Seagull Models |
|---|---|
| Model | Super chipmunk Size 55 |
| Category | Toy |
| Language | English |