Do you have a question about the Seagull Models EDGE 540 and is the answer not in the manual?
Ensure transmitter and receiver batteries are fully charged before the first flight.
Verify that all bolts are tight and all glue joints are secure and well-bonded.
Confirm the aircraft's center of gravity is correct, checking with an empty fuel tank.
Ensure all control surfaces move in the correct direction and do not bind.
For initial flights, ensure dual rate switches are set to the low rate setting.
Verify control surfaces move the proper amount for both low and high rate settings.
Ensure the receiver antenna is fully extended and not coiled inside the fuselage.
Ensure the propeller is balanced to prevent excessive vibration and potential failure.
Lists recommended control throws for both low rate (sport) and high rate (aerobatic) flying.
Center control surfaces and servo arms by adjusting clevises or servo connectors.
Use a ruler to measure control surface throws at their widest point.
Modify control horn position to increase or decrease control surface throw amounts.
Emphasizes that correct balance is critical to prevent loss of control and crashes.
Provides instructions on how to adjust weight distribution to correct balance issues.
Verify the operation and direction of elevator, rudder, ailerons, and throttle.
Connect and power on the radio system according to manufacturer instructions.
Test the elevator by moving the stick back to ensure it moves upward correctly.
| Brand | Seagull Models |
|---|---|
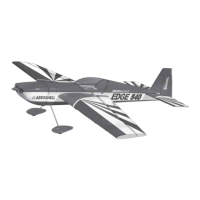
| Model | EDGE 540 |
| Category | Toy |
| Language | English |