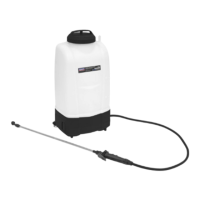
5.3. CONNECTING THE WATER PIPE
WARNING! Ensure the supplied joint washers are tted, check prior to assembly.
NOTE: Securely attach the water pipe to ensure that there are no leaks.
5.3.1. Insert the end of the water pipe centrally into the opening of the control handle (g 4).
5.3.2. Firmly push the hose as far as it will go (g 4).
5.3.3. Slide the xing nut down the hose and onto the threaded end of the control handle.
5.3.4. Fully tighten by turning the xing nut clockwise (g 5).
5.4. DISCONNECTING THE WATER PIPE
5.4.1. To disconnect the water pipe follow section 5.3 but in reverse.
5.5. CONNECTING THE SPRAY PIPE
WARNING! Ensure the supplied joint washers are tted, check prior to assembly.
NOTE: Securely attach the spray pipe to ensure that there are no leaks.
5.5.1. Locate the end of the spray pipe centrally onto the remaining threaded end of the control handle (g 6).
5.5.2. Fully tighten by turning the end nut clockwise (g 7).
5.6. DISCONNECTING THE SPRAY PIPE
5.6.1. To disconnect the spray pipe follow section 5.5 but in reverse.
5.7. CONNECTING THE NOZZLE
5.7.1. Select nozzle type to suit application.
5.7.2. Locate the end of the nozzle centrally onto the threaded end of the spray pipe (g 8).
5.7.3. Fully tighten by turning the end nut clockwise (g 8).
5.8. DISCONNECTING THE NOZZLE
5.8.1. To disconnect the nozzle follow section 5.7 but in reverse.
5.9. REMOVAL OF BACK PAD
5.9.1. Unscrew the four xing bolts with a T30 star head screw bit and place in a secure location (g 9).
5.9.2. Remove the back pad and place in a dry, secure location.
5.10. ATTACHING THE BACK PAD
5.10.1. To attach the back pad follow section 5.9 but in reverse.
5.10.2. Fully tighten the xing bolts.
g.4 g.5
g.6
g.7
g.8
g.9
g.10
g.11
Fig.12
Original Language Version
© Jack Sealey Limited
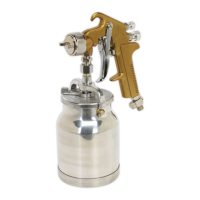
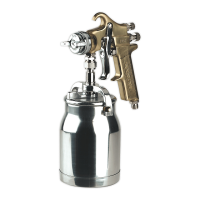
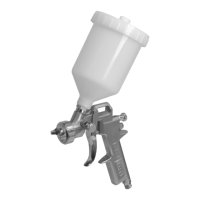
g.1
g.2
g.3
CP20VGBS Issue 2 (2,3) 18/02/22