Do you have a question about the Seca 374 Series and is the answer not in the manual?
Provides an overview of the service instructions and their intended use for specialist staff.
Explains how to identify the device using information found on its type plate.
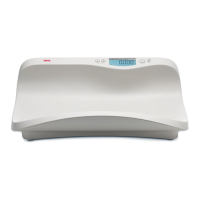
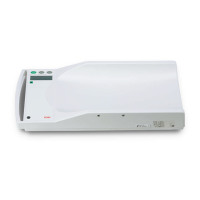
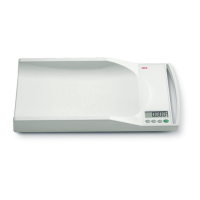
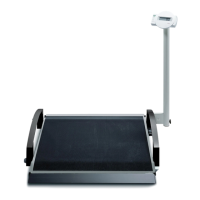
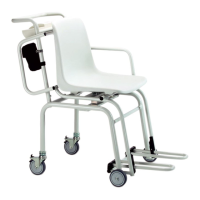
Details the main parts of the scale and their operational functions.
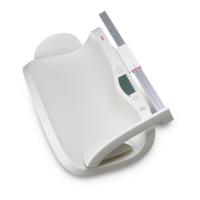
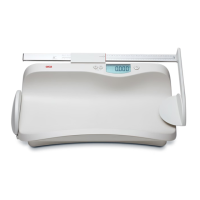
Describes the design and working principle of the head slider mechanism.
Covers the process and requirements for adjusting the scale's measuring accuracy.
Explains the purpose and requirements for scale adjustment, including software control.
Details the function of the calibration counter and how it tracks adjustments.
Describes how to enter adjustment mode and view calibration data.
Specific steps for entering adjustment mode for certain models.
Instructions on how to place test weights during the adjustment process.
A practical example demonstrating the adjustment procedure for a specific scale type.
A practical example for adjusting a baby scale with 10g graduations.
Provides a step-by-step overview of adjusting scales with 100g graduations.
Provides a step-by-step overview of adjusting baby scales with 10g graduations.
Details the procedure for readjusting the head slider electronics.
Explains how to view the gravity factor setting on the scale.
Guides users on how to set the gravity factor for non-approved models.
Illustrates setting the gravity factor with a practical example.
Summarizes the sequence of steps for setting the gravity factor.
Lists common error symptoms for scales, their causes, and remedies.
Lists common error symptoms for the head slider, their causes, and remedies.
Details error symptoms related to radio communication and their solutions.
Explains specific error codes (Er:x:nr) displayed by the scale and their meanings.
Explains specific error codes (Er:x:nr) displayed by the head slider.
Explains specific error codes related to radio module errors.
Describes how to measure supply voltage to diagnose power-related issues.
Explains methods to identify defects in the load cell.
Provides instructions for measuring load cell resistance with a multimeter.
Guides on installing and starting the 'seca wireless updater' software.
Details the process for updating the software on radio modules.
Explains the steps involved in the wireless group set-up process.
Provides information on the actual updating of radio module software.
Outlines the technical conditions necessary for successful software updating.
Instructions for updating the software on wireless printers.
Information regarding the update capabilities for older printer models.
Discusses common problems encountered during software updates and their solutions.
General safety precautions to be taken before performing any work on the scale.
Specific safety instructions for preventing electrostatic discharge during repairs.
Step-by-step guide on how to open the scale for access to internal components.
Details on opening the scale specifically for removing load cells or mains connection.
Instructions for replacing the adjustable feet of the scale.
Procedures for removing and installing load cells.
Steps for removing and replacing the main electronic module.
Instructions on how to replace the mains power connection.
Guidance on removing and installing the radio module.
Steps for replacing the front viewing glass and keypads.