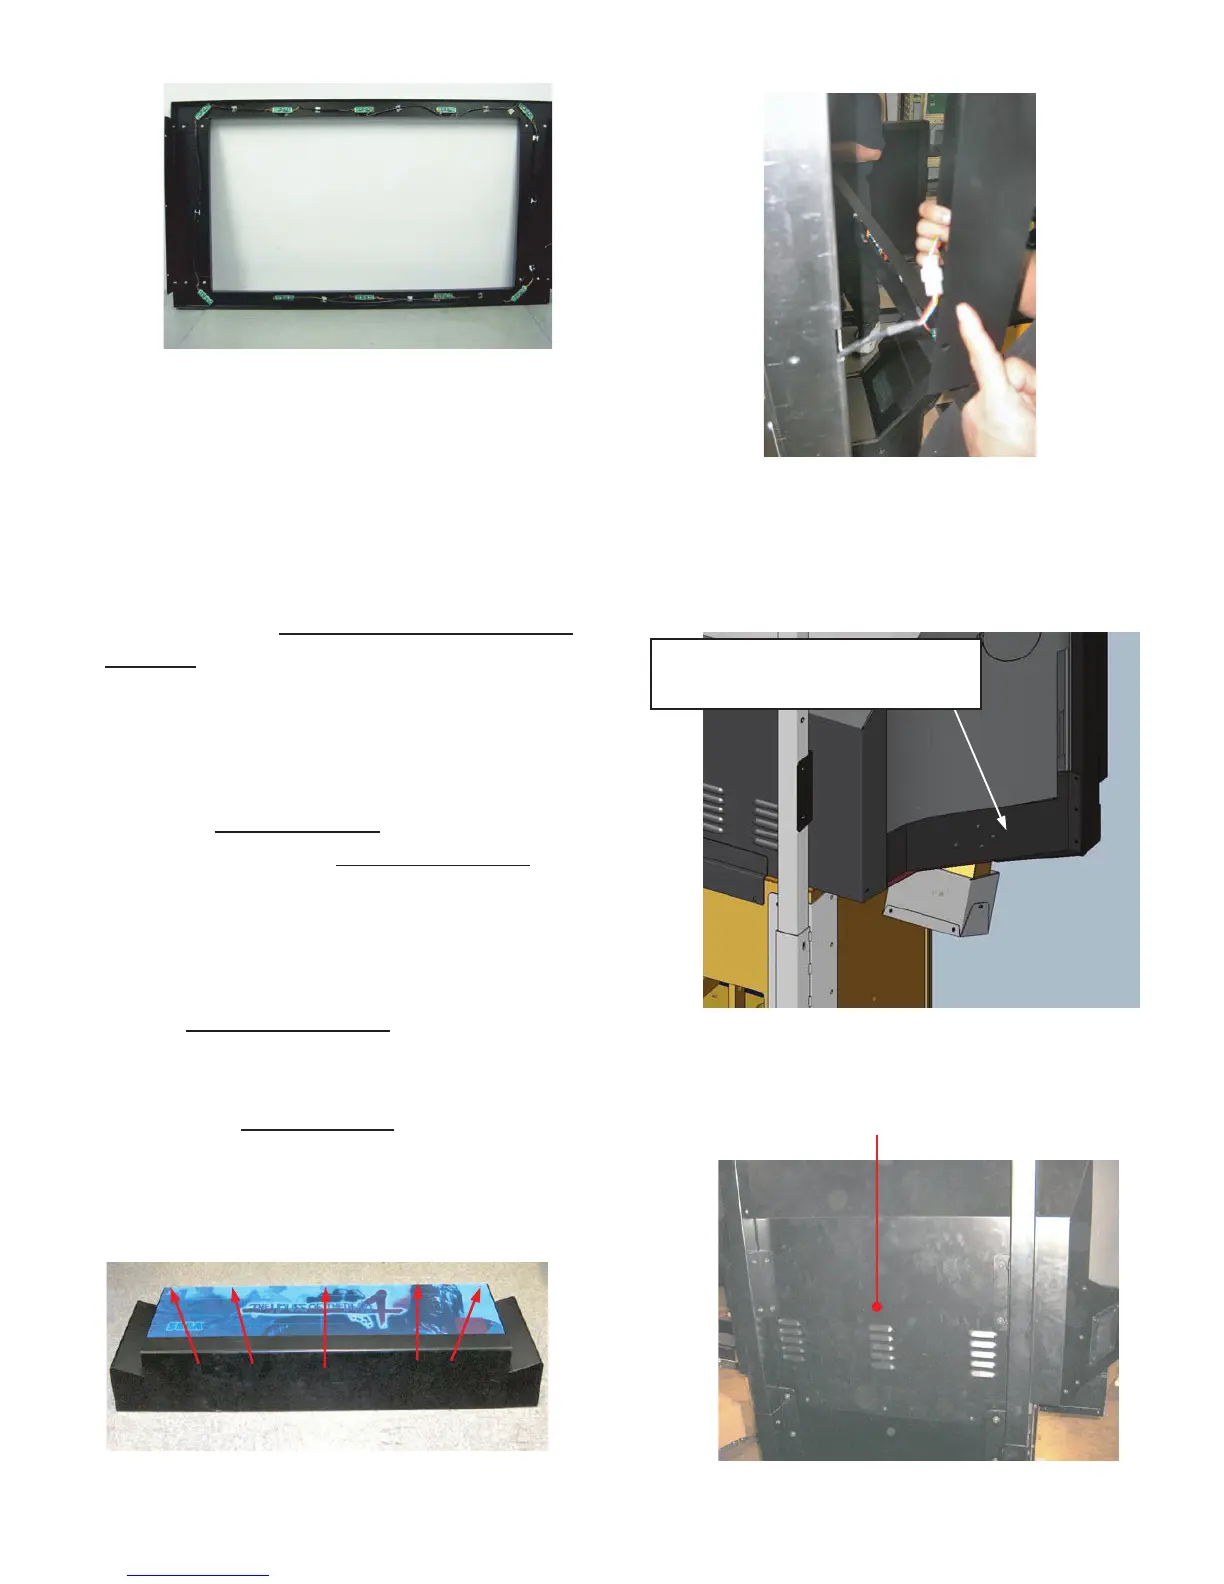
Connect the Mask assembly (Figure 13) to the
monitor using the attached hardware. Be careful
to connect the plug (Figure 14) on the left side
of the mask prior to securing the mask
assembly to the monitor.
Next, attach the left and right monitor corner
brackets
10
(Figure 15) using the hardware
provided 10-32 X
1
/
2
tamper-proof screws,
washers and lock washers (Note: the brackets
shown, are for the 62 monitor, the appearance
of these brackets is different for the 52 model.)
When the corner brackets
10
are mounted on
both sides, install the monitor rear cover
11
to the
tubes using 1/4-20 X
3
/
4
bolts washers and
lock washers and secure the cover to the base
cabinet using 8-32 X 1
1
/
4
tamper-proof screws,
washers and lock washers (Figure 16). Again,
the 62 monitor cover plate
11
is shown, the 52
model is slightly different in appearance .
The next step is the marquee installation.
Remove the marquee plate
12
(artwork) from the
marquee assembly by extracting the 5 screws
and decorative washers on the top of the
assembly. (Figure 17).
Figure 13
Figure 14
Figure 15
Figure 16
Figure 17
10: 52" Bracket side trim L/R
Part#: S254-158-00L, S254-158-00R (52")
10: 62" Weldment, Cover side screened Left/Right
Part#: S255-019-00L, S255-019-00R (62")
11: Weldment, Rear monitor
Part#: S254-035-000 (52")
Part#: S255-018-000 (62")
12
Figure 15
10 = For 62”DLP, Zenith:
Part#: S260-103-00L (Left)
Part#: S260-103-00R (Right)
 Loading...