Button B
Press
0
1
Push the
crown
back in
3
Press the Button B to set the day of the week.
To advance one
day
Press button once and then release it.
Continuous
Advance
Keep pressing down the button for
longer than 2 seconds. Press the button
once again to stop.
*
The hands do not move by turning the crown.
*
While the day of the week is moving, the button cannot be
operated.
*
The day of the week hand can only move forward. It cannot
move backward.
4
Push the crown back in.
The operation is completed.
*
When the crown is a screw lock type, lock it. → P.14
EN
80
7
TROUBLESHOOTING
Preliminary position
When the watch is unable to display the precise time, date or day even if it successfully receives a radio signal with the
correct time zone setting, the preliminary position may be misaligned.
The possible causes of misalignment of preliminary position are as follows:
In the case of having a strong impact
:
the misalignment may occur when dropping or hitting the watch.
In the case of a magnetic influence
:
the misalignment may occur when bringing the watch close to an object which
generates magnetism.
“Examples of common magnetic products that may affect watches” → P.51
* The condition “the preliminary position of hand is misaligned” means that compared to a health meter, “the zero position of a
meter is misaligned, causing a correct weight not to be displayed.”
■ Automatic hand position adjustment function (Adjustment of
preliminary positions of hour, minute and seconds hands)
The hour, minute, and seconds hands have an “automatic hand position adjustment function,” which automatically
corrects an incorrect preliminary position. Automatic hand position adjustment function activates at 12:00 both for the
AM and PM for the hour and minute hands and once a minute for the seconds hand.
*
This function works when the preliminary hand position is misaligned due to external factors such as strong impact or magnetic influence.
It does not work to adjust accuracy of the watch or slight deviations which may occur during the manufacturing process.
* The preliminary position of the hour and minute hands can also be manually adjusted.
“Setting the preliminary position of the date, day hand, hour and minute hands” → P.82
■ Setting the preliminary position of the date and the day
Since the preliminary position of the date and the day is not automatically adjusted, it must be adjusted manually.
“Setting the preliminary position of the date, day hand, hour and minute hands” → P.82
EN
81
7
TROUBLESHOOTING
How to set the preliminary position
■ Setting the preliminary position of the date, day hand,
hour and minute hands
The preliminary position of the date is the “1st”.
The preliminary position of the day hand is “ S.”
(Sunday)
The preliminary positions of the hour and minute
hands are “0:00 AM”.
When the preliminary positions are incorrect, the correct date, day of the week or time cannot be displayed
even if the watch receives radio signals.
In such a case, by correcting the preliminary positions, wrong date or day indication, loss or gain of the time
can be corrected.
When the numerical number of the date is not located at the center of the window, it can be corrected by
the same procedures as mentioned above.
To correct the preliminary positions, perform the following operation.
EN
82
7
TROUBLESHOOTING
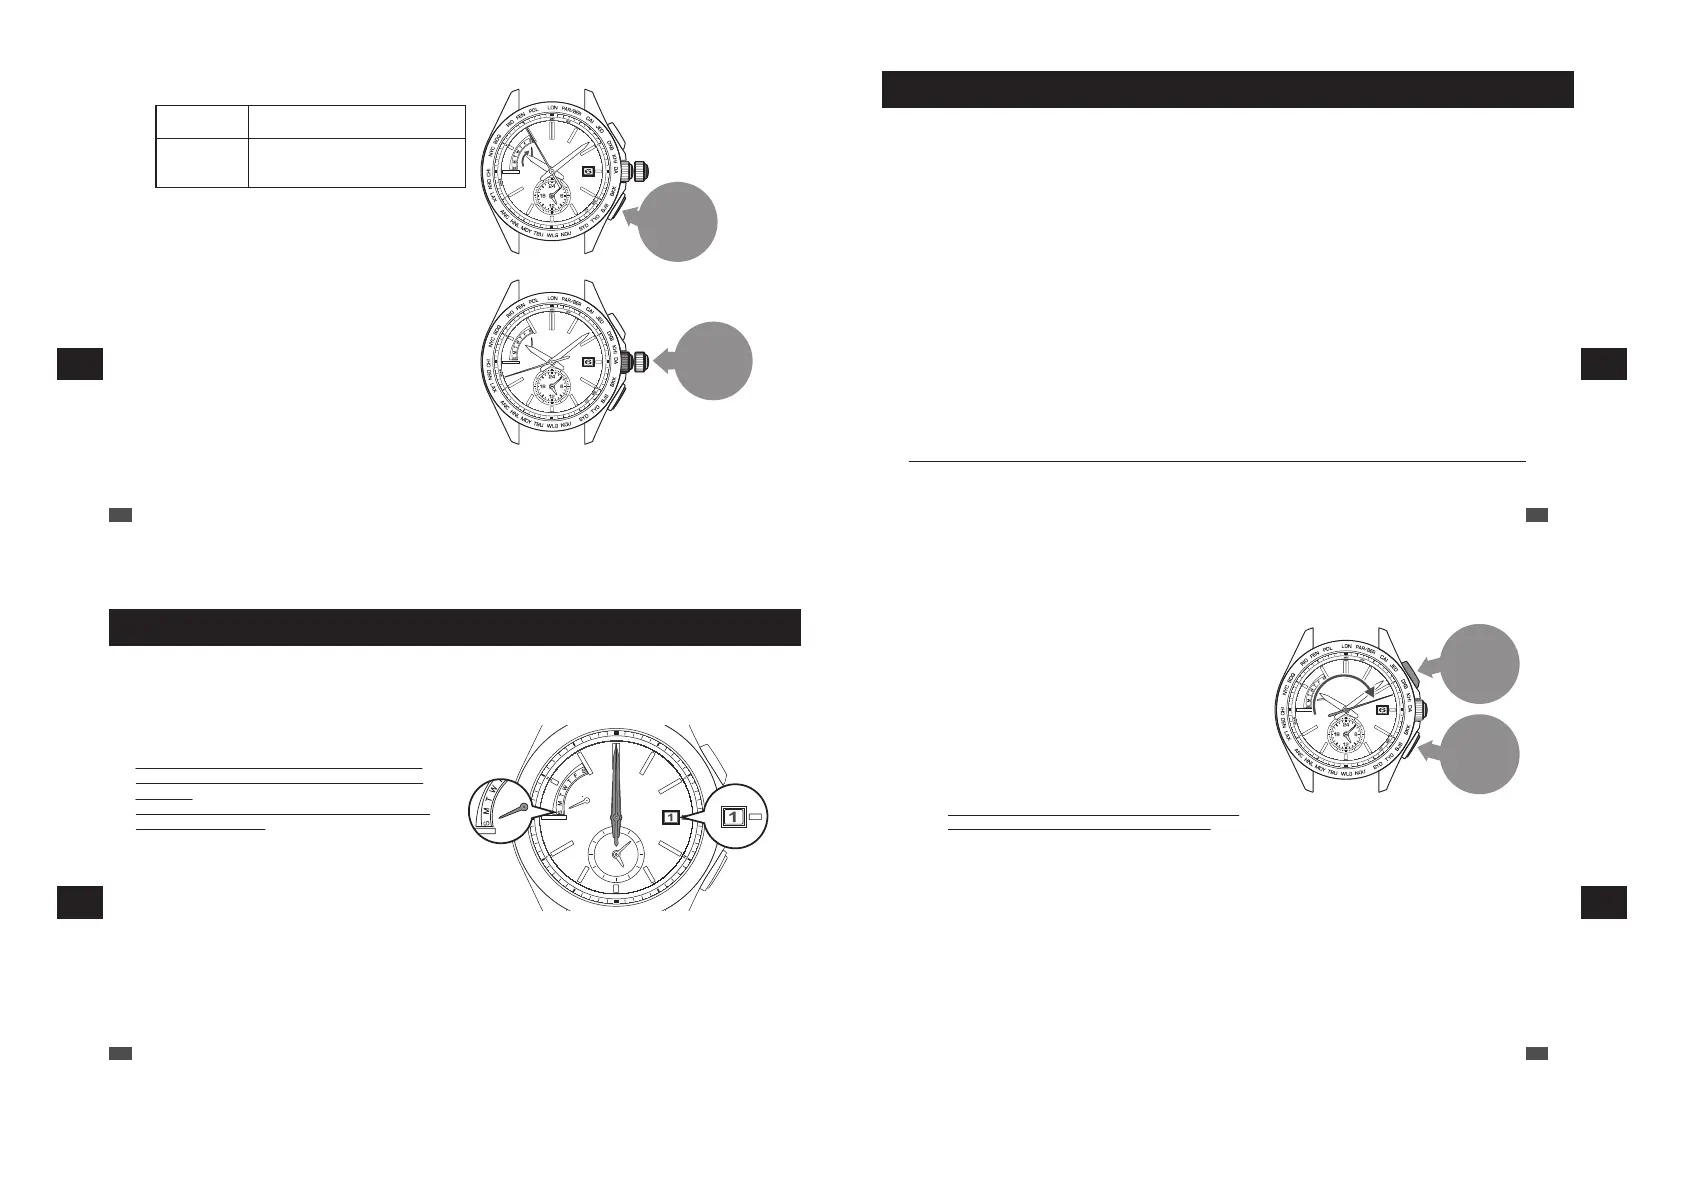
Button A
Press for
3
seconds
Button B
Press for
3
seconds
1
Keep pressing down the Button A and B
(for 3 seconds) at the same time until the
seconds hand stops pointing to the 13-
second position.
The watch switches to the preliminary position
alignment mode for the date.
The date moves, and stops at the preliminary position.
*
First, press the Button B, and subsequently press the
Button A while keeping holding down the Button B so as
to press both of them successfully.
*
While the date is moving, the button cannot be operated.
*
Do not pull the crown out.
*
Within 20 seconds after procedure 1. is completed and
the date stops, start the operation of procedure 2.
If the watch is left untouched for 20 seconds after the
date stops, the watch automatically returns to the TIME
display mode.
If this happens, restart the operation from procedure 1.
EN
83
7
TROUBLESHOOTING