508.366.1488 | www.semshred.com
2. Unpacking and Installation
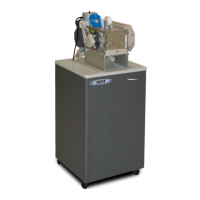
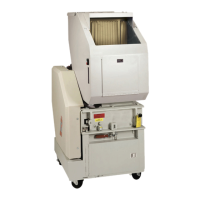
This section contains all instructions required for experienced installation personnel to install the SEM disintegrator and
prepare it for production. It is essential to follow all instructions carefully and in order. Be sure to observe all DANGER,
WARNING, and CAUTION statements in order to prevent personal injury or machine damage and all NOTE statements
which are designed to assist in the performance of procedures.
2.1 Preparing for Shipping
The disintegrator installation should be prepared in advance. Be certain that the area is clean, level, and free of obstructions.
The site selected must have a floor rated to easily support the weight of the machine and a concrete floor of four inch
minimum in thickness.
Shipping: To prepare the disintegrator for shipment, it is mounted on wooden skids, then blocked and banded to prevent
movement. All non-painted items subject to corrosion are coated with a quality rust preventative and the machine is then
covered with heavy duty polyethylene to protect it from moisture and dirt.
SEM disintegrators are normally shipped completely assembled unless the size of the machine or an agreement for
special shipping arrangements requires partial disassembly.
2.2 Unpacking
NOTE: When the machine arrives, inspect it carefully for shipping damage BEFORE unpacking. Report any damage
immediately to the transporting company that delivered it. Sign the freight bill, noting all damage.
If inspection reveals no shipping damage, unpack the unit by removing the polyethylene protective covering and banding.
Attached to the machine is an envelope containing installation instructions. The usual contents of this envelope are
parts list, assembly drawings, electrical diagrams, and a copy of this manual.
The machine may now be lifted from the skid. A fork lift is ideal for the purpose, but care must be taken to properly
position the forks between the casters, from the front or side of the machine.
CAUTION: Do not attempt to lift up the disintegrator by any part of the hopper. A forklift should be used to move the
disintegrator to its location.
2.3 Setup
1. Make certain the floor is clean, level, and free of obstructions before placing the machine into position.
2. Visually inspect the hopper in-feed opening to ensure that no stray packing material or debris are present.
3. Open the machine by loosening the hex coupling nut(s) at the front of the machine enough to allow for rotation of
the threaded swing bolts out of the clamp(s)
NOTE: It is never necessary to loosen the spring-block locknuts located on the front of the cutting chamber. The spring
blocks are factory set and require no adjustment.