Sentry AutoVREL Flow Controller 11
6. Open the AutoVREL ow controller packaging and remove the front shaft adapter, set
screw and lock nut. Place the shaft adapter on the VREL control valve shaft so that the
height from the panel to the top of the adapter is approximately 3.5 inches.
7. Place Loctite on the set screw and tighten the set screw MAKING SURE IT MAKES
CONTACT WITH THE FLAT OF THE VREL SHAFT, and tighten.
8. Apply Loctite on the set screw shaft and tighten the set screw using the 1/8-inch
Allen wrench.
Ensuring the lock nut is tight is critical to the operation of the Sentry AutoVREL ow controller.
9. Place and tighten the lock nut using the 7/16-inch wrench.
10. Using the 9/64-inch Allen wrench, remove the control unit and disconnect the
electrical connectors; place the control unit aside.
11. Slide the drive unit over the Sentry VREL control valve shaft. To engage the shaft
adapter with the hex drive shaft, rotate the VREL gear by hand until the AutoVREL
ow controller is seated against the panel.
12. While holding the drive unit ush against the front of the panel, place the included
nuts and washers over the four (4) threaded studs behind the panel and tighten the
AutoVREL control valve to the panel using the 1/2-inch wrench. This operation may
require two people.
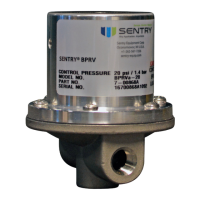
VREL flow controller
Tighten set screw on flat of VREL shaft
(shipped w/ shaft adapter)
Set Screw Lock Nut
(shipped w/ shaft adapter)
Shaft Adapter
(shipped loose)
Shaft, w/ hex drive
Cotter Pin Hole
VREL Gear
Cable Way
Cotter Pin
(to retain gear)
Screw (2X)
#8-32 X 1.75
AutoVREL
Control Unit
AutoVREL Drive Unit