SANITOP PAGE 3
6. Installation
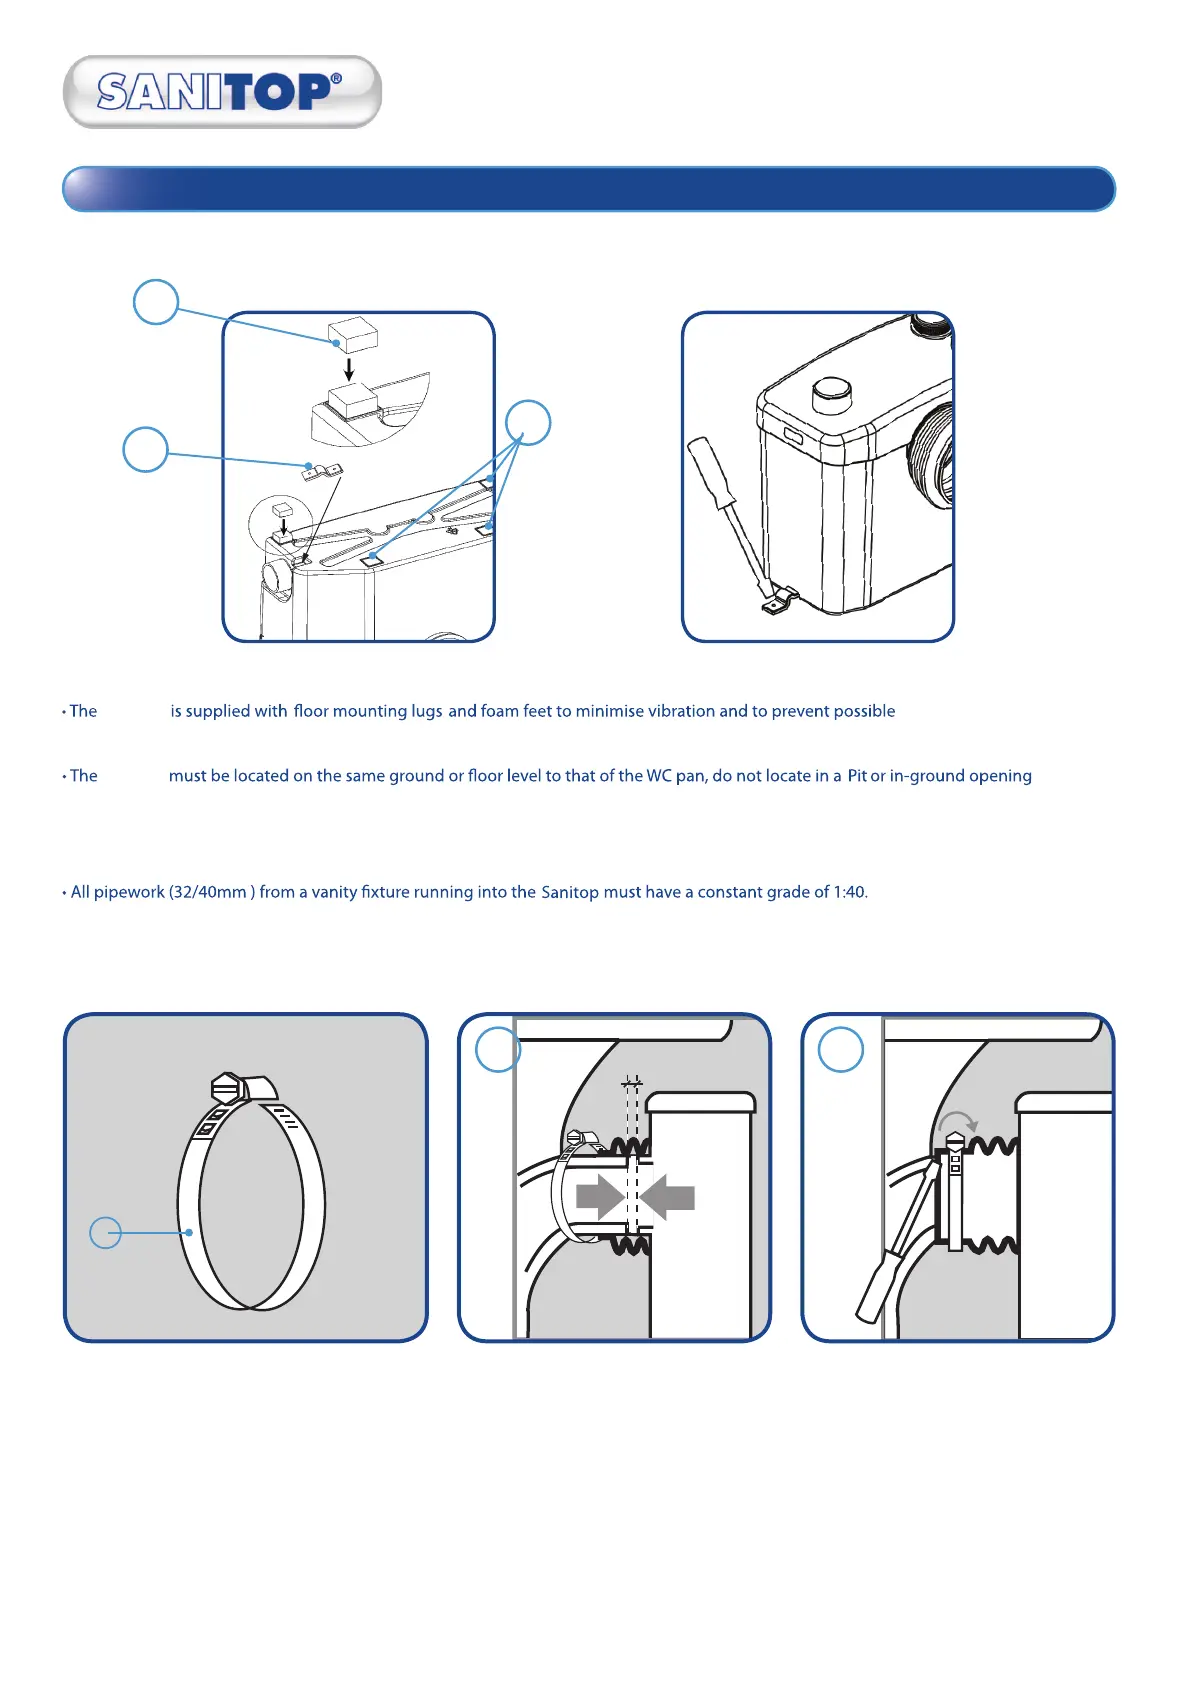
• The Sanitop should be installed to allow full access in the event that servicing and or removal is necessary.
movement during operation.
• The Sanitop must be coupled directly to the spigot (outlet) of the P-trap WC pan.
H
• Position the pump so that it is not in contact with a partition or wall of the room.
• Place the WC pan on a level surface to ensure that the foam feet are attached to the underside of the pump.
• Apply soapy water to the WC spigot and position the pan to the pump, ensuring that there is a 20mm gap between them. The reason for
this is two-fold 1. If in contact with the pump sound vibration occurs, and 2. the pump can be removed if service is needed.
• Locate pan collar onto front of the pump, ensuring small diameter opening is secured to the pump using plastic cable tie provided.
• Pull the pan collar over the pan spigot
• Position the metal hose clip (G) over the end of the pan collar and tighten with a screwdriver.
•
WARNING! THERE SHOULD BE NO WATER DRIPPING FROM THE WC CISTERN OR ANY OTHER SANITARY FIXTURE. IF THERE IS, THIS WILL CAUSE THE UNIT
TO ACTIVATE REPEATEDLY AND CAUSE THE PUMP MOTOR TO OVERHEAT AND MALFUNCTION. IMMEDIATELY CALL A SERVICE PLUMBER TO RECTIFY.
G
1 2
G
H
TO BE UNDERTAKEN BY A REGISTERED PLUMBER IN CONJUNCTION WITH: AS3500 10:10
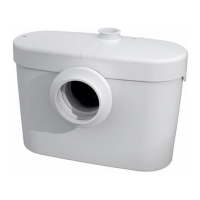
• The inlet port for a Vanity basin connection is located on top of the Sanitop lid.
• If using the lid port use a stanley blade or hack-saw to remove the very top of the port to allow connection.
• Use rubber connectors and pipe clips (supplied) to make secure connections. Ensure connectors are facing in the right direction before
securing. See diagram E on page 1.
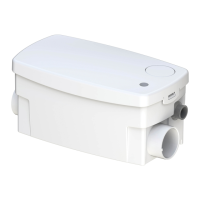
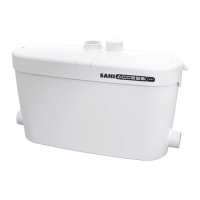
Connections - Incoming waste water
Sanitop
Sanitop
• Position the pump so that it is not in contact with a partition or wall of the room ensuring that the foam feet are attached to the underside of
the pump.
• Place the WC pan on a level surface.
• Apply soapy water to the WC spigot and position the pan to the pump, ensuring that there is a 20mm gap between them. The reason for this is
two-fold 1. If in contact with the pump sound vibration occurs, and 2. the pump can be removed if service is needed.
• Locate pan collar onto front of the pump, ensuring small diameter opening is secured to the pump using plastic cable tie provided.
The other end of the pan collar has a larger opening to allow easier tting to WC pan outlet (spigot).
• Pull the pan collar over the pan spigot
• Position the metal hose clip (G) over the end of the pan collar (Spigot end) and tighten with a screwdriver. Affi x plastic cable tie to other end of
pan collar.
• Once the pump has been positioned, use 2 screws through the oor mounting brackets to x it to the oor. (optional)