TOLL FREE: 1-800-798-7398
11www.sharkclean.com
English
Checking for Blockages
Blockages may cause your vacuum
to overheat and shut down. If so,
clear the blockages, then follow the
instructions for Resetting the
Motor Thermostat on page 12.
WARNING: Never insert sharp
objects into any opening to clear
an obstruction.
IMPORTANT: Damages caused
while clearing or attempting to
clear blockages are not covered
under your product’s limited
warranty.
Unplug the vacuum
before checking for
blockages.
Reassemble all parts
securely before
operating vacuum.
1
1
2
2
3
3
4
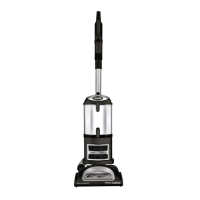
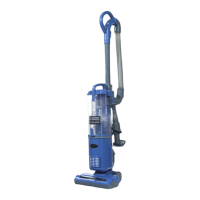
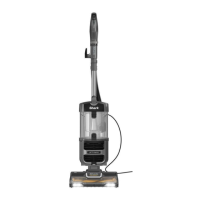
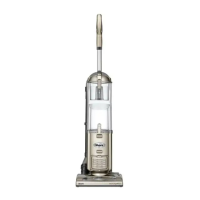
1 Dust Cup Air Duct:
Stand vacuum into upright
position.
Remove Dust Cup Assembly and
empty Dust Cup if necessary.
Disconnect the Super Stretch
Hose.
Check Air Duct behind Dust Cup
for clogs; clear before replacing
Dust Cup Assembly.
2 Intake Opening behind the
Brush Roll:
Lay the vacuum flat to expose
Brush Roll.
Check opening behind the Brush
Roll for clogs.
Clear the opening.
Clear the Brush Roll; use scissors
to carefully cut away threads,
hair or other debris that might
be trapped in the bristles.
3 Floor Power Nozzle Hose
Connector:
Lay vacuum flat.
Remove Nozzle Hose and check
for clogs.
Push the Hose Connector back
onto the Floor Power Nozzle.
4 Hose:
Stand vacuum upright.
Remove hose from both the unit
and Cleaning Wand ends.
Inspect both ends and the length
of the hose for clogs.
Return the hose to the unit
UV400_26_IB_ENG_SPA_110111.indd 11 11-01-11 1:45 PM
 Loading...