2
TOLL FREE: 1-800-798-7398
3
www.sharkclean.com
English
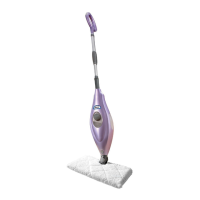
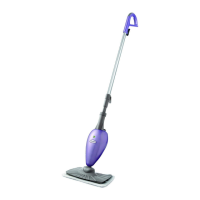
Getting Started
When assembling your Steam Pocket®
Mop there may be a little water in or
around the water tank. This is because
we test all our Steam Pocket
®
Mops
100% before you buy them, so you get a
quality Shark
®
Steam Pocket
®
Mop.
IMPORTANT: First things first, always
make sure the mop is UNPLUGGED
from the wall when not in use. Never
fill the mop, attach the mop head,
change or remove the micro-fiber
pocket when the mop is plugged into
the wall. If you have hard water you
might want to use distilled water to
prolong the life of the Shark
®
Steam
Pocket
®
Mop. Make sure you only
add water to the tank. Chemicals or
cleaning solution may damage the
appliance and could be unsafe for
you and your family.
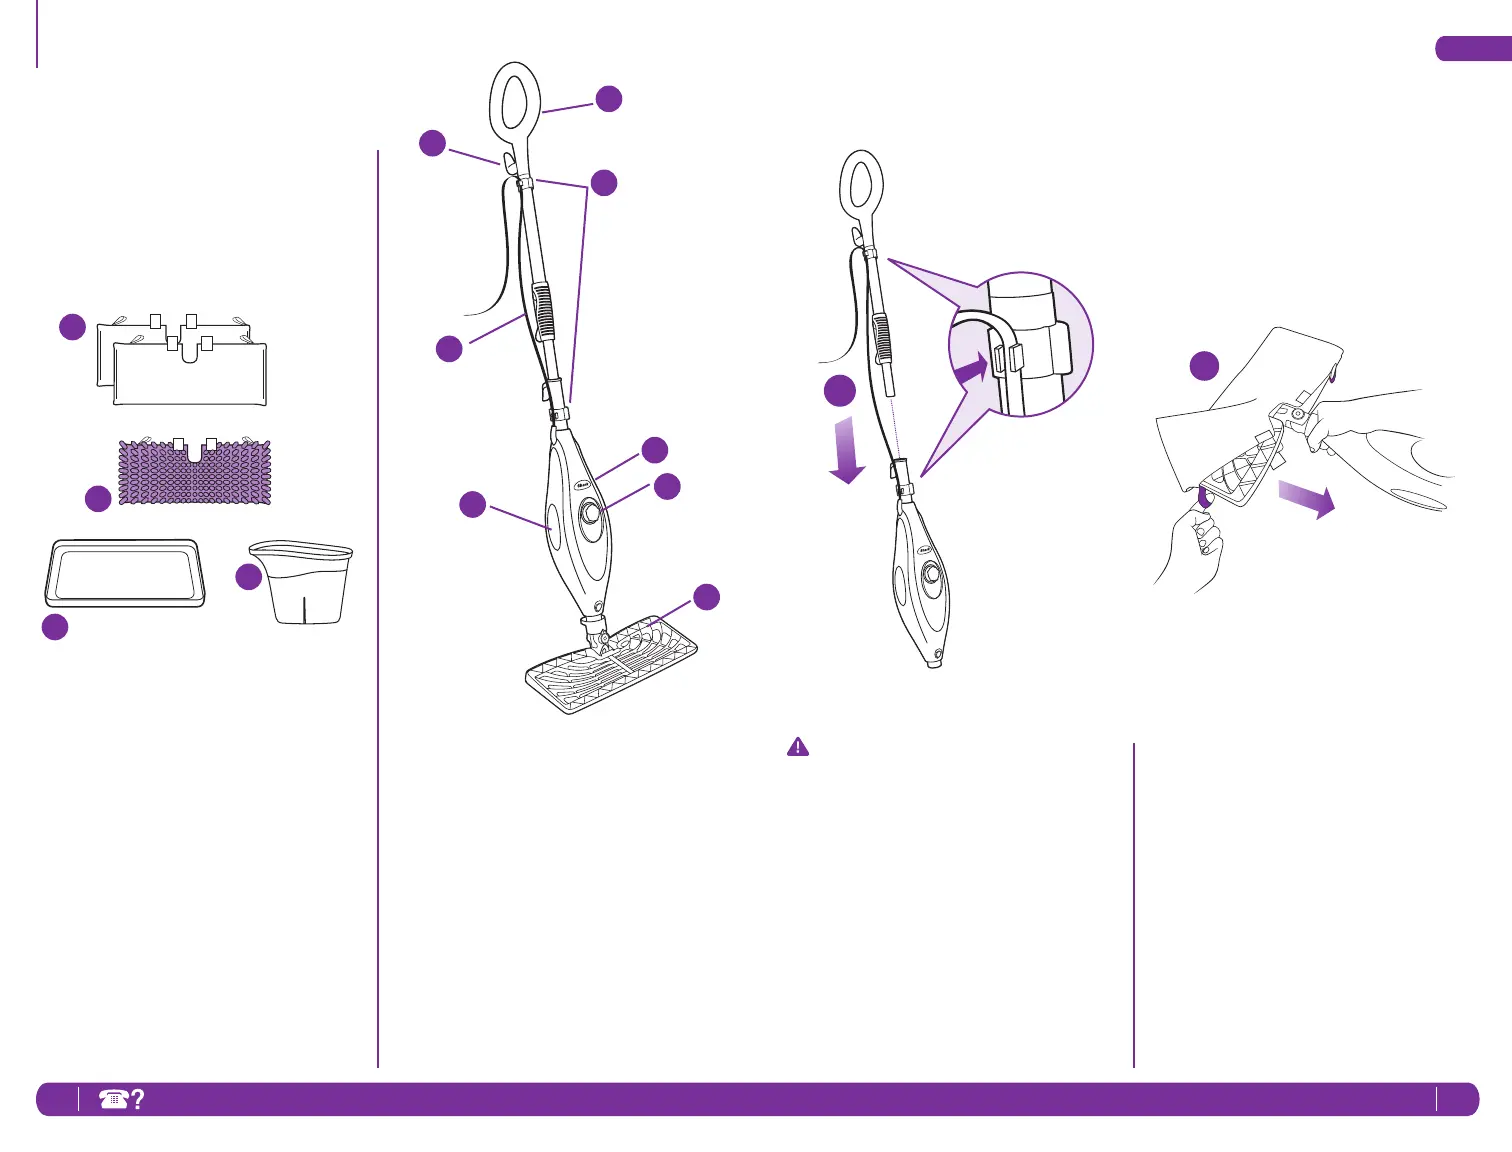
2
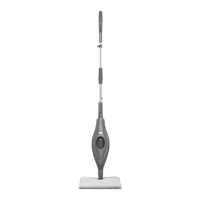
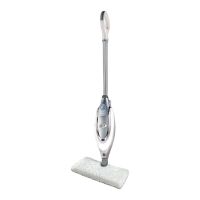
ASSEMBLE
1 Insert the mop handle into the pump
actuator (the tube that leads to the
tank). Push the mop handle and
pump actuator together in until you
hear it click into place.
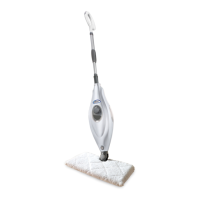
2 Select a cleaning pad. Fit one side
of the pocket onto the head first,
then using the lavender loop, pull
the pocket over the head. Attach
the quick fasteners on the top of the
pocket to secure in place.
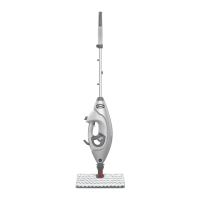
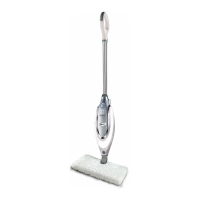
1
e Quick Release Swivel Cord Wrap
f Cord Clips
g Mop Handle
h Telescopic Handle Latch
i Water Tank Viewing Window
j Power-On Blue Light
(Lights up when plugged-in)
k Water Tank Cap
l Rectangle Mop Head
a 2 Rectangle Cleaning Pads
b 1 Steam Duster Cleaning Pad
c Carpet Glider
d Filling Flask
TECHNICAL SPECIFICATIONS
Voltage: 120V., 60Hz.
Power: 1550 Watts
Water Capacity: 450 ml (15 oz.)
a
c
d
e
f
g
j
i
h
k
l
b