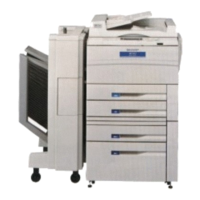
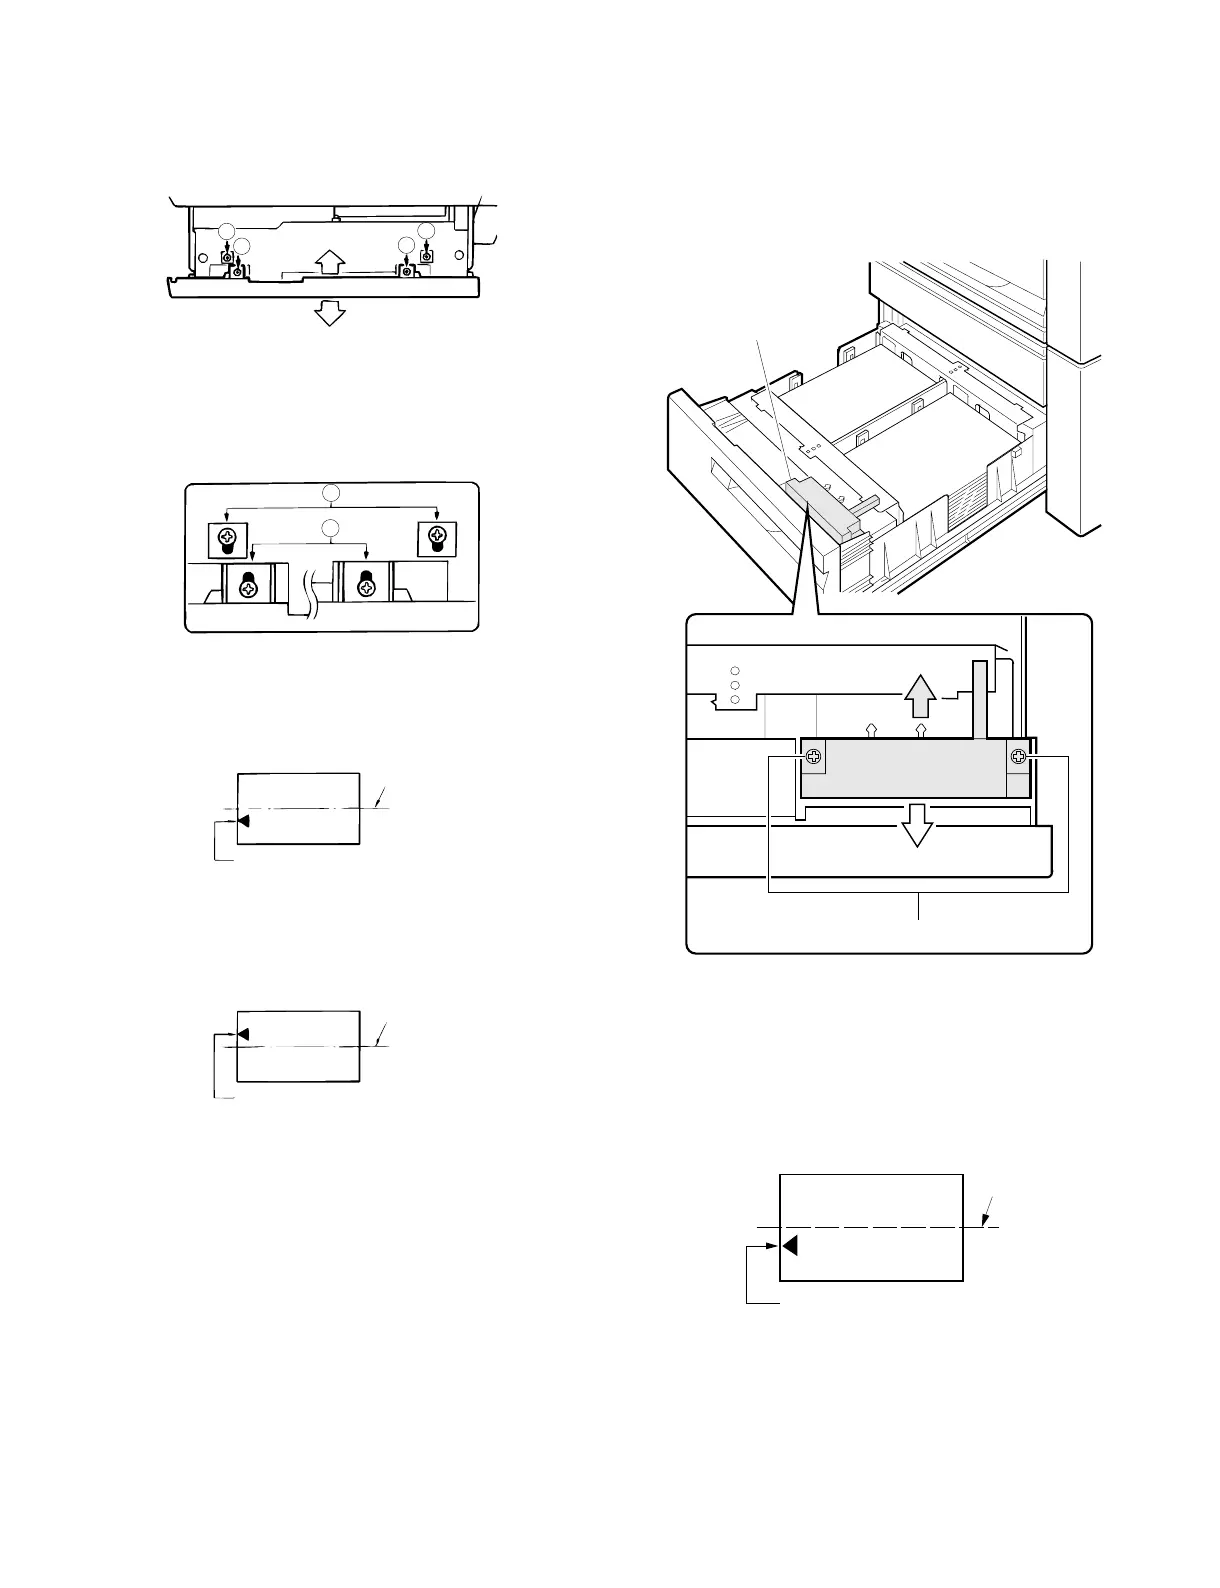
7. Paper tray 1/2
(1) Adjust any center misalignment.
Make a copy, and if there is any center misalignment such as that
shown in Fig. 1 or Fig. 2, loosen the four screws (indicated by the
arrows) which secure the front cabinet panel.
NOTE:
The mounting screws a and b will be in the symmetrical positions
when they are tightened, as shown right.
• If misaligned as shown in Fig. 1
Move the front cabinet panel in direction A and retighten the two
mounting screws a and then the other two screws b. Make another
copy to confirm that the center is no longer misaligned.
• If misaligned as shown in Fig. 2
Move the front cabinet panel in direction B and retighten the two
mounting screws a and then the other two screws b. Make another
copy to confirm that the center is no longer misaligned.
8. Paper tray 3 (LCC tray)
(1) Adjust any center misalignment.
No adjustment should be needed for the unit as it is factory-set.
However, if it is off-center, adjust it according to the following proce-
dure.
Make a copy. If it is off center as shown in fig. 1 or fig. 2, loosen the
two center adjuster mounting screws attached to the cassette and
adjust it following the prcedure below.
[Note]
When mounting the center adjuster, make sure that the mounting
screws are positioned in the same spot in their respective slots.
When off center as shown in fig. 1
Move the center adjuster in direction A and secure it with the two
mounting screws. Make a copy to check whether it is centered
properly.
a
b
Direction A
Direction B
a
b
Fig.1
Paper center line
Center line of the first copy image
Fig.2
Paper center line
Center line of the first copy image
Center adjuster
Direction A
Direction B
Center adjuster mounting screws
Fig. 1
Center line of the first copy image
Paper center line
8 – 15