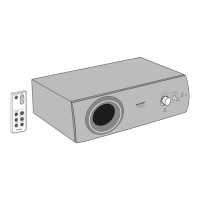
Before using remote control, please remove plastic shield at battery
holder.
Reference page
1. Remote Control Transmitter . . . . . . . . . . . . . . . . . . . . . . . . . . 7
2. On/Stand-by Button . . . . . . . . . . . . . . . . . . . . . . . . . . . . . . . . 8
3. TV Operation Buttons . . . . . . . . . . . . . . . . . . . . . . . . . . . . . . 9
4. Volume Up and Down Buttons . . . . . . . . . . . . . . . . . . . . . . . 8
Note:
Some models of SHARP TV may not be operable.
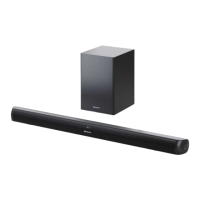
Select from three installation methods according to the preferred
position.
When attaching the spikes, place the subwoofer on a cushion or
soft cloth to avoid damage.
The subwoofer can be leveled by adjusting the spikes.
When using these spikes on glossy or slippery table such as on glass
top, this subwoofer may slip and fall off the table.
When attaching the foot cushions, place the subwoofer on a cushion
or soft cloth to avoid damage.
TV Operation Buttons (Only SHARP TV):
On/Stand-by
Button
Sets the TV
power to
“ON” or
“STAND-BY”.
Input Select
Button (TV)
Press the
button to
switch the
input source.
Volume Up and
Down Buttons
Turn up/
down the TV
volume.
Channel Up and
Down Buttons
Switch up/
down the TV
channels.
2
4
3
Remote
control
Battery holder
Plastic shi
Make sure to unplug the AC power lead before installing the main
unit or changing the position.
Horizontal position
1 Tighten all spikes as shown
Using spikes
Using foot cushions
1 Attach the foot cushions as shown
Stand
1 Place subwoofer stand as shown
Vertical position