20
Using the Fax Function
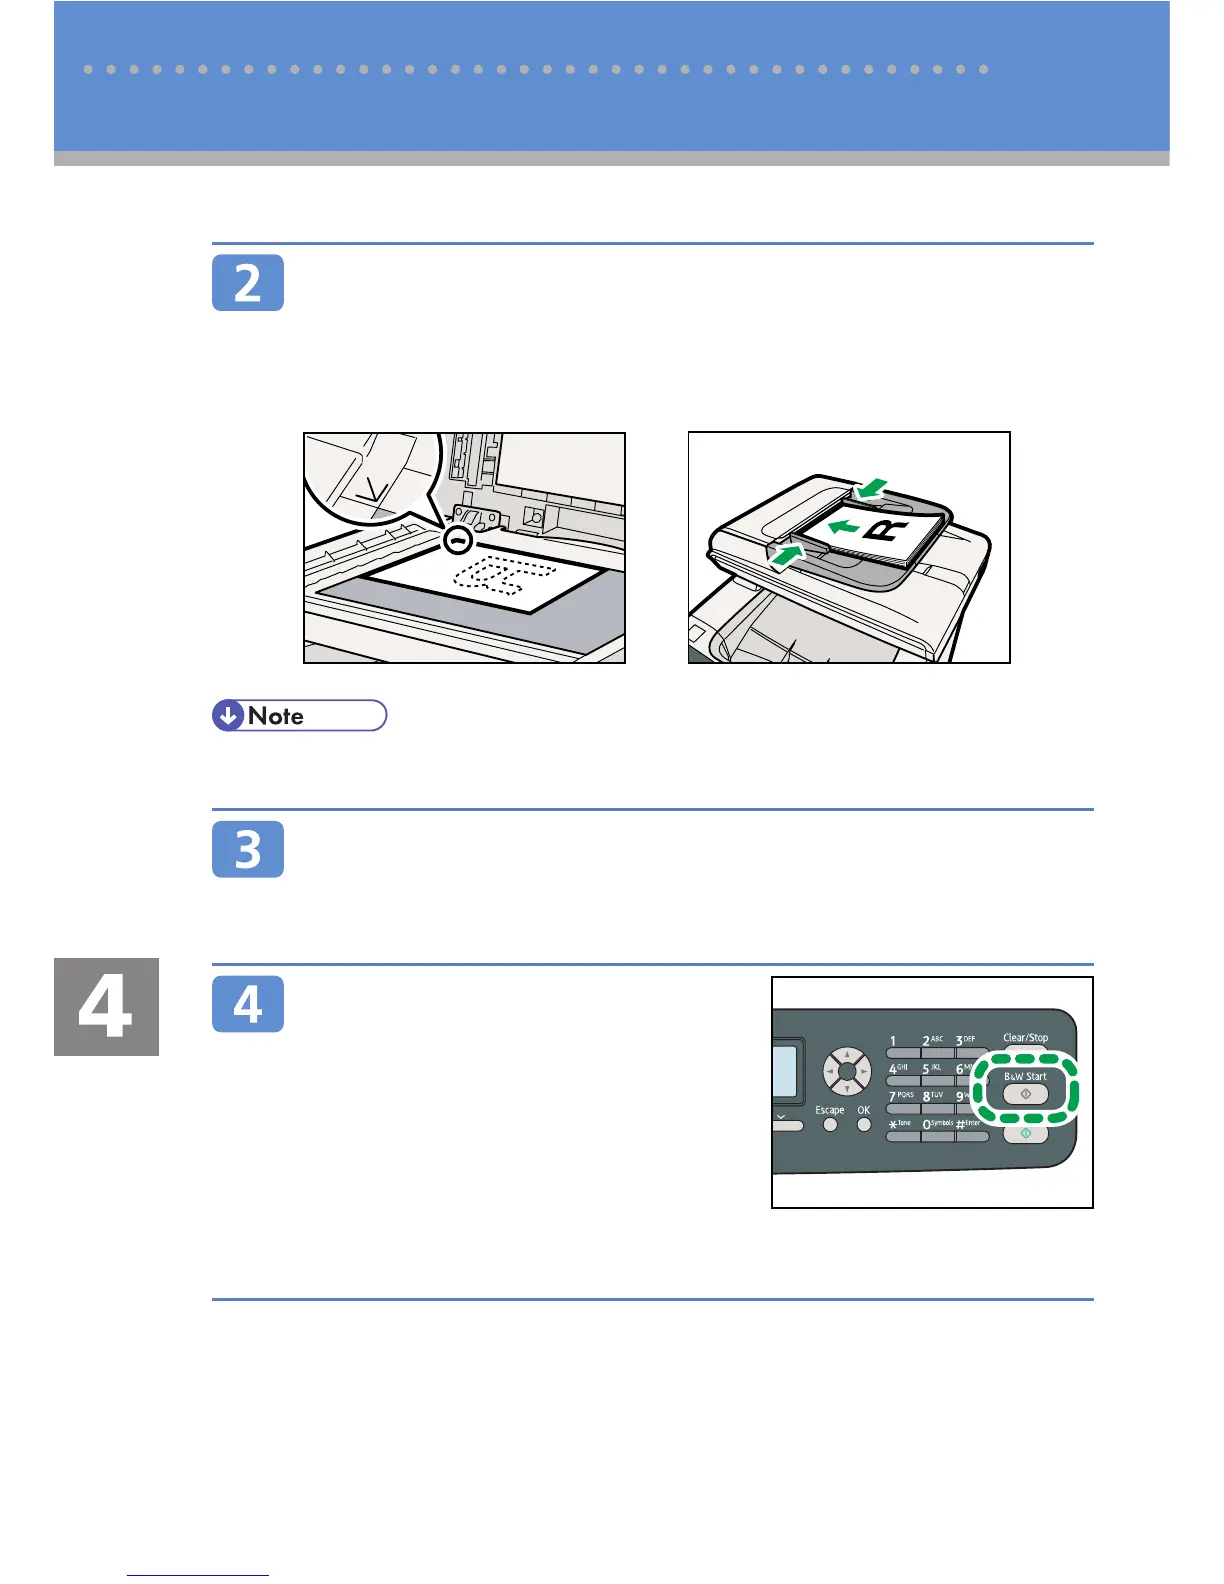
Place the original face down on the exposure glass or face
up in the ADF.
Lift the ADF carefully without holding the input tray. Otherwise, the ADF
might be damaged.
Exposure Glass ADF
CES070
CES109
If necessary, confi gure the advanced scan settings. For details, see “Advanced Scan Settings” •
on page 22.
Enter the fax number (up to 40 characters) using the number
keys.
If the machine is connected to the telephone network through a PBX, make
sure to enter the outside line access number before the fax number.
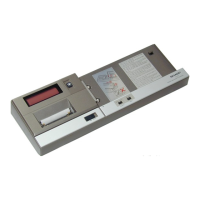
Press the [B&W Start] key.
• Depending on the machine’s settings, you
may be prompted to enter the fax number
again. Enter the fax number within 30
seconds. If the fax numbers do not match,
go back to step 3.
• Depending on the machine’s settings,
you may be prompted to place another
original on the exposure glass. In this
case, proceed to the next step.
CES172
Initial Screen and Basic Operation for Sending a Fax