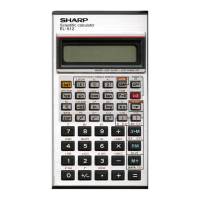
C om p o n en t:
LSI etc.
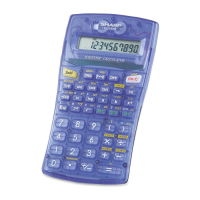
D is p lay:
L iq u id c rys tal (F E M typ e)
Pow er s u p p ly : 3V
.— (D C ): A lk a lin e manganese b atte ry (T yp e : L R -4 4 ) x 2
or
S ilve r o xid e b atte ry (T y p e: G -13) x 2.
O pera ting tim e : A lk a lin e manganese b a tte ry (L R -4 4 ): A pp ro x. 1 ,0 0 0 hours
S ilve r o xid e b atte ry (G 13 ): A p p ro x. 3 ,00 0 hours,
D isplay 5 5 5 5 5 5 , at th e a m b ie nt te m p era ture: 2 0 °C (6 8 ° F).
or
The
ope ra tin g tim e s lig h tly changes de pen ding on the ty p e o f
b a tte ry o r the w ay o f use.
A m b ie n t tem p e rature:
0°C
~ 4 0 °C (3 2 ° ~ 104° F)
Pow er co n su m ptio n : 3V
. - (D C ): 0 .0 0 0 2 W
D im ensio n s: 69 (W ) x 1 28 (D ) x 8.5 (H ) m m
2 -2 3 /3 2 "(W ) x 5 -1 /3 2 "(D ) x 1 1 /3 2 "(H )
W e ig h t:
A p p ro x . 70g (0 .15 lbs.)
Accessories:
A lk a lin e manganese b atte ry (L R -4 4 ) (B u ilt-in ) x 2, w a lle t and
in stru c tio n manua l
I
End o f S up p lem e n ta ry 3
L -92
- -
BATTERY REPLACEMENT
When the battery indicator is out, replace the batteries*.
1. Turn off the calculator.
2. Remove the screws from the back cover with a small screw driver (Fig. 1).
3. Replace the batteries. (Fig. 2) (+ side must be up)
4. Hook the tabs of the back cover into the slits of the calculator proper. (Fig. 3)
5. Push the back cover in slightly while replacing the screws.
6. After the replacement, press the (off) and @ keys in this order to clear the calculator.
When the batteries are correctly installed " • deg 0." will be displayed. (If the display
shows nothing or a meaningless symbol, or the keys become inoperative, remove the
batteries and install them again. Press the (off) and jcjci) keys in this order and check the
display again.)
Note: ® Wipe off the surface of the new batteries with dry cloth and then install the
batteries as shown in Fig. 2.
® Always replace both of the batteries at the same time.
93