– 5 –
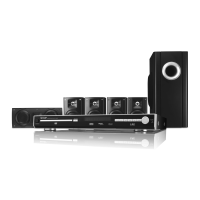
HT-CN300
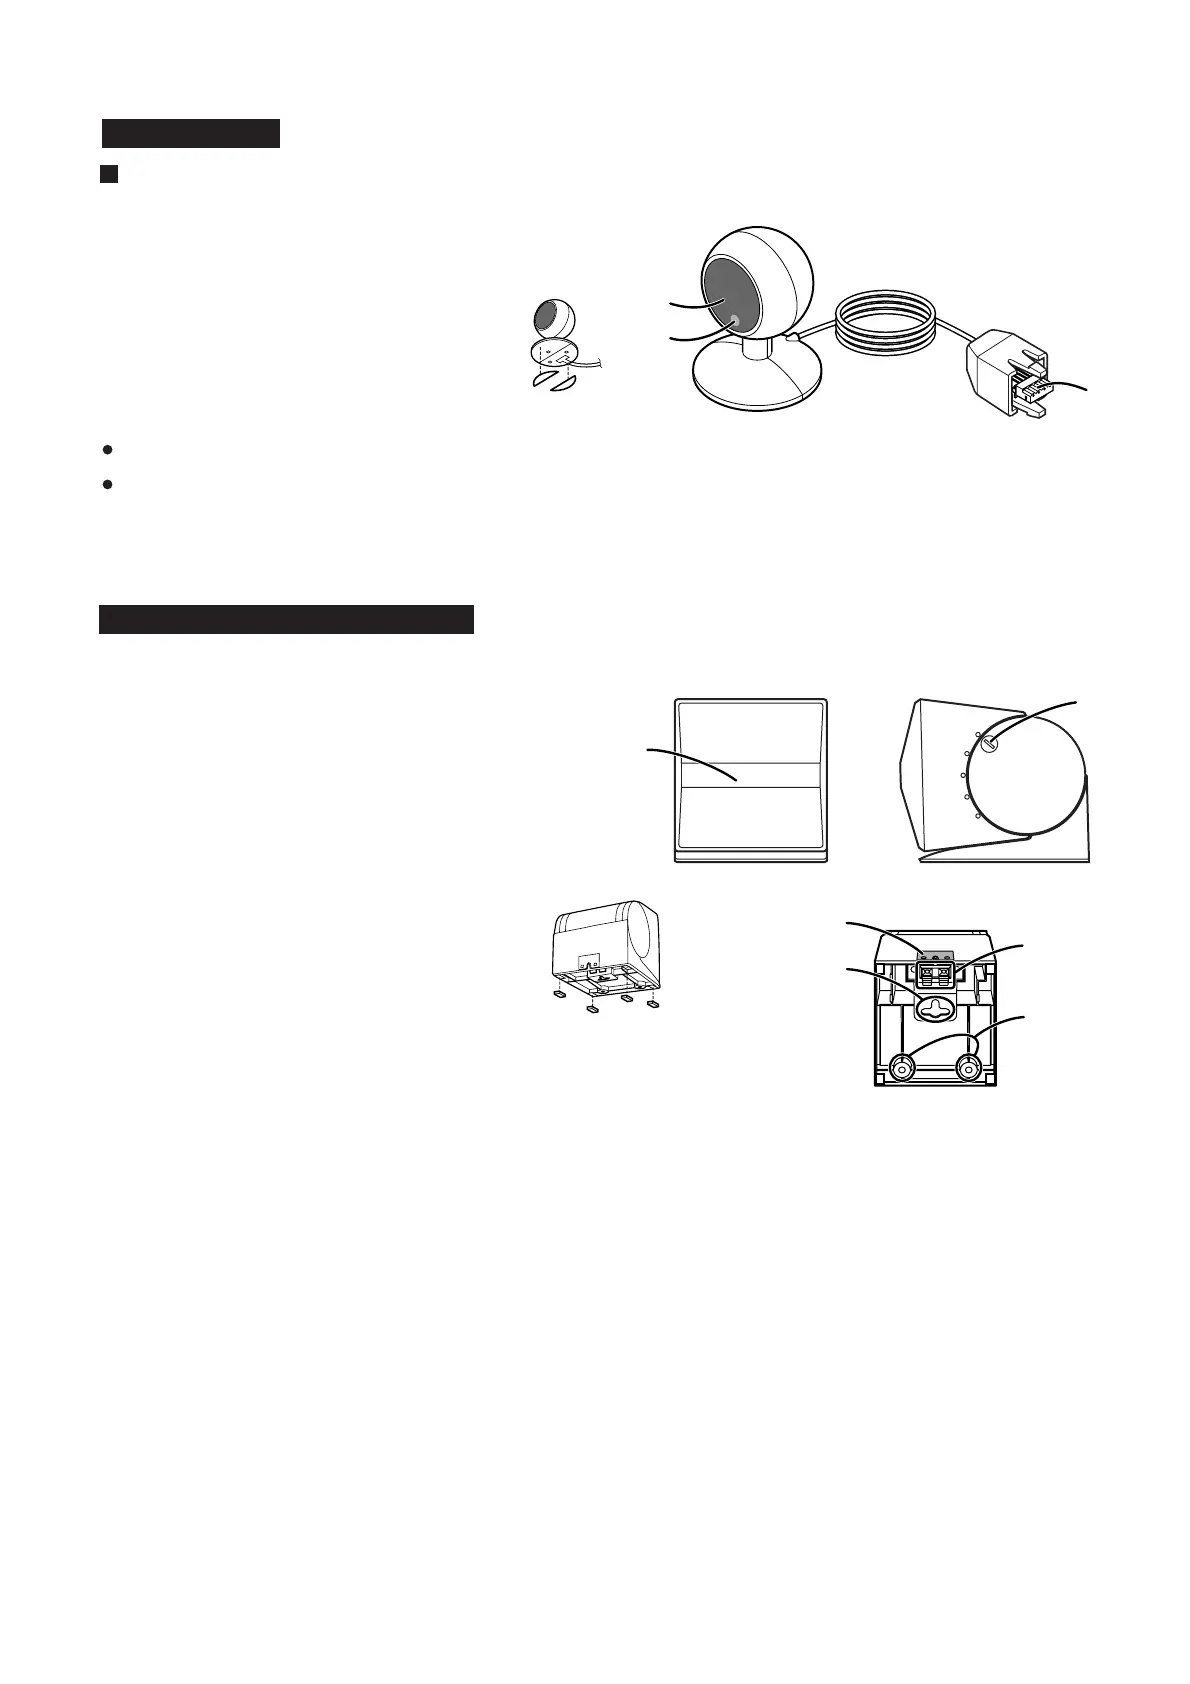
1. Full-Range Speaker
2. Angle Adjusting Lever
3. Label indication
4. Mounting Slot
5. Speaker Terminals
6. Mounting Screw Holes
Remote control sensor
1. Remote Sensor
2. Remote Control Indicator
3. Remote Sensor Connection Plug
Caution:
Carefully choose where you place the remote control sensor as the tape adhesive
may damage or peel the surface coating when the tape is removed.
Never locate the remote control sensor in an unstable place. Otherwise it may fall.
Note:
Fix the remote control sensor on a flat surface.
1
1
3
2
2
5
Bottom
Front Side
6
4
3
Front Speaker (right): Red
Front Speaker (left): White
Center Speaker: Green
Surround Speaker (right): Gray
Surround Speaker (left): Blue
Speaker cushion:
Attach the cushions to the bottom of the speakers to prevent
them from sliding.
Double-sided tape for remote control sensor:
You can fix the remote control sensor with the supplied tape.
HT-CN300
CP-CN300F/CP-CN300C/CP-CN300R