E-10
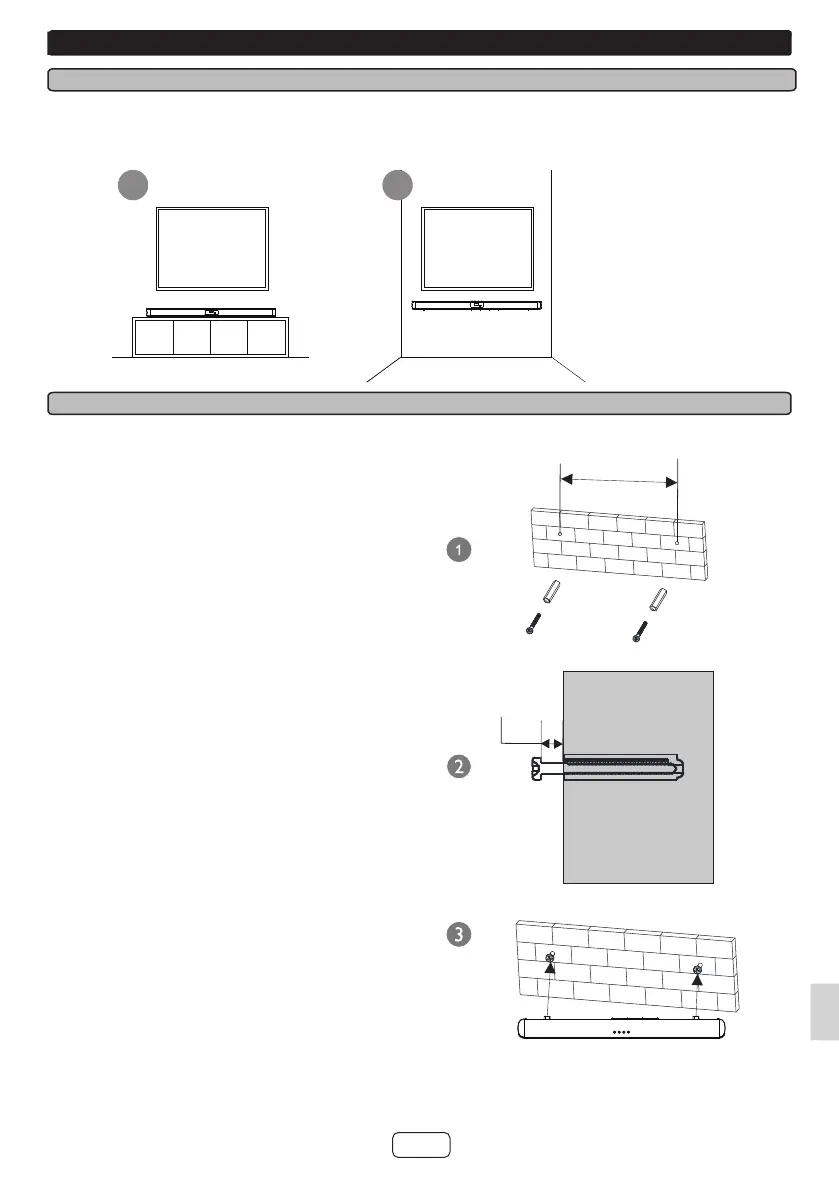
Placement and Mounting
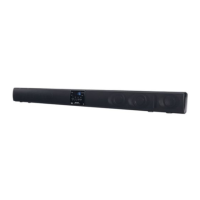
■ Placement
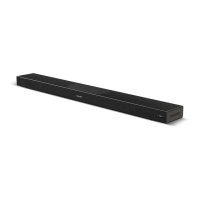
■ Wall Mounting
5/32”(4 mm)
28-3/4” (730mm)
B: Wall MountingA: Standard Placement
(Place Sound bar on the leveled surface
in front of TV)
In order to prevent injuries, the sound bar device must be
securely fastened to the wall in accordance with the below
installation instructions.
1. Drill the two holes (about 1/4” diameter) in
the wall and keep the distance between
the drill holes of the sound bar is 28-3/4”.
Insert the two plugs supplied into two drilled holes
and then insert two screws supplied into two holes
and tighten. (As shown in the picture on the right).
2. Take care to leave 5/32” between the screw heads
and wall. (As shown in the picture on the right).
3. Use the assembled sound bar to hang on the set screws
on the wall. (As shown in the picture on the right).
Notes:
● Installation must be carried out by qualied personnel
only.
● Incorrect assembly can result in severe personal
injury and property damage (if you intend to install this
product yourself, you must check for installations such
as electrical wiring and plumbing that may be buried
inside the wall).
● The installer’s responsible for verifying that the wall
will safely support the total load of the unit and wall
brackets.
● Additional tools (not included) are required for the
installation. Do not overtighten screws.
● Keep this instruction manual for future
reference. Use an electronic stud nder to
check the wall type before drilling and mounting.