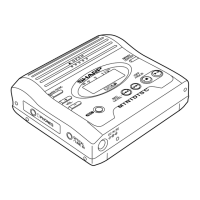
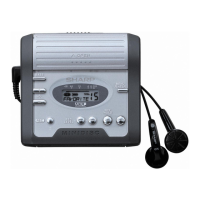
1 Insert the earphones plug firmly into the
earphones socket on the remote con-
trol unit.
2 Plug the remote control unit into the
socket on the main unit. Push the
plug all the way in.
● Since the remote control unit plug has
only one correct orientation, plug it in
as shown in the drawing.
3 Load a MiniDisc in the direction indi-
cated by the arrow on the MiniDisc,
with the label side facing up. (Insert the
MiniDisc firmly, until a click is heard.)
● The power will be turned on automati-
cally, and playback will start from the
first track. (Auto-play function)
● After playback of the last track has fin-
ished, the unit will stop automatically.
Playback does not start when a
MiniDisc is inserted:
Press the
06
button.
In the following cases, the auto-play func-
tion will not work.
● When the recordable MiniDisc write
protection tab is closed (page 10)
● When the auto-play function has been
cancelled (page 37)
4 From the main unit:
Press the + button to increase the vol-
ume and the - button to decrease the
volume.
From the remote control unit:
Move the shuttle switch up once to in-
crease the volume, and move it down
once to decrease the volume.
5 Adjust the bass level.
Each time the BASS button is pressed,
the tone will be switched as follows:
● When recording, it is impossible to ad-
just the bass level (Bass emphasis is
cancelled).
● The most recent volume or bass set-
tings are saved when the power is
turned off.
BASS
VOL
BASS
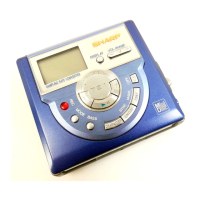
PLAYING A MINIDISC
Track number
Track name
(Nothing will be displayed for MiniDiscs
that do not contain track names.)
BASS 1
BASS OFF
BASS 3
BASS 2
Bass sounds are emphasised more.
Bass sounds are emphasised slightly.
Bass emphasis is cancelled.
Bass sounds are emphasised even more.
Volume (0 - 30)
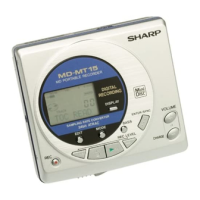
Remote
control unit
For the
left (L)
Earphones
For the
right (R)
To the socket
22
MD-MS722H(SUK)