A
ll
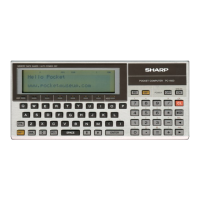
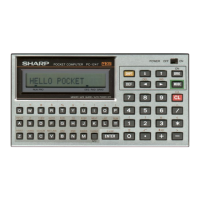
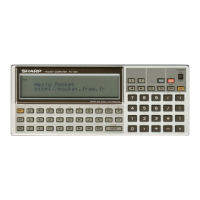
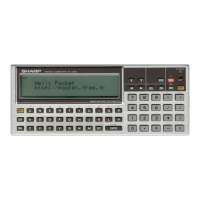
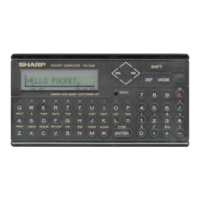
and more about Sharp PC-1500
at
http://www.PC-1500.info
For
pen installation
or
replacement. follow the
procedure
below:
11)
With
the
computer
[j[)
key pressed. press the printer
GID
. This allows the printer
to
be
in
its pen
replaccrrlcnt state, when
the
pen
holder
shifts
to
the
left and rotates.
V\.
1
ith
the
pen
on
top
changed,
the
pen holder moves
to
the right. (Release
the
key when
the
pen holder
sta
r
ts
moving,).
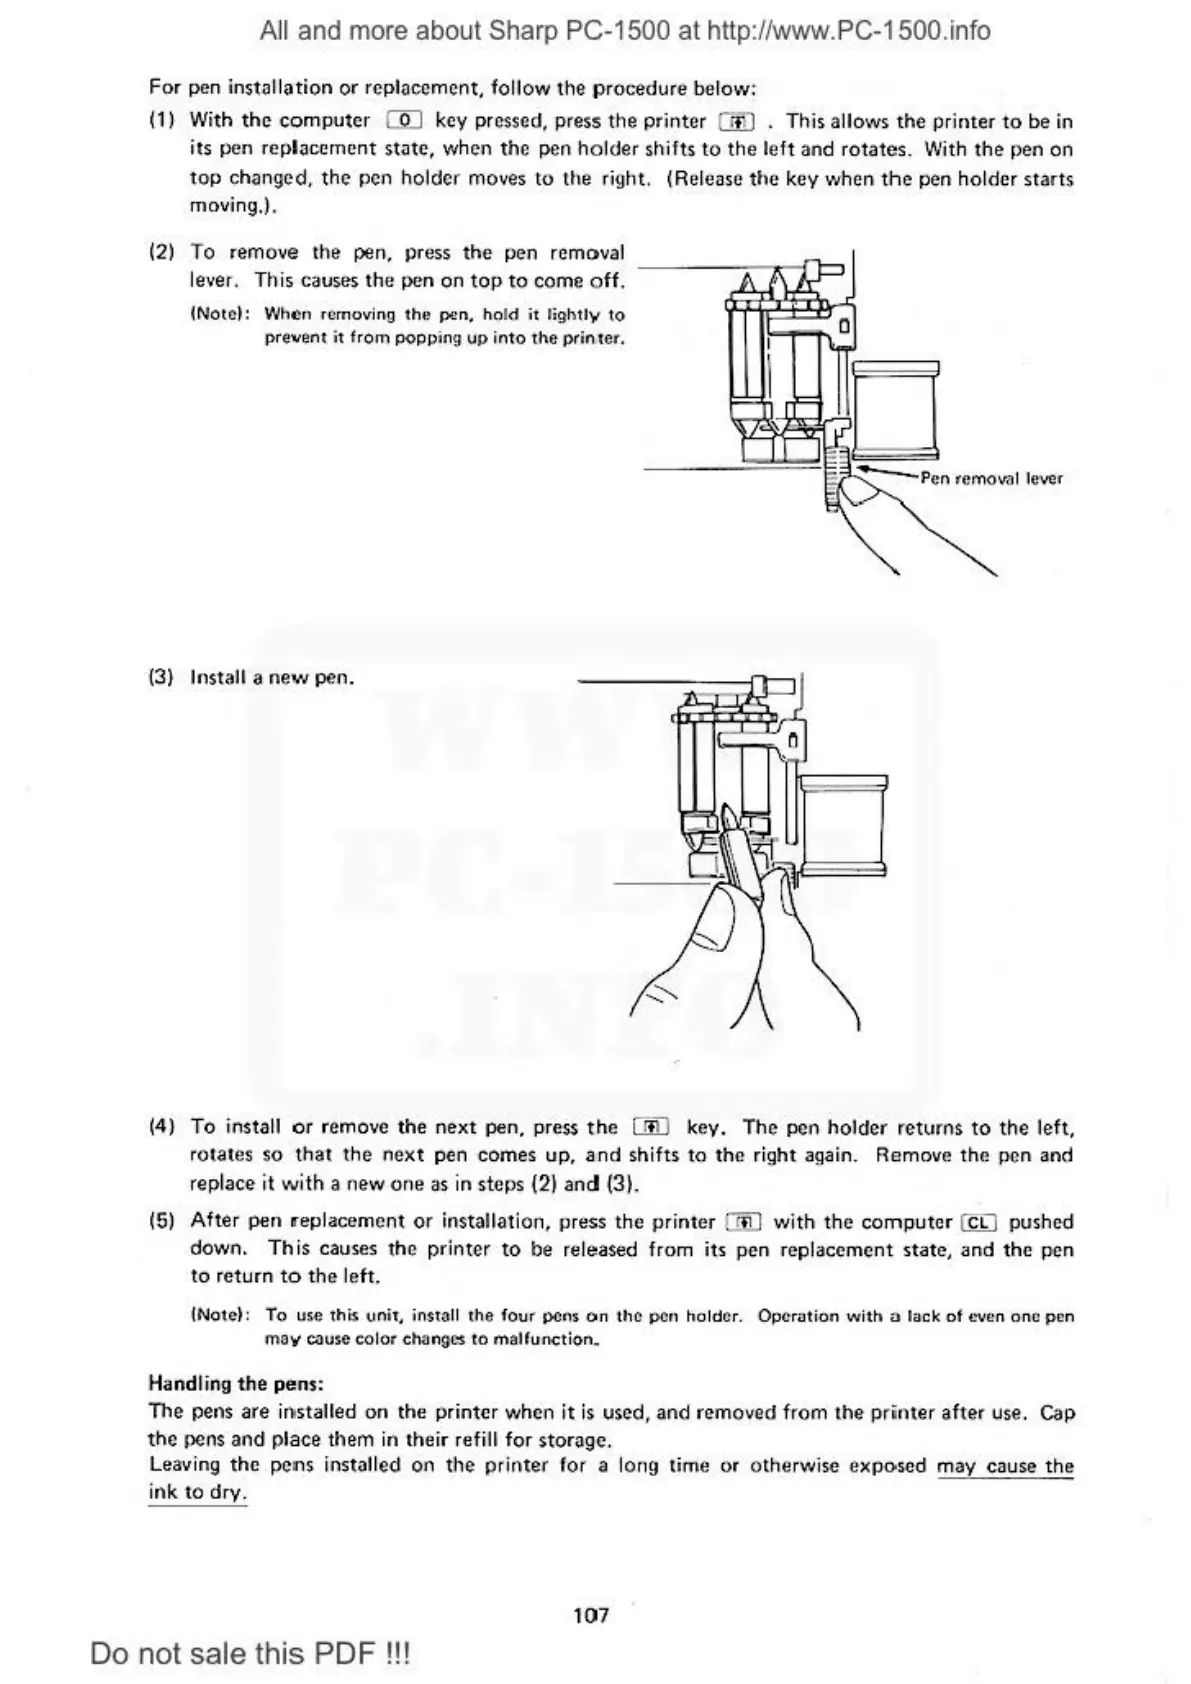
(2) To remove the pen.
press the pen removal
--
--
...,-
-
~
-J
c:J
lever. This causes
the
pen
on
top
to
come
off.
tNotcl:
Wh~n
removing
the
pen,
ho
ld it l
ightly
to
prevent
it
f
rom
popp
i ng up
into
the
pfin
te
r.
(3) Install a new pen.
(4) To
install
or
remove the
next
pen. press
the
OliJ
ke
y.
The
pen holder returns
to
the
left.
rotates
so
that
the
next
pen comes
up,
and
shifts
to
the
right again. Remove
the
p
en
and
replace
it
with
a new
one
as in
st
eps (2)
and
(31.
(5) After pen replacement
or
ins
ta
llation. press the printer
iJID
with
the
computer
(
CL
I
pu
shed
down.
This
causes the printer
to
be
released from
it
s pen replacement state, and the pen
to
return
to
the
left.
INote
~:
To
use thi$ unit, inst3
11
the
four
pens
on
tho Pon holder. Opcrution w
ith
u l
ack
of
t.-ven
one
pe
n
ma
v
CJuse
colo
r ch{lng
e:s
to
malfunction.
Handling
the
pens:
The pens are i
nst
a
ll
ed
on
the printer when
it
is
used, and removed from the
pr
i
nte
r
after
use.
Cap
the
pe
ns
and
place them in their refi
ll
for storage.
Leaving
the
pens installed
on
the
printer
ror a long time or
othe
rwise e
xposed
m
ay
cause
the
ink
to
dry
.
1
07
Do
not sale this PDF
!!!