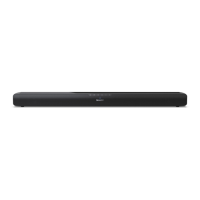
OPTICAL Input
Remove the protective cap of the OPTICAL socket, then connect an OPTICAL cable (not included) to the TV’s OPTICAL OUT socket
and the OPTICAL socket on the unit.
TIP:
While in HDMI ARC/OPTICAL mode, if there’s no sound output from the unit and the HDMI ARC/OPTICAL lights flashes quickly, you may
need to activate PCM signal output on your source device (eg. TV, DVD or Blu-ray player).
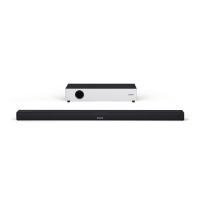
AUX
1. Use a RCA to 3.5mm audio cable (not included) to connect the TV’s audio output sockets to the AUX socket on the unit.
2. Use a 3.5mm to 3.5mm audio cable (not included) to connect the TV’s or external audio device headphone socket to the AUX socket
on the unit.
TIP:
When you use the headphone output on the TV set, you will be able to adjust the volume level directly using the TV remote control.
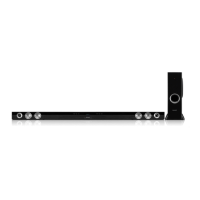
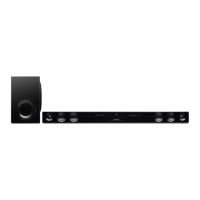
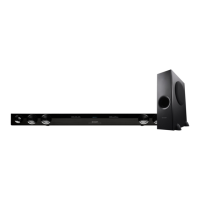
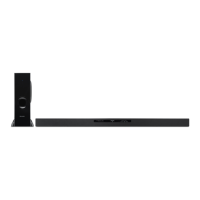
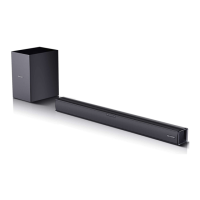
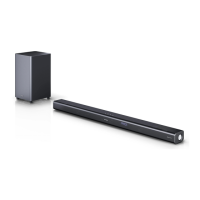
Connect to Subwoofer
NOTE:
For optimal sound, use the supplied Subwoofer only.
Connect only speakers with impedance that is the same or higher than the supplied speakers. Refer to the Specifications section of
this manual.
Connect to Power
Before connecting the AC power cord, ensure you have completed all other connections.
Risk of product damage! Ensure that the power supply voltage corresponds to the voltage printed on the back or the underside of
the unit.
Connect the mains cable to the AC~ Socket of the unit and subwoofer then into a mains socket.