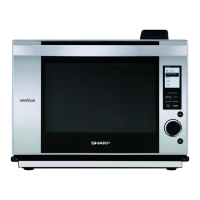
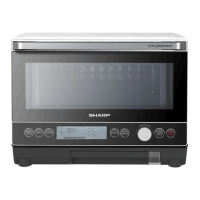
SSC3088AS
24
How to replace the main parts
Warning
Pull out the power plug from the socket
before repair or disassembly.
(Possibility of electric shock)
Do not get your hand pinched.
(Possibility of injury)
Do not allow the harness to be pinched
in the cabinet.
(Possibility of electric shock)
[4] Oven lamp
1. Remove the cabinet. [3] Reference
2. Remove the harness from the oven lamp.
3. Remove the side duct AG bottom. (1 screw)
4. Remove the oven lamp. (1 screw)
[5] Switch SWK
1. Remove the cabinet. [3] Reference
2. Remove the reinforcing AG (right side) (3 screws)
3. Remove the harness from each switch.
4. Remove the 2 screws which fasten the latch SWK and lift up the
latch.
Note:
Be sure to adjust the latch after replacement of the latch base
AG or after a door adjustment.
[Latch adjustment method]
After finishing the door adjustment, move the latch base AG and
fasten the screws (2 screws) while the door is closed to firmly press
the plunger of the primary switch. . At this time, because the latch
base AG is going to rotate clockwise under the force of the driver,
stop rotation with your hand and make adjustment so as not to
press the primary switch with too much force.
[6] Door SW
1. Remove the latch SWK. [5] Reference
2. Pull out the door SW while expanding the two claws that retain the
door SW outward at the same time.
[1] Necessary tools
●
Phillips screwdriver
●
Round nose plier with side cutter
●
Slotted screwdriver
●
7mm nut driver
●
Spacer/ carpenter’s square
(width of 0.8 mm)
[2] Preparation
Before the work, be sure to complete the following in order to prevent
electric devices from being watered.
1. After operating the product when water is used with such function
as "steamed food", sometimes water remains inside the product
(tube pump K, various tubes, engine unit).
Fit the water tank and the drip pan and perform the "forced draining"
of test mode 6.
2. After the "forced draining", please first remove the water tank and
the drip pan. When turning over the main body, residual water in the
water tank and the drip pan may leak sometimes.
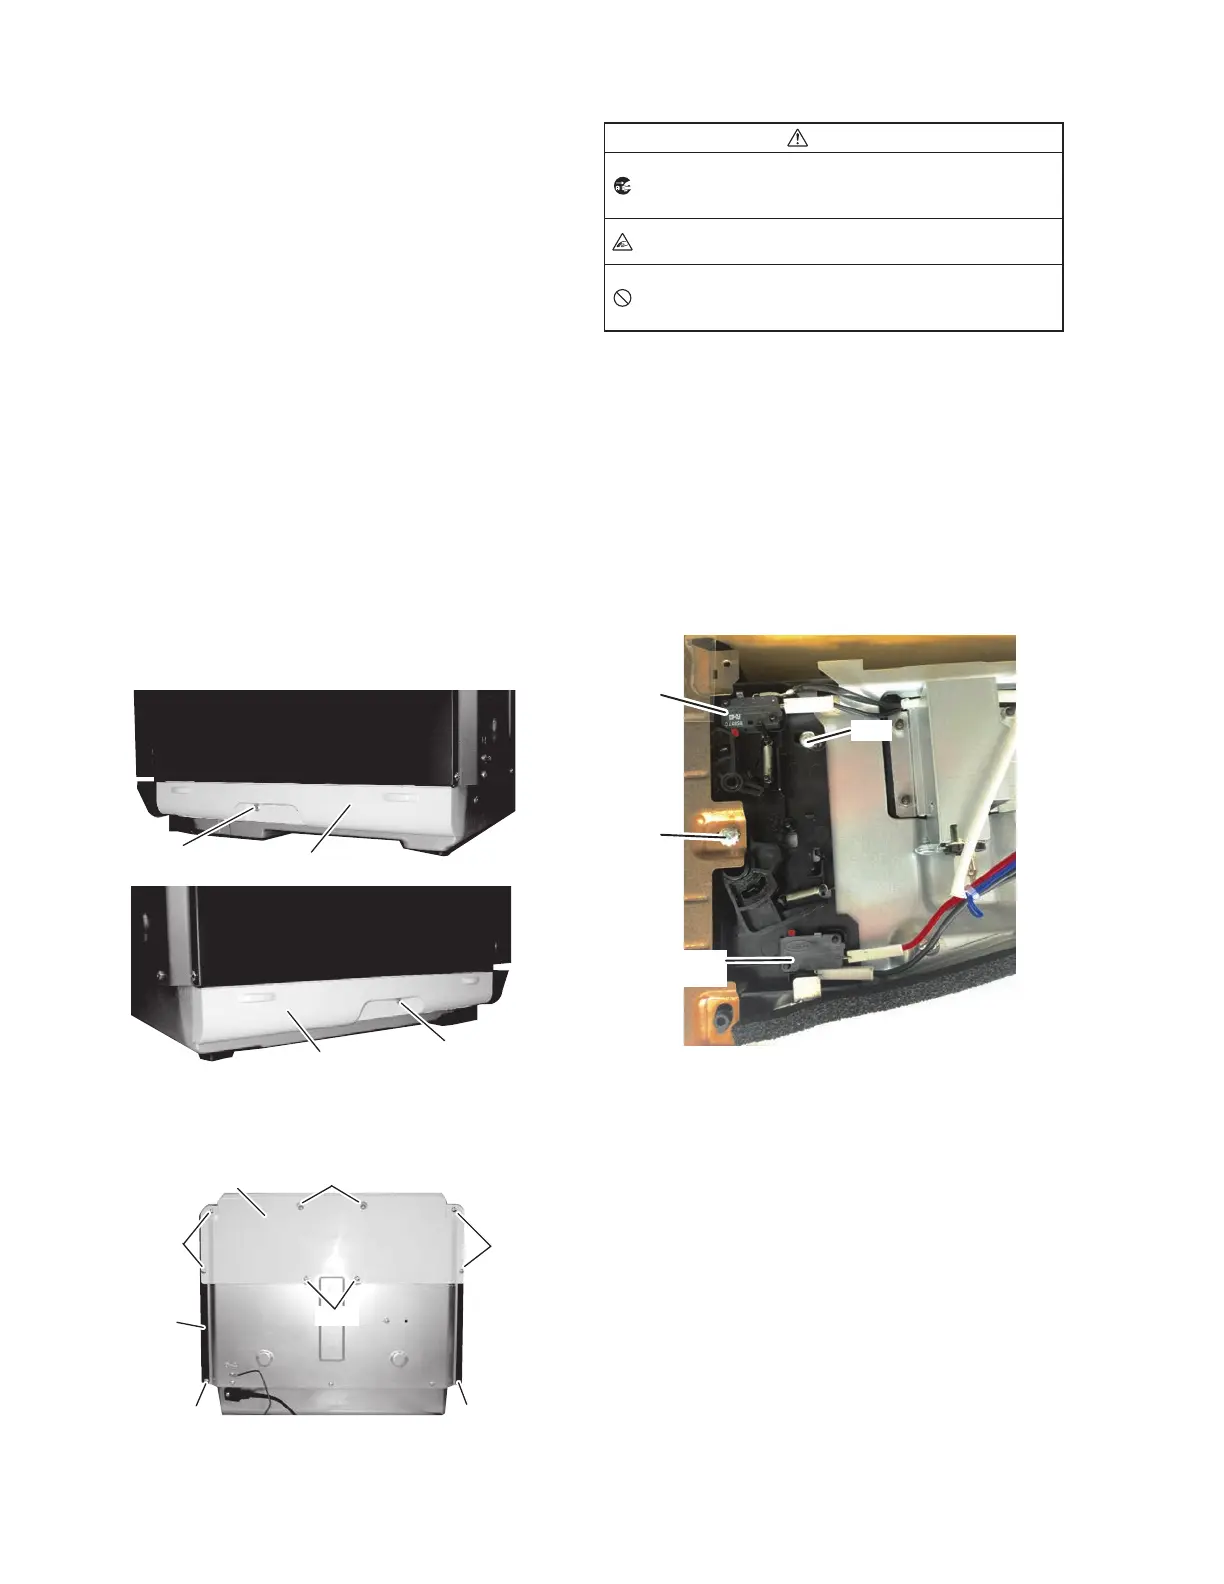
[3] Cabinet
1. Remove the screw which fastens the side cover R onto the bottom
plate.
2. Slide the side cover R onto the rear plate and remove the hooks (3x)
from the cabinet.
Screw
Side cover R
Screw
Side cover L
3. Remove the side cover by the same way. (1 screw)
4. Remove the exhaust cover. (8 screws)
5. Remove the cabinet. (2 screws)
Exhaust cover
Screw
Screw
Screw
Screw
Screw
Cabinet
Screw
Screw
Screw
Door SW
Primary
latch SW