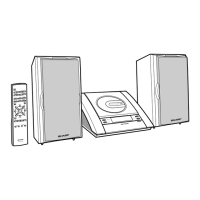
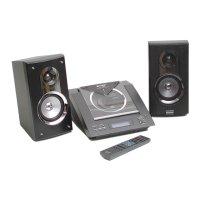
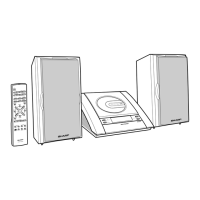
XL-1700/1700C
– 6 –
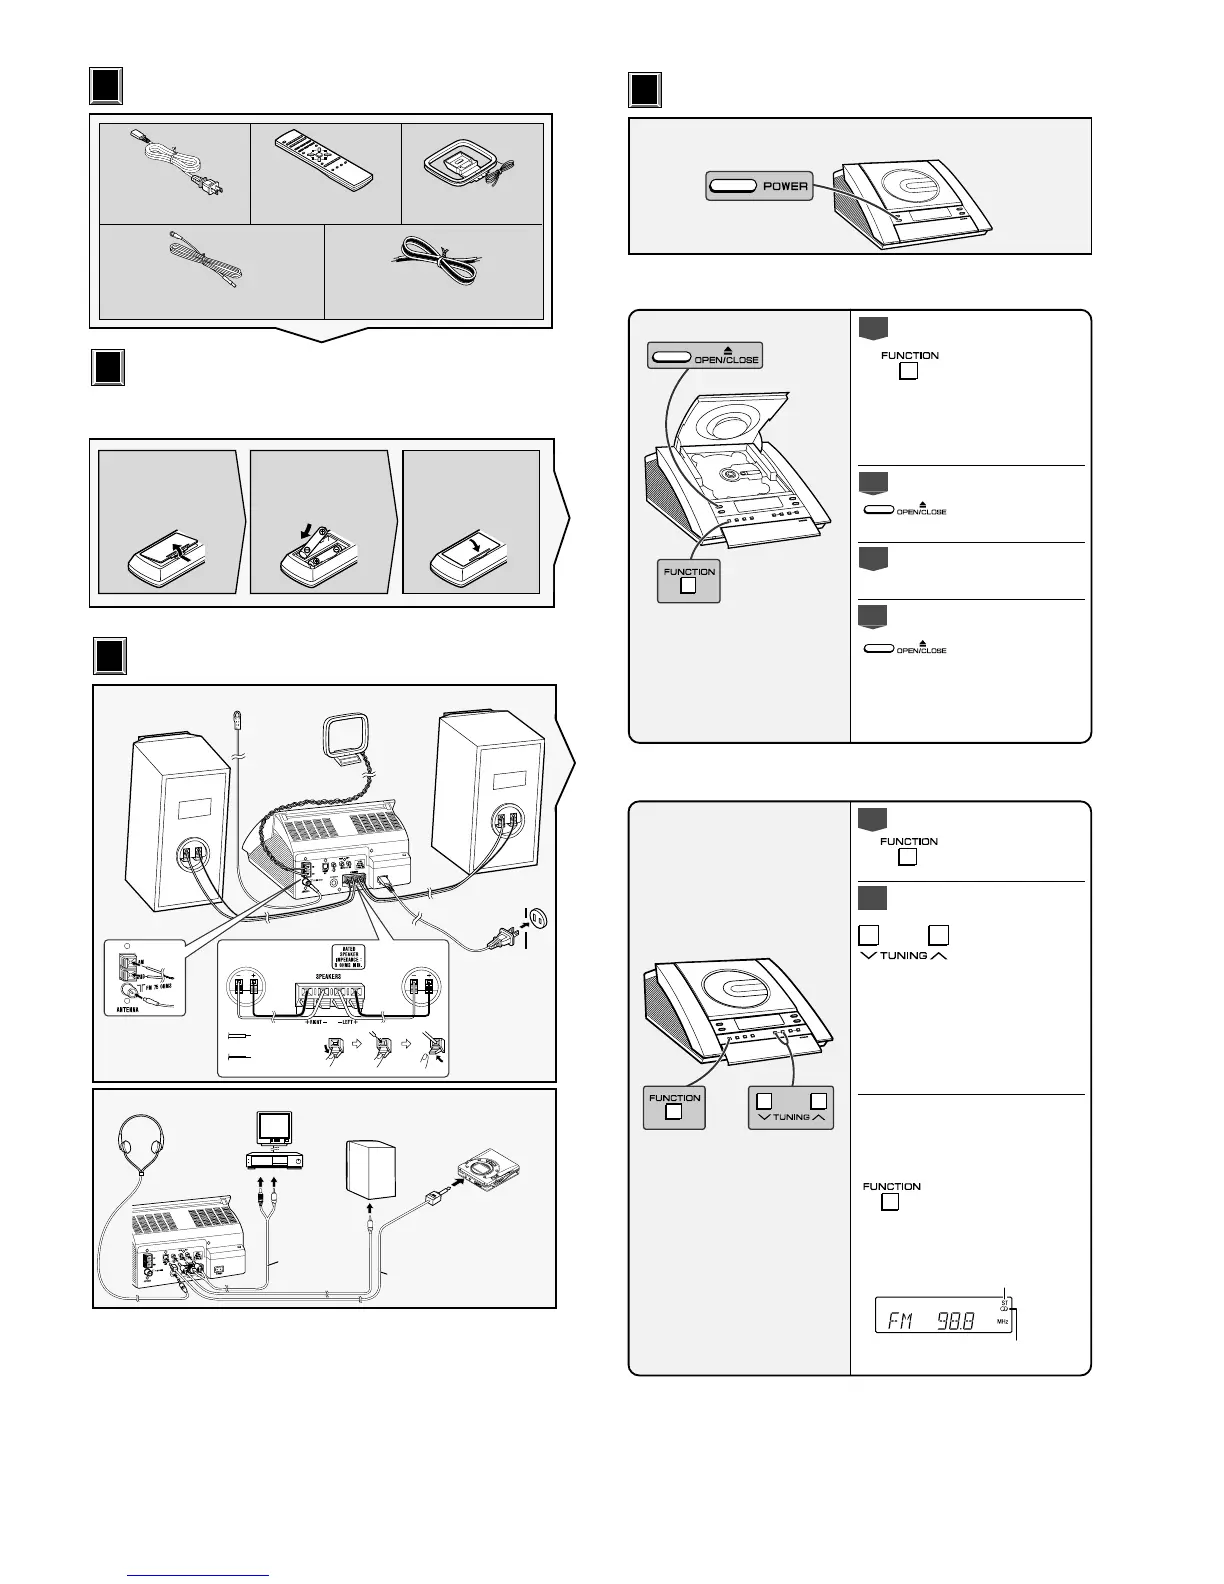
Accessories
Accesorios
1
1
2
2
Speaker wire x2
Cable del altavoz x2
Remote control x1
Controlador remoto x1
AC power cord x1
Cable de alimentación de CA x1
AM loop antenna x1
Antena de cuadro de AM x1
FM antenna x1
Antena de FM x1
123
Battery installation of remote control
Instalación de las pilas del controlador remoto
Use 2 “AAA” size batteries (UM-4, R03, HP-16 or similar).
Use dos pilas del tamaño “AAA” (UM-4, R03, HP-16 o
equivalentes).
Remove the battery
cover.
Extraiga la cubierta de
las pilas.
Insert the batteries
as shown.
Inserte las pilas como
se muestra.
Replace the cover.
Vuelva a colocar la
cubierta.
Batteries are not included.
Las pilas no están incluidas.
AM loop antenna
Antena de cuadro
de AM
White line
Línea blanca
Black
Negro
Right speaker
Altavoz derecho
Left speaker
Altavoz izquierdo
AC outlet
(AC 120 V, 60 Hz)
A un tomacorriente de
CA (120 V de CA, 60
Hz)
Right speaker
Altavoz derecho
Left speaker
Altavoz izquierdo
RCA cord
(not supplied)
Cable RCA
(no suministrado)
To the line
output jack
A la toma de
salida de línea
VCR, DVD, etc.
Videograbadora,
DVD, etc.
TV
TV
Connection cable
for digital recording (not supplied)
Cable de conexión
para grabación digital (no suministrado)
MD recorder
Grabadora de MD
To the optical line
input jack
Para la toma de
entrada de línea óptica
Headphones
Auriculares
System connections
Conexiones del sistema
3
3
FM antenna
Antena de FM
Speaker with a built-in
amplifier
Altavoz con amplificador
incorporado
Press the POWER button to turn the power on.
Pulse el botón POWER para conectar la alimentación.
Listening to a CD
Audición de un disco CD
Turn on your system
Conexión de la alimentación de su sistema
4
4
1
Press the FUNCTION button
until “CD STOP” appears on
the display.
If no disc is loaded, the
display will be “NO DISC”
instead of “CD STOP”.
Pulse el botón FUNCTION hasta
que aparezca “CD STOP” en el
visualizador.
Si no hay ningún disco insertado,
se visualizará “NO DISC” en lugar
de “CD STOP”.
2
Press the
7 7
7 7
7 OPEN/CLOSE
button to open the CD com-
partment.
Pulse el botón
7 7
7 7
7
OPEN/
CLOSE para abrir el
compartimiento del CD.
3
Place a CD on the spindle,
label side up.
Ponga un CD sobre el eje, con
la cara de la etiqueta arriba.
4
Press the
7 7
7 7
7 OPEN/CLOSE
button to close the CD com-
partment.
The CD playback will start
automatically.
Pulse el botón
7 7
7 7
7
OPEN/
CLOSE para cerrar el
compartimiento del CD.
La reproducción del CD se
iniciará automáticamente.
FM stereo mode indicator
Indicador del modo de FM en estéreo
FM stereo receiving indicator
Indicador de recepción de FM en estéreo
1
Press the FUNCTION button
until “FM” or “AM” appears
on the display.
Pulse el botón FUNCTION
hasta que “FM” o “AM”
aparezca en el visualizador.
2
Press the TUNING (
XX
XX
X or
WW
WW
W)
button to tune in to the de-
sired station.
When the TUNING button is
pressed for more than 0.5
seconds, scanning will start
automatically and the tuner
will stop at the first receiv-
able broadcast station.
Pulse el botón TUNING (
X
o
W
) para sintonizar la emisora
deseada.
Cuando se pulse el botón
TUNING durante más de 0,5
segundos, la exploración se
iniciará automáticamente y el
sintonizador se parará en la
primera emisora difusora que
pueda recibirse.
To receive an FM stereo trans-
mission:
Press the FUNCTION button to
display the “ST” indicator.
● “
jj
jj
j” will appear when an FM
broadcast is in stereo.
Para recibir una transmisión de FM
en estéreo:
Pulse el botón FUNCTION para
visualizar el indicador “ST”.
●
“
j
” aparecerá cuando una
difusión de FM sea en estéreo.
Listening to the radio
Audición de la radio