10 11
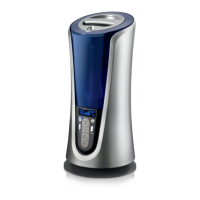
Installing Instructions:
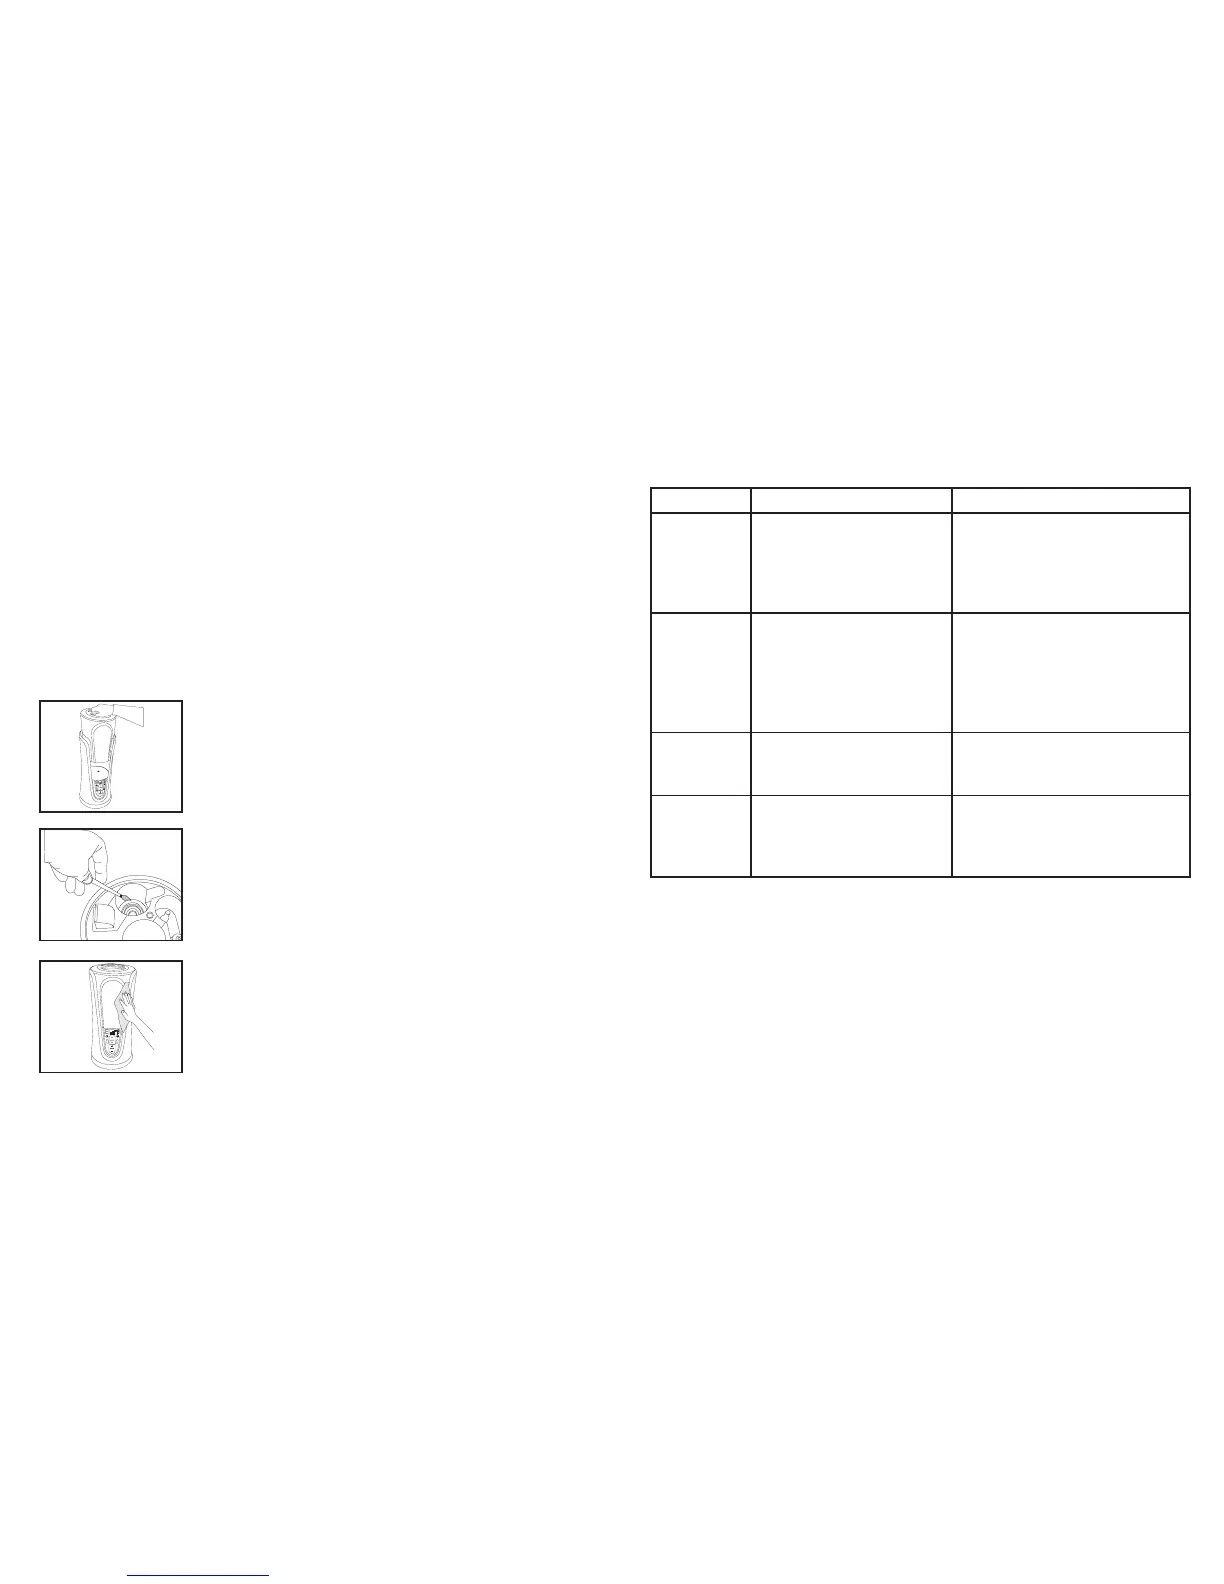
1. Remove demineralization cartridge from packaging and let soak in water for 10 minutes.
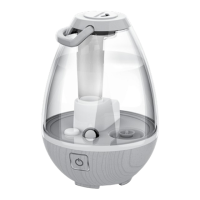
2. Remove the tank from humidifier base by the handle and turn it over.
3. Unscrew the tank cap by turning the cap counter-clockwise (Fig. 4).
4. Fill the tank with water as shown in the How To Fill Section.
5. Add 1 blue demineralization cartridge into the tank.
6. Replace the tank cap by turning clockwise (Fig. 6).
7. Place the tank back on the base. Make sure the tank is firmly seated (Fig. 7).
Cleaning and Care
CAUTION: Before cleaning the unit, turn power off and unplug unit from the outlet.
Tank Cleaning
Remove the water tank from the humidifier base by lifting it
by the handle from the main unit. Unscrew the tank cap; wipe
the tank with a soft cloth then rinse it with clean water.
Suggestion: Clean the water tank once every two to three
weeks, depending on your water conditions.
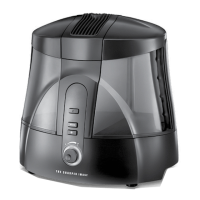
Ultrasonic Nebulizer Cleaning
Put small amount of mild dish soap on the surface of the
ultrasonic nebulizer, then pour in some water and soak for 5
minutes. Brush clean with soft bristle brush (not included) and
rinse.
Surface Cleaning
Clean the surface of the unit with a clean, damp, soft cloth.
PROBLEM POSSIBLE CAUSE SOLUTION
Power Light
is Off
• Unit is not plugged in
• No power at outlet
• Plug unit in
• Press the POWER button to turn
the power on
• Check circuits, fuses, try a
different outlet
Peculiar Odor • If new unit
• If unit is in use, the odor may
be a dirty tank or old tank
water
• Open the water tank cap and
keep it in a shady and cool place
for 12 hours
• Empty the old water, clean the
tank and fill with clean water
Excessive
Noise
• Unit is not level
• Low water level
• Place unit on flat, even surface
• Check the water level. Refill the
tank if the water is low
White Dust
Accumulation
• Hard water used
• Demineralization Cartridge
needs replacement
• Use distilled water and a
Demineraliztion Cartridge
• Replace Demineralization Cartridge
MIST
HUMIDISTAT
Warm
Cool
Warm
Cool
MIST
HUMIDISTAT
TEMP
TIMER
Troubleshooting
Fig. 8
Fig. 9
Fig. 10