Aoralscan 3_Manual_V1.0.0.30 - 31 -
authorized distributor.
Follow the steps below to perform the calibration:
(1) Insert the power plug of the supplied power adapter into the power connector on the
pedestal, and plug the power adapter into a wall outlet.
(2) Connect the scanner cable to the USB 3.0 upstream port on the pedestal.
(3) Connect the USB 3.0 downstream port on the pedestal and your computer with the
supplied USB 3.0 cable.
(4) Turn on the power switch on the pedestal.
The LED light ring on the end of the scanner body lights up green when the power connection
is working properly.
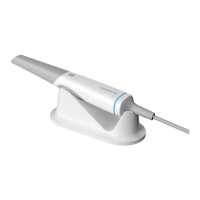
(5) Hold the scanner head firmly with your thumb and forefinger on both sides, and then
gently slide the head off from the scanner.
NOTES
⚫ Do not place your finger(s) on the mirror of the head when detaching as this may result
in damage to the mirror.
⚫ Store the detached head in a safe place, e.g. a dental instrument tray, for future use.
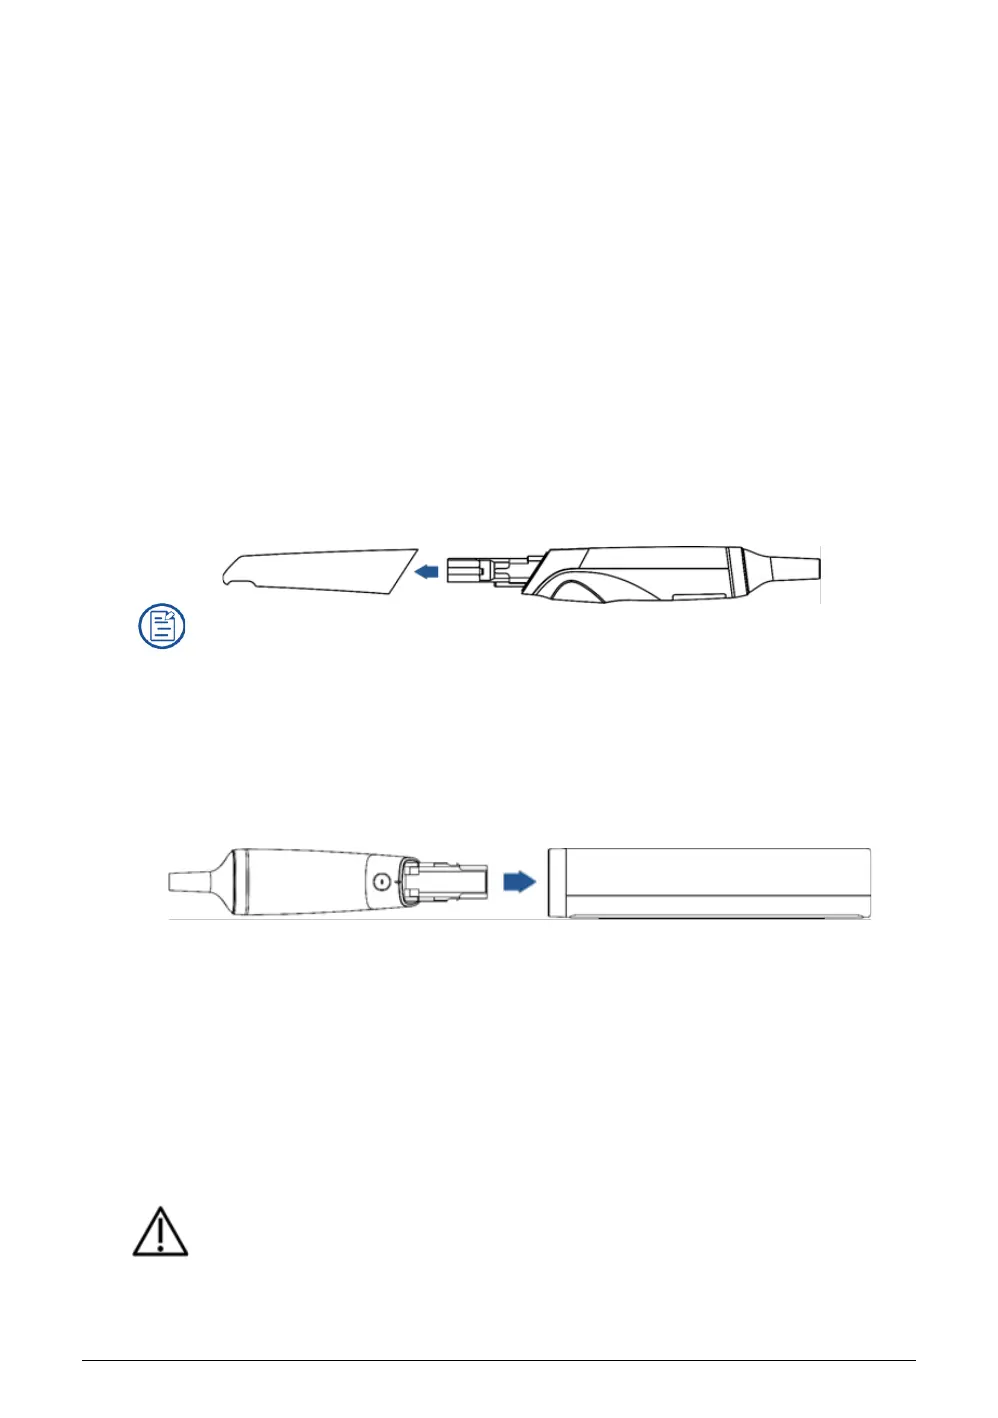
(6) Connect the supplied Calibrator and your computer with the supplied USB 3.0 cable.
(7) Gently slide the Calibrator onto the front end of the scanner.
(8) Click calibration icon on the upper left corner of interface to display calibration interface.
Ensure the scanner is plugged into the calibrator firmly. Click Start. Calibration begins.
NOTE
Normally the calibration takes approximately 5 minutes.
(9) The message prompting successful calibration appears once the calibration is completed.
Click OK to exit.
(10) Gently slide the Calibrator off the scanner.
CAUTION
Make sure that the Calibrator is removed from the scanner after the calibration is done.
 Loading...